
Navigation
- Preparing for the Adventure
- Safety Precautions
- Step-by-Step Guide to Setting Up a Roof Top Tent Solo
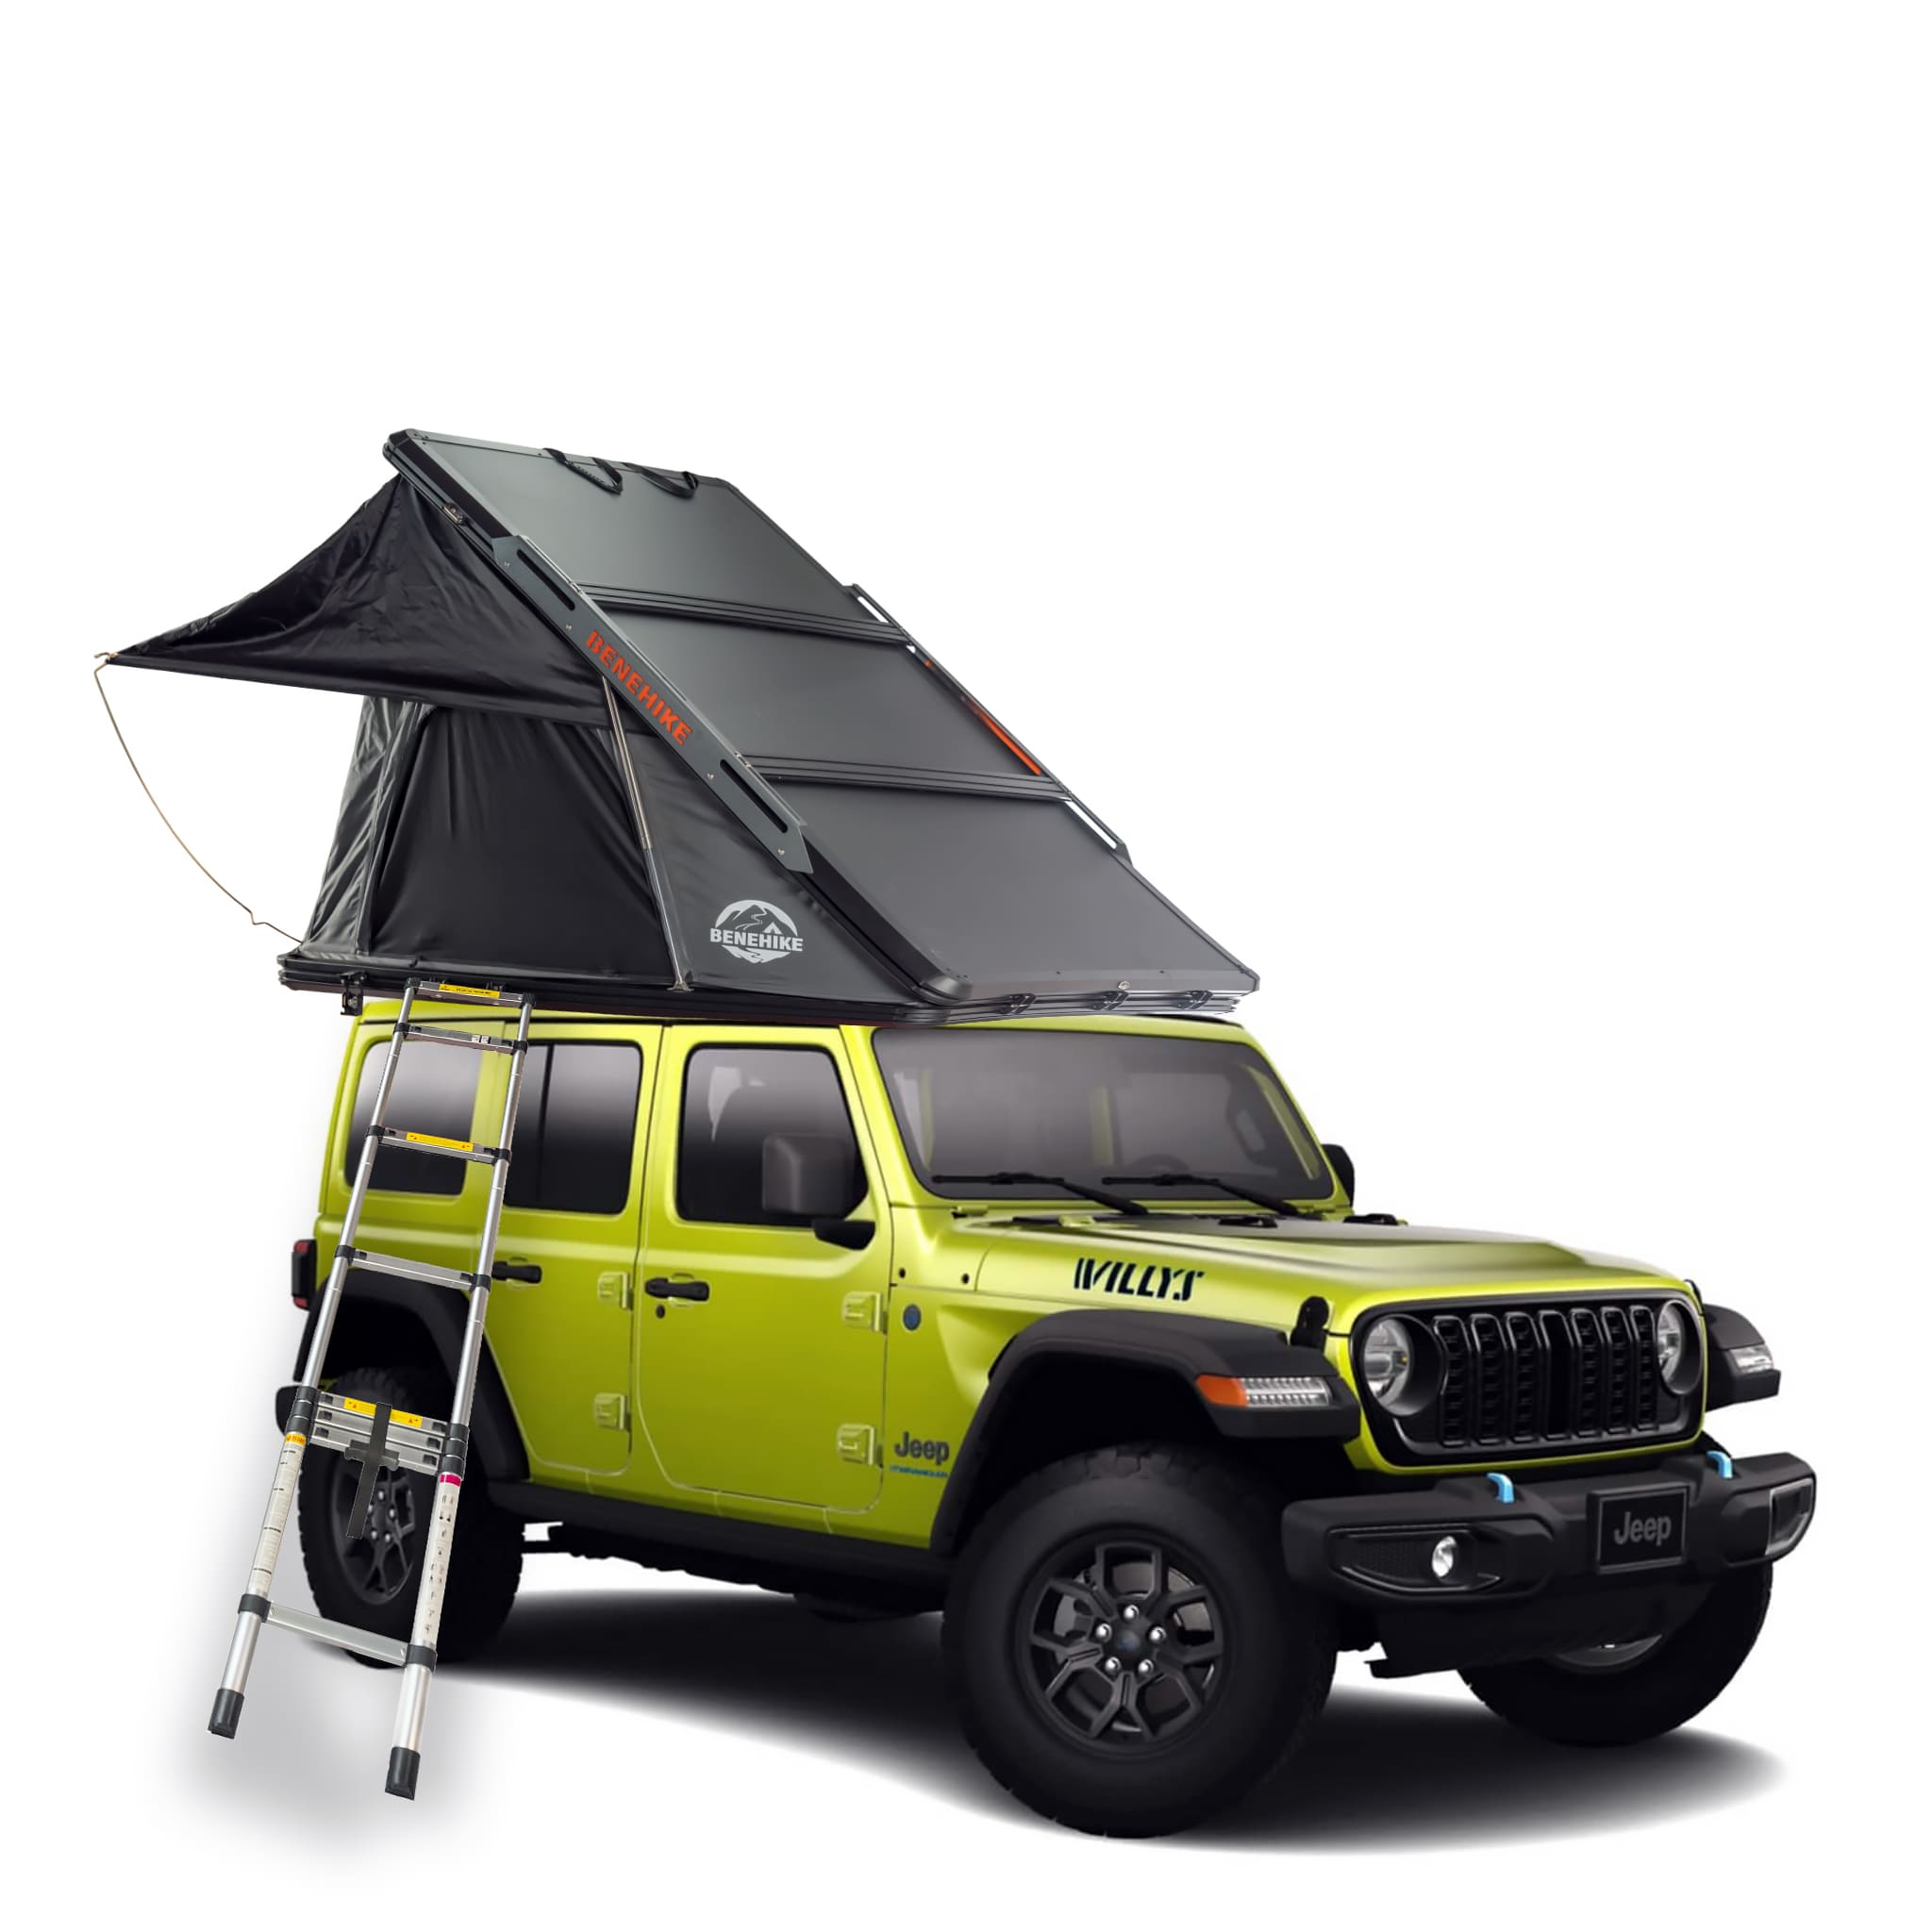
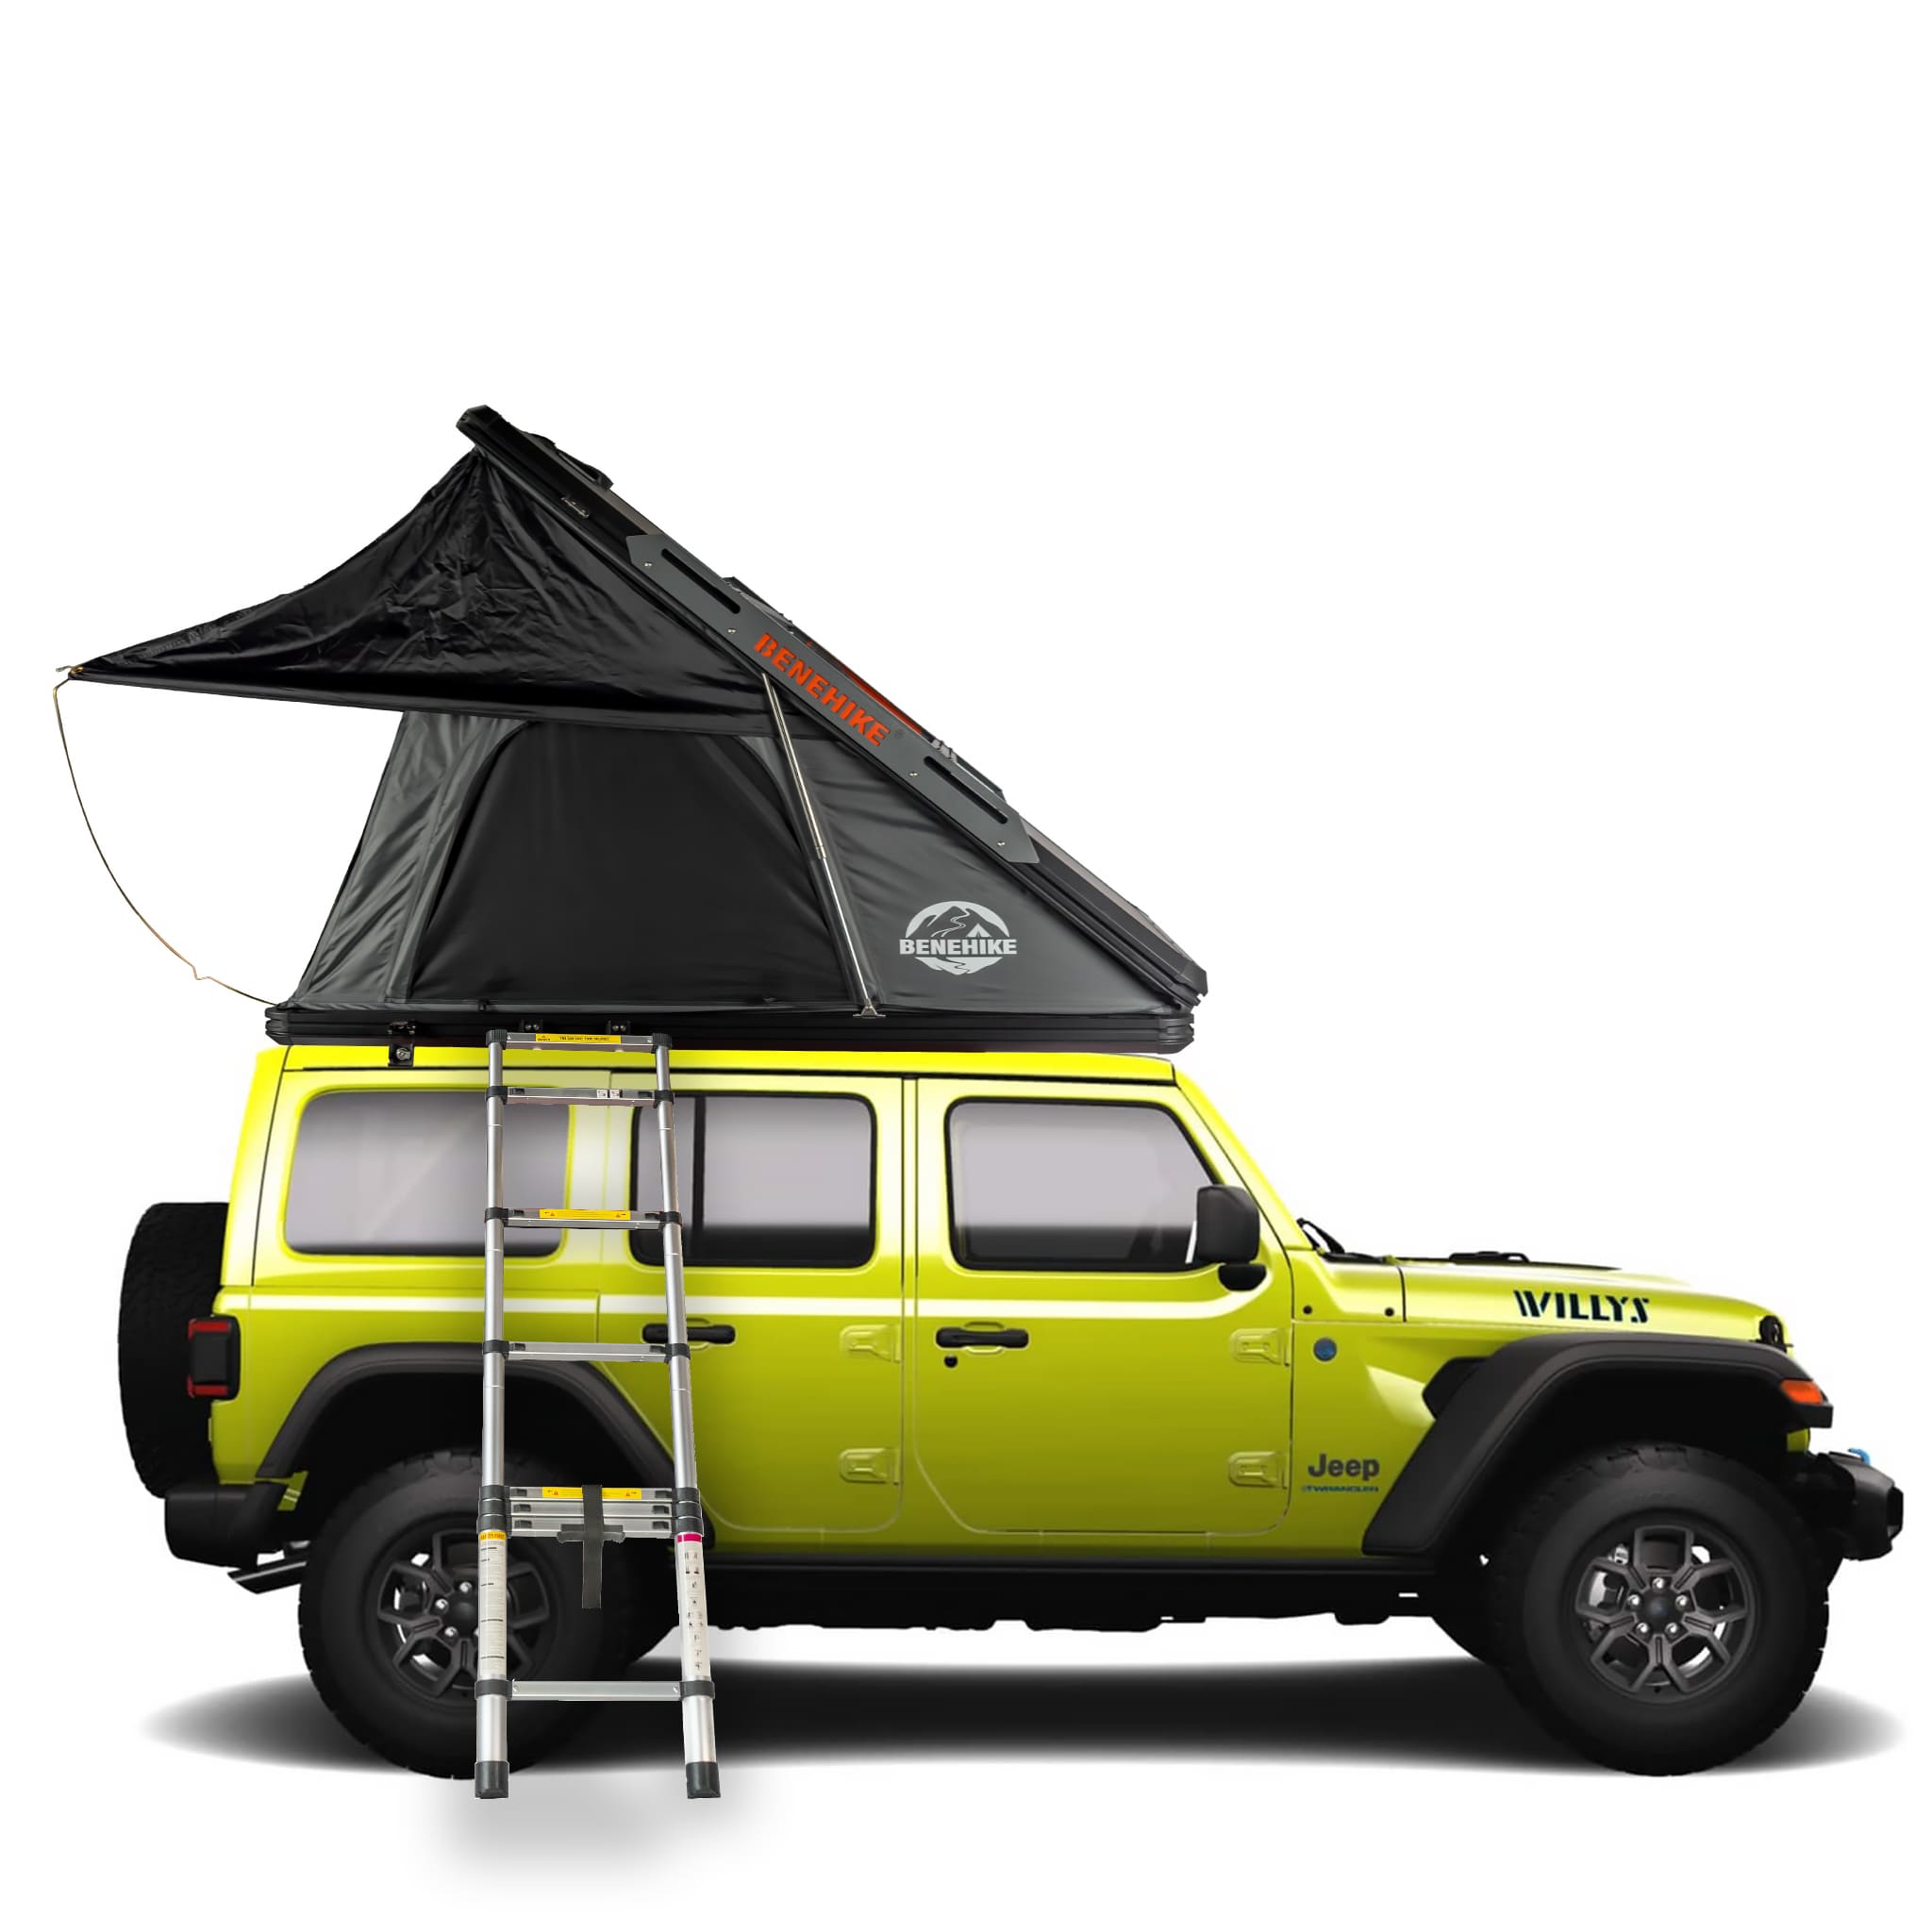
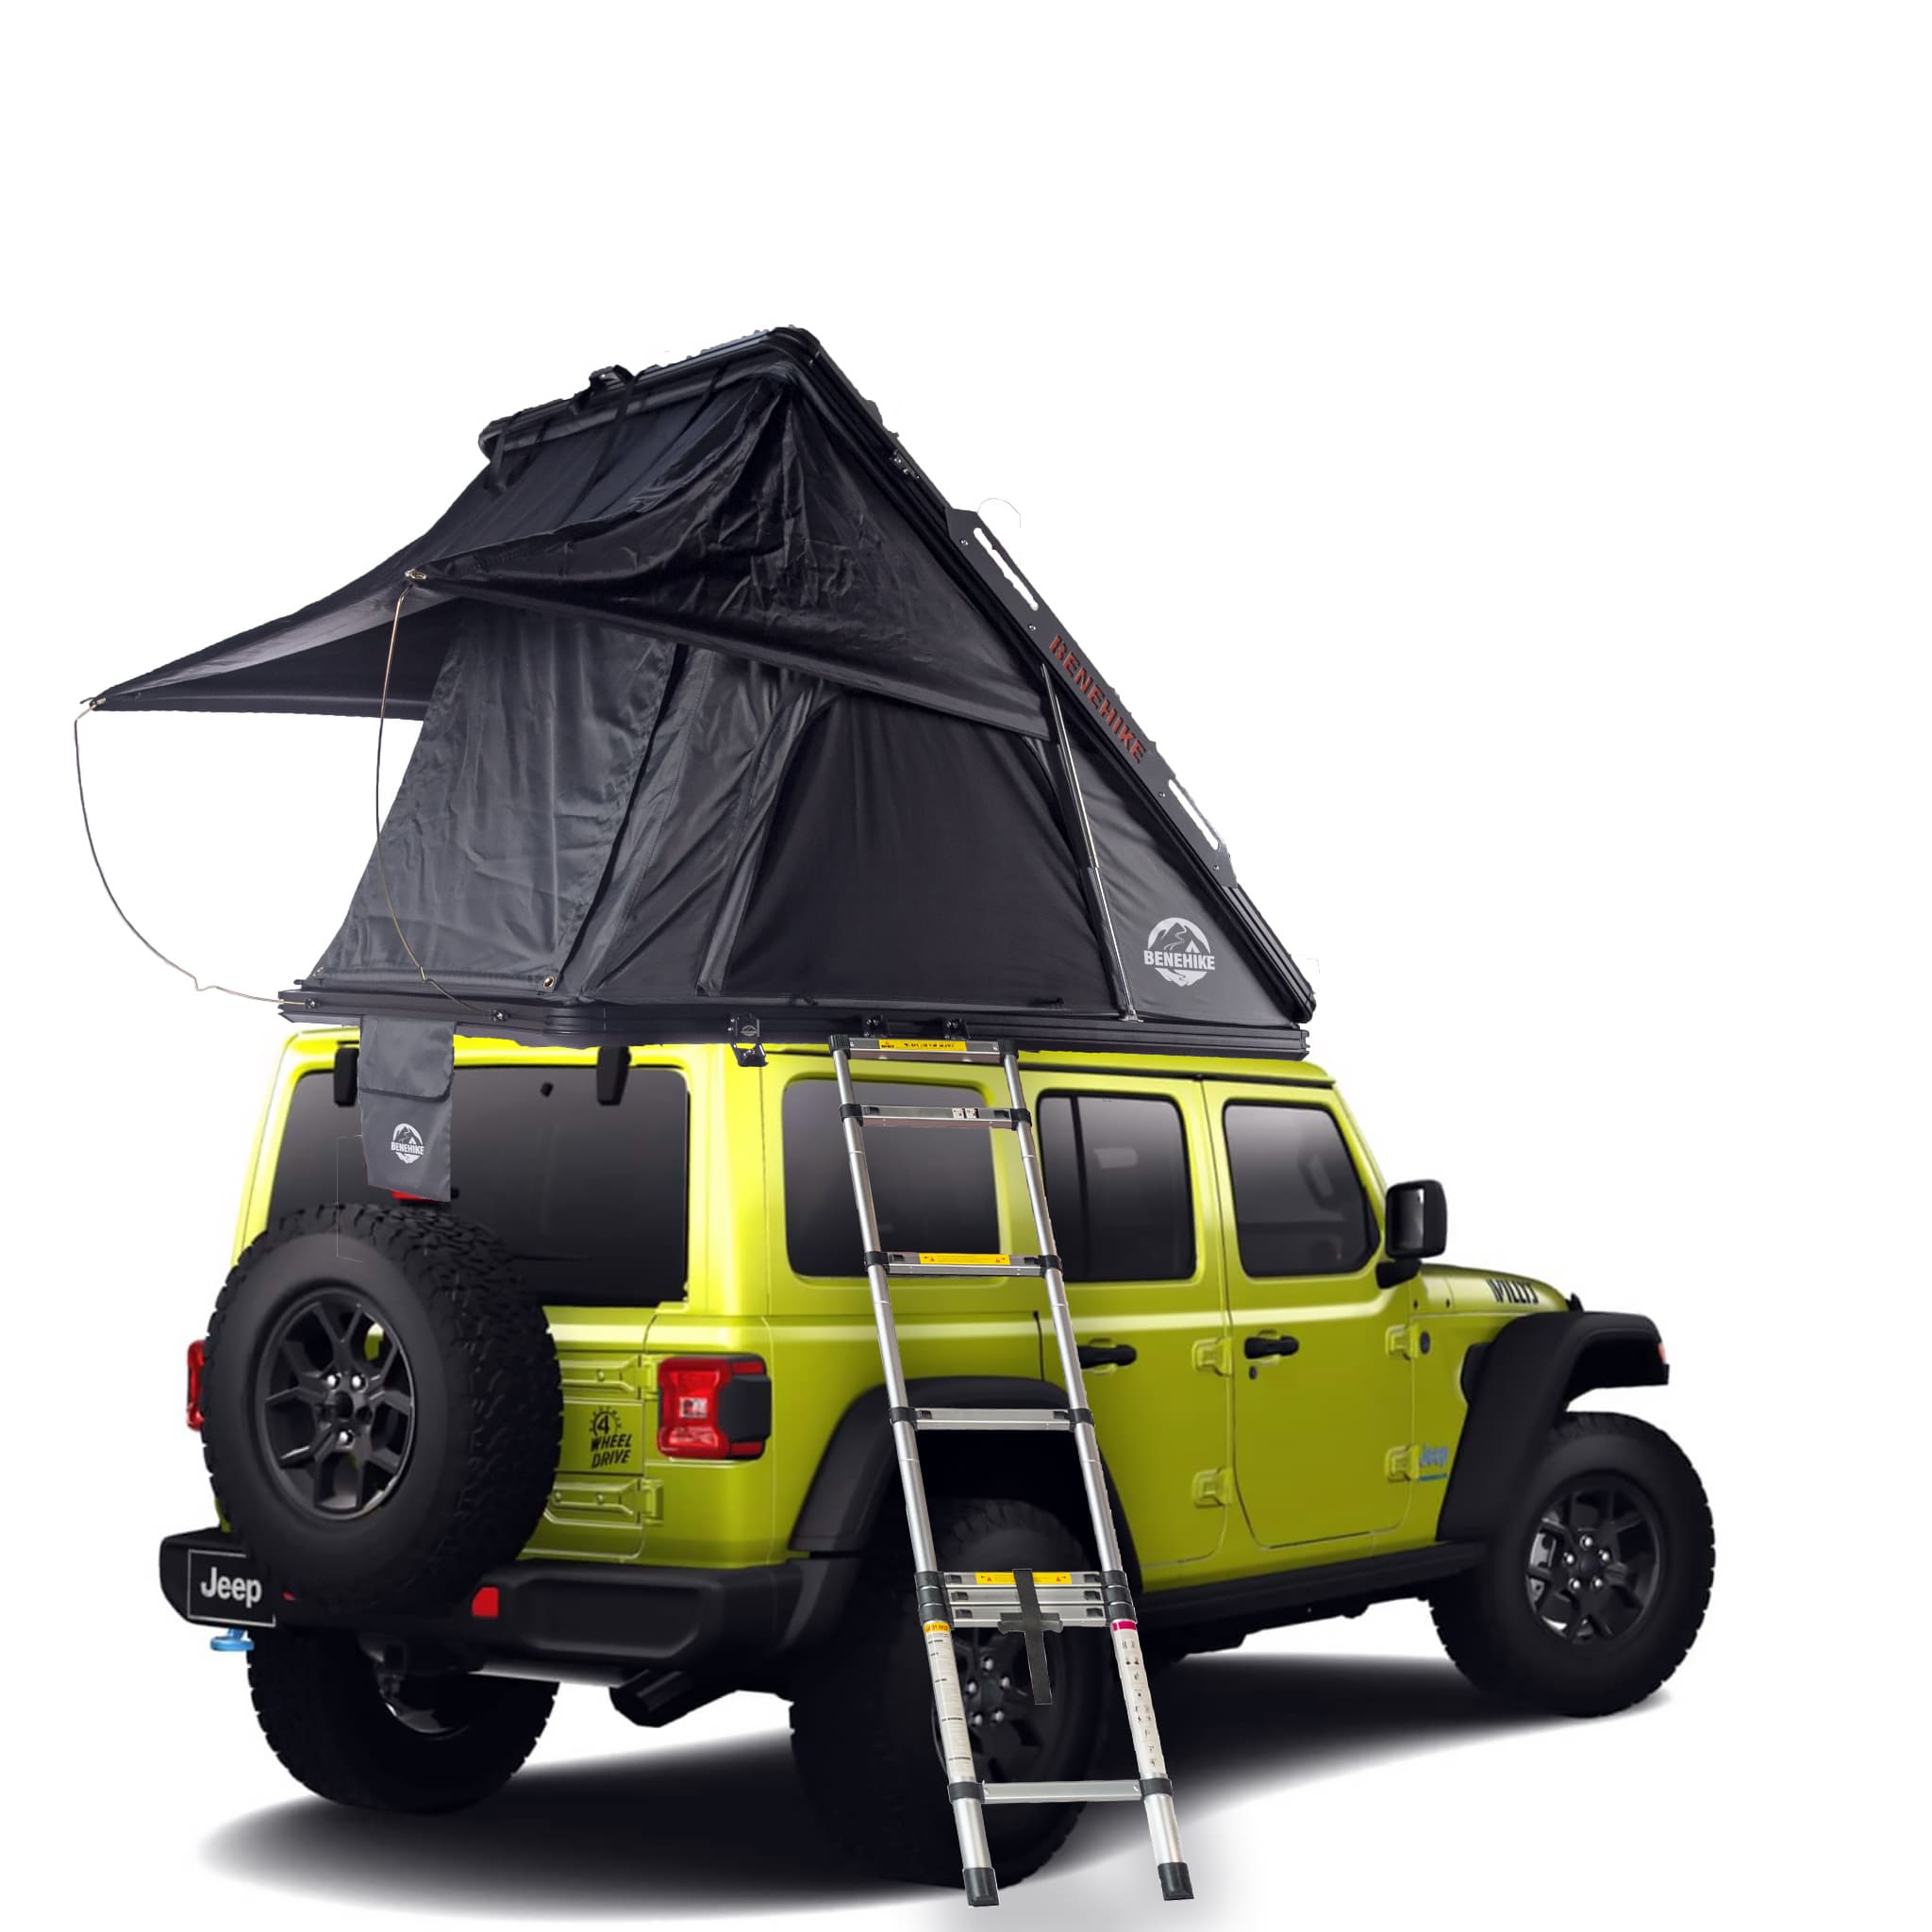
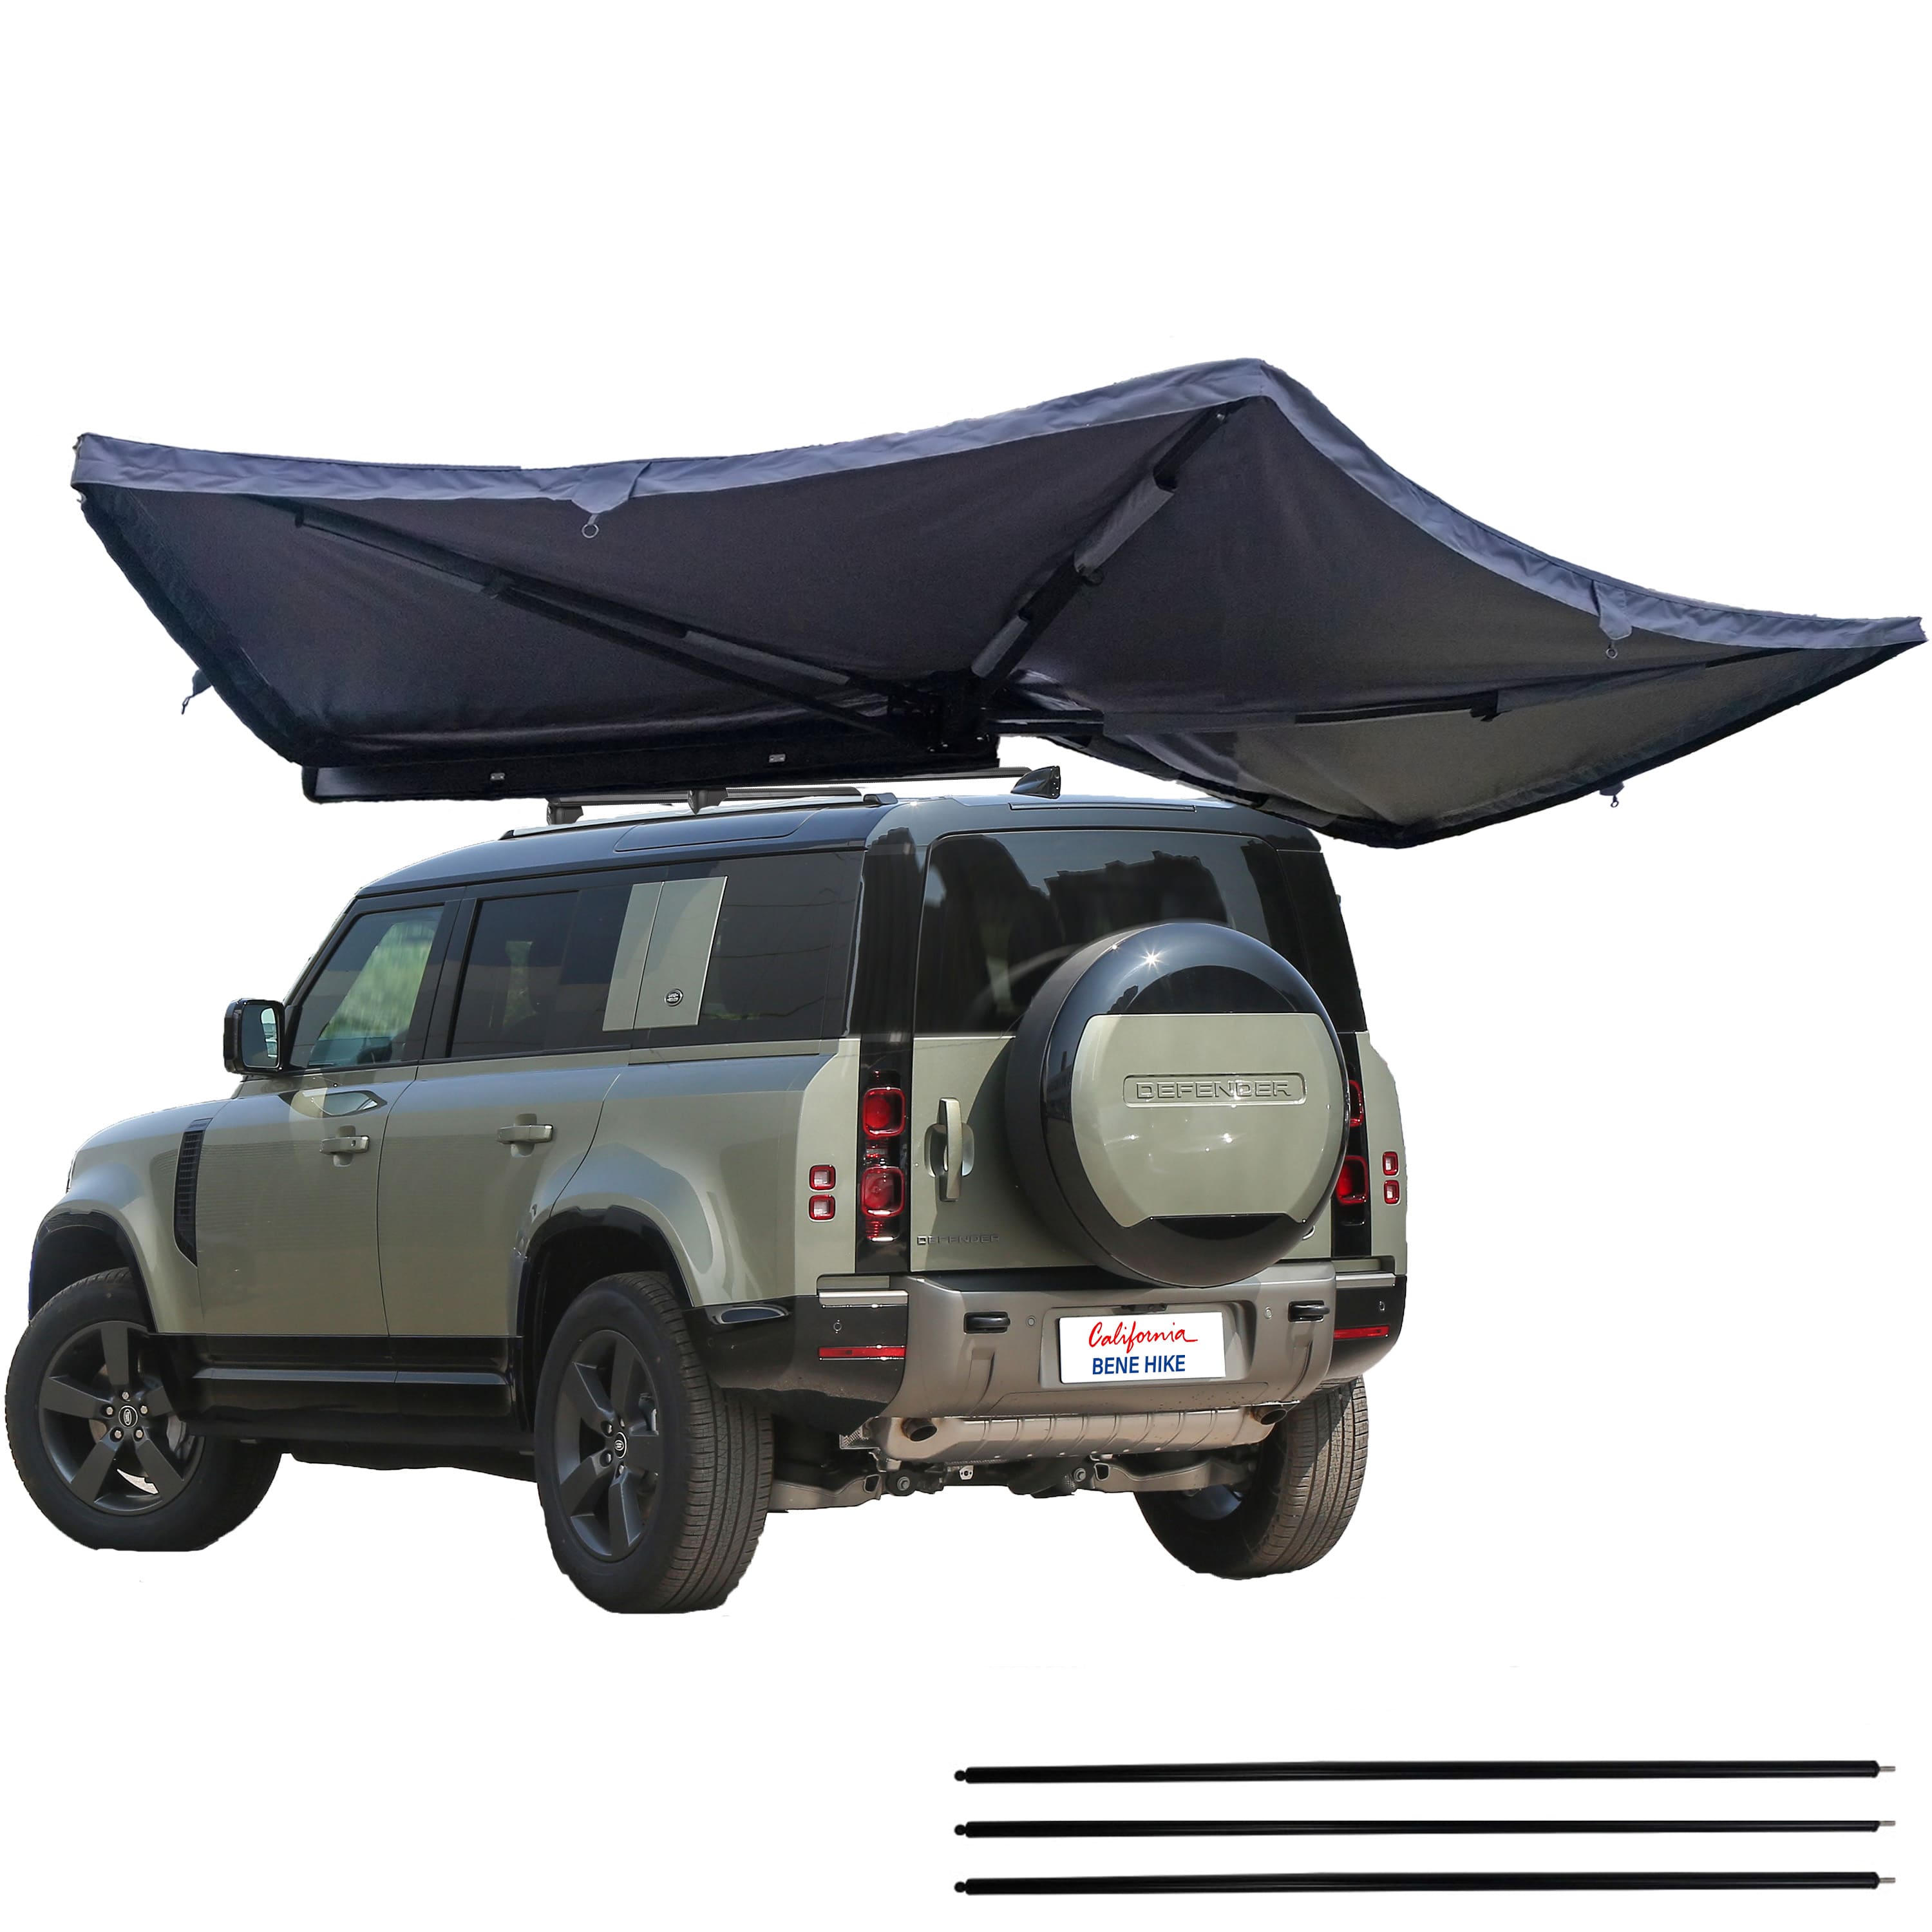
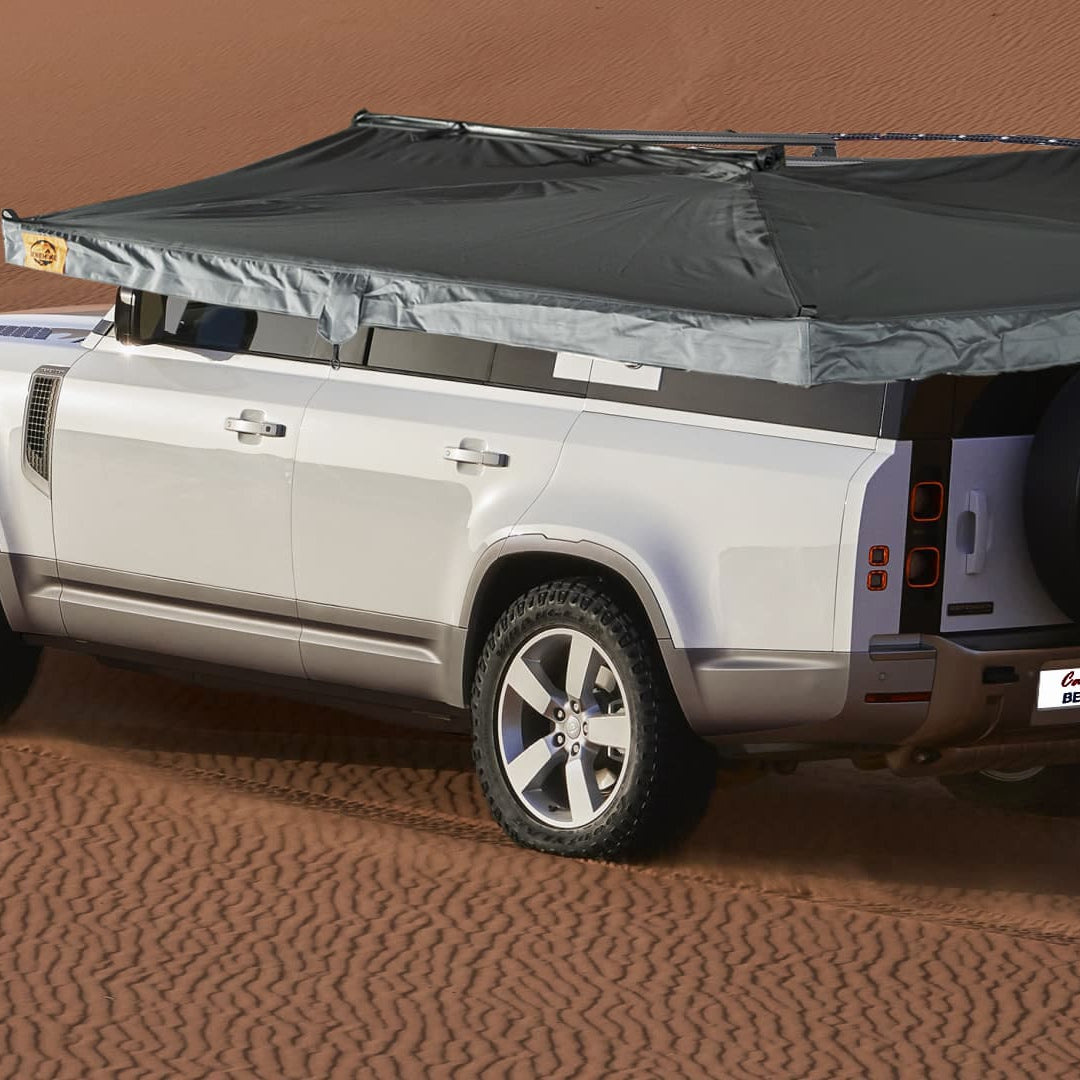
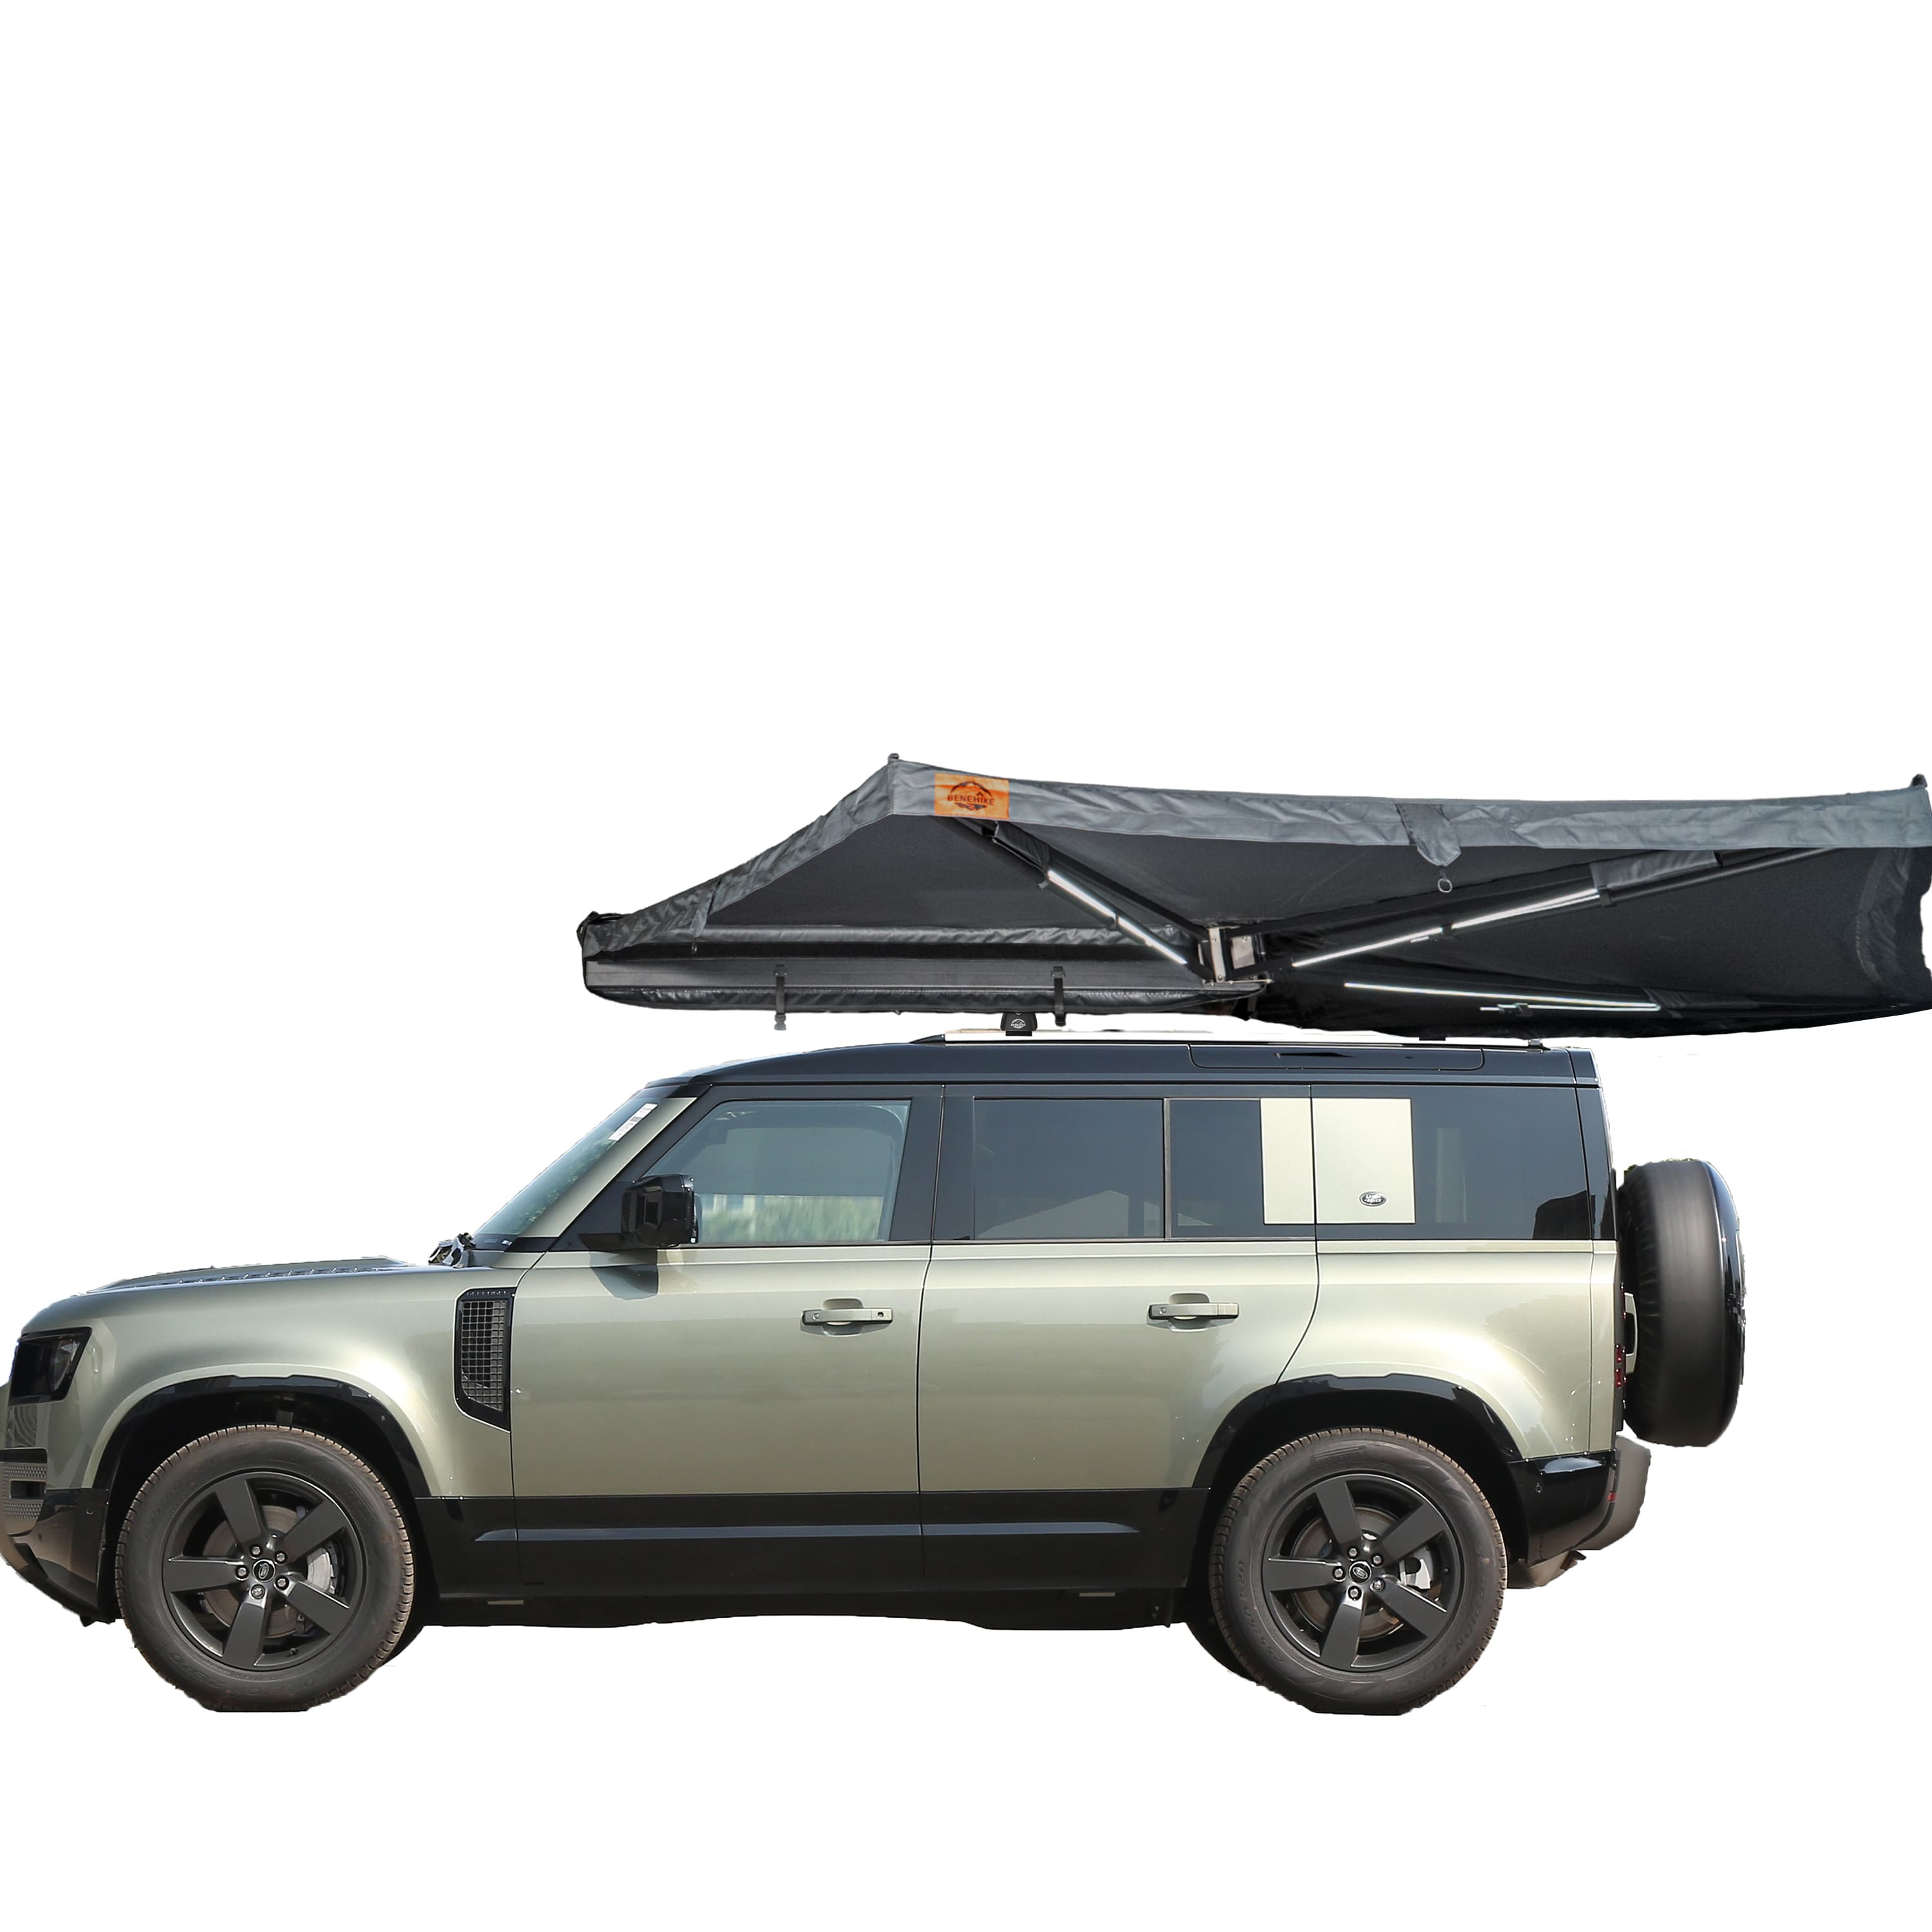
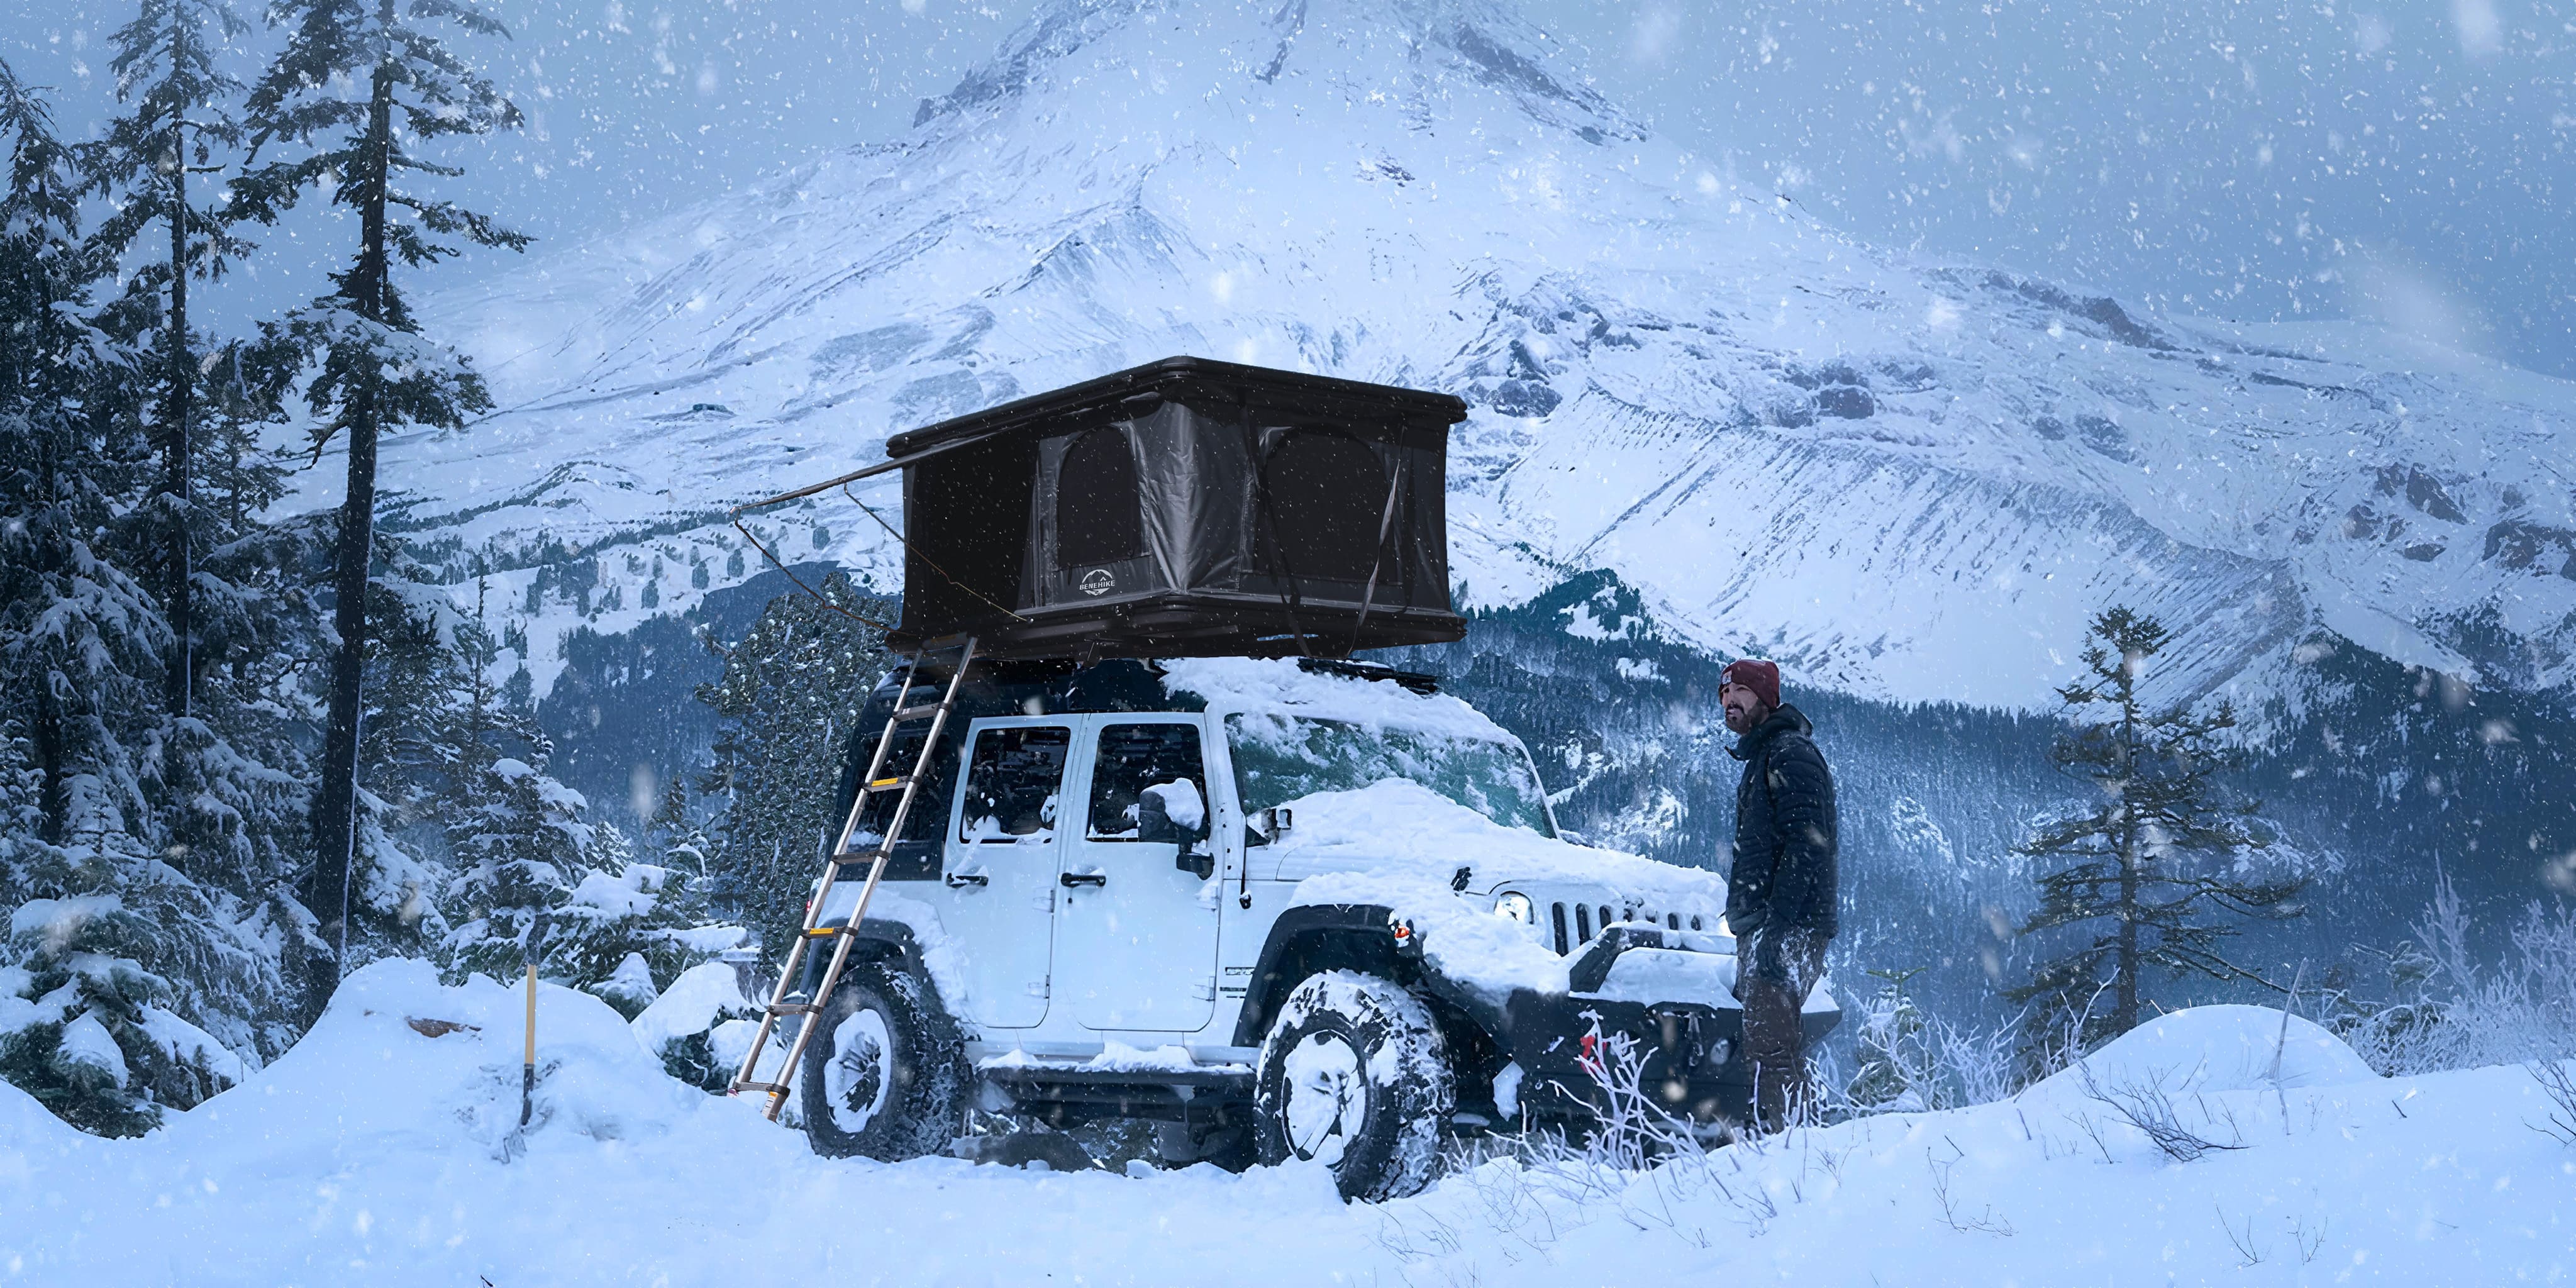
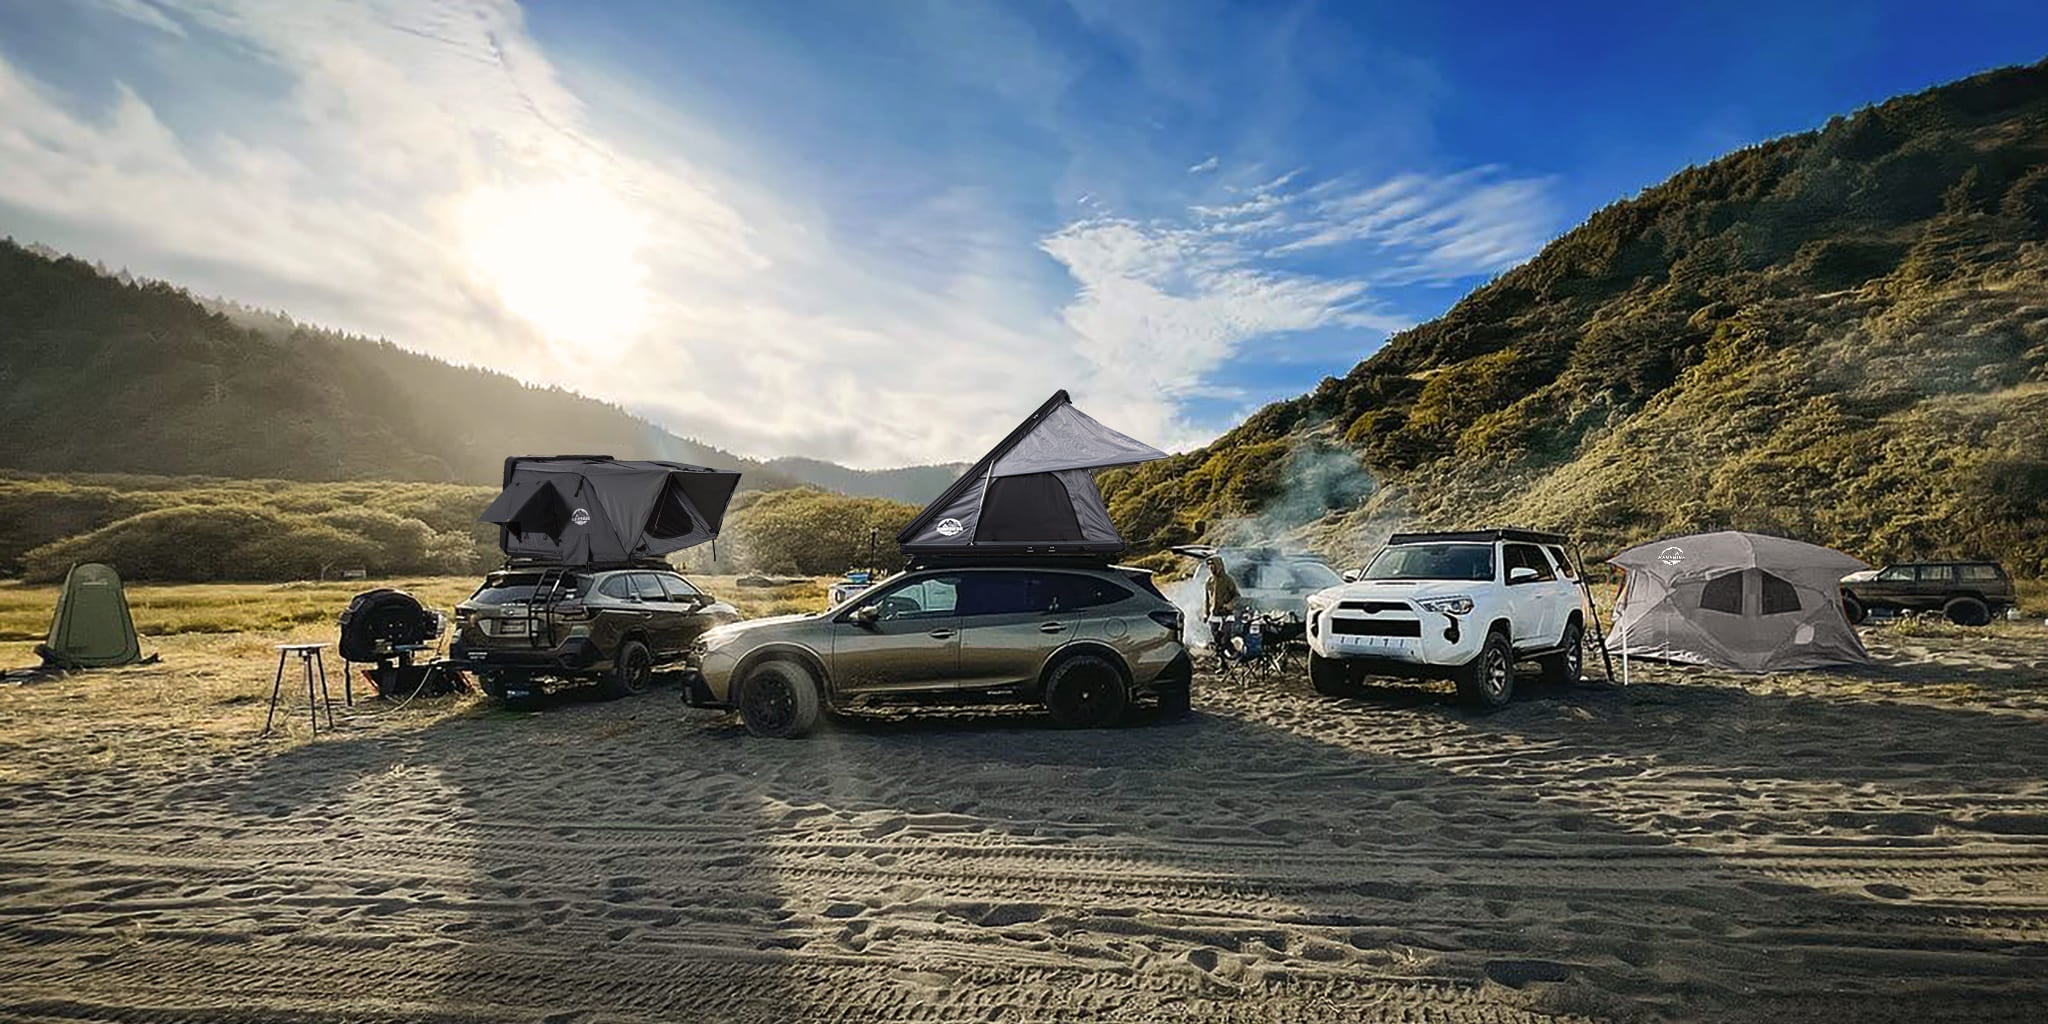
Having the flexibility to sleep almost anywhere is a dream for real adventure seekers. Roof top tents provide the perfect solution: transforming your vehicle into comfortable sleeping quarters in an instant. If you've been contemplating getting a roof top tent for your next overlanding adventure but are unsure where to start, you've come to the right place! This step-by-step guide we prepred will walk you through everything you need to know to set up your own roof top tent, from choosing the right tent for your needs and vehicle to installation and use. We'll cover tent types and features, mounting options, sleeping comfort and convenience tips, and more. By the end, you'll be an expert at setting up your roof top tent and ready to hit the open road for your next camping adventure. Let's get started!
Preparing for the Adventure
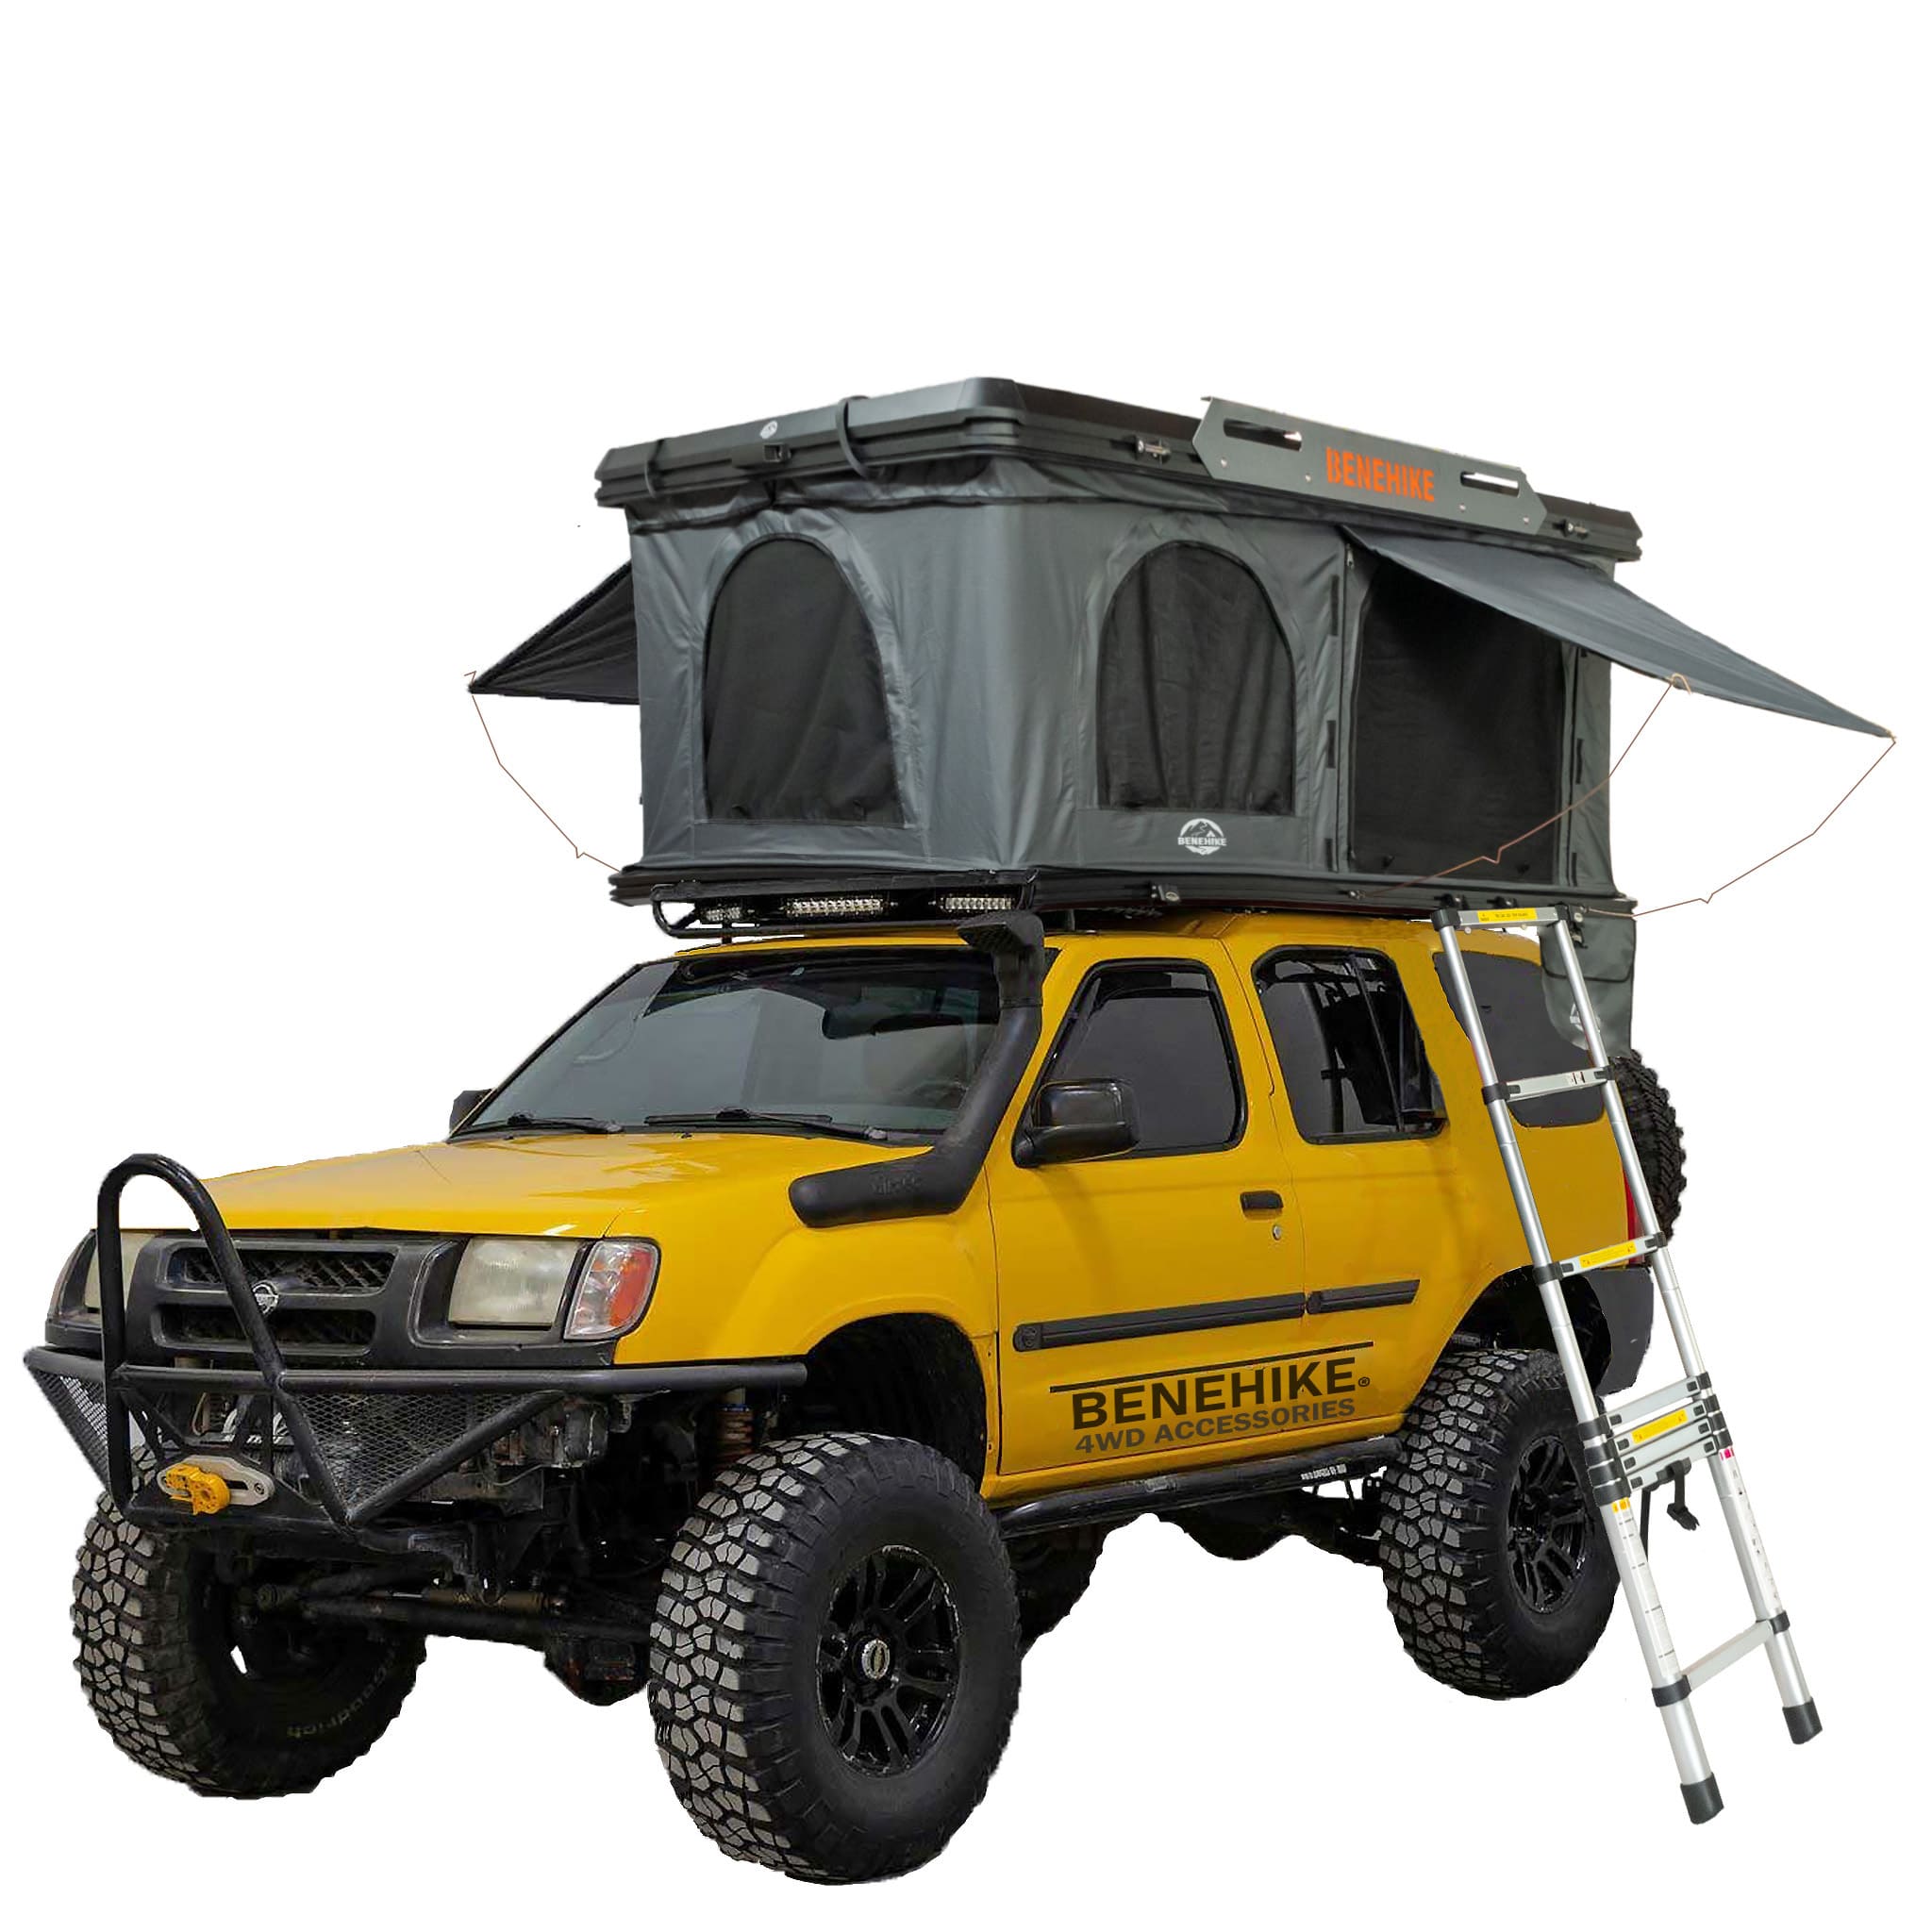
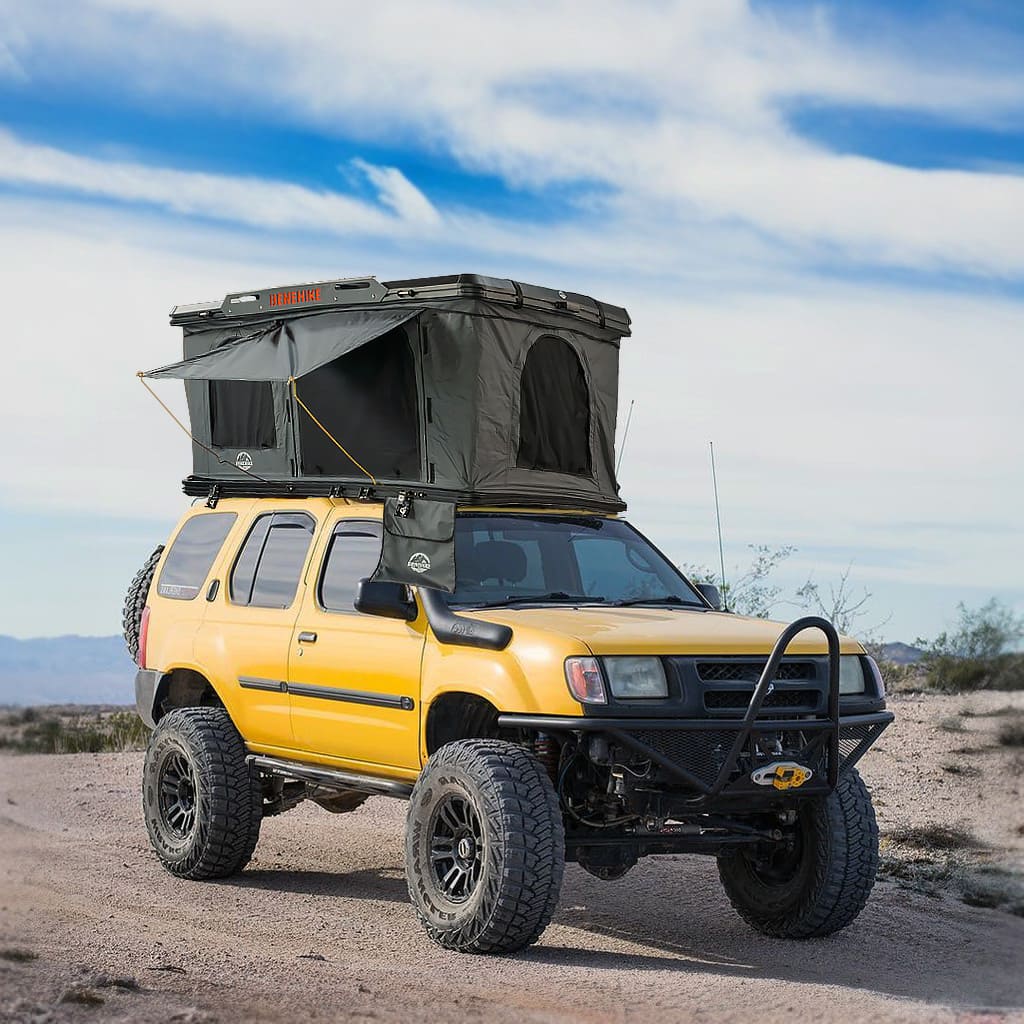
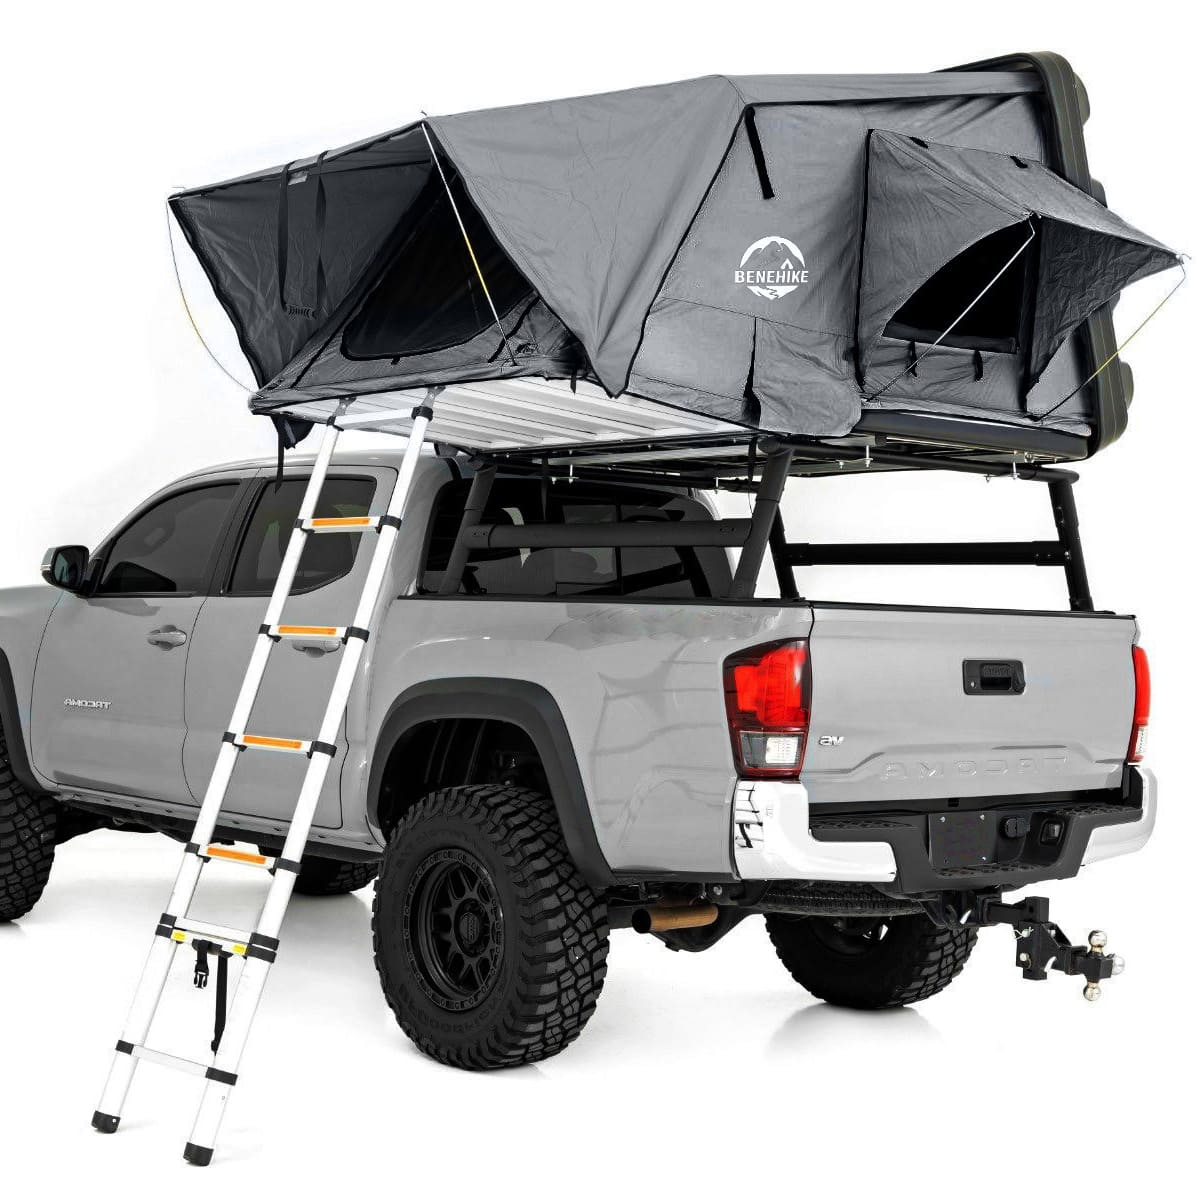
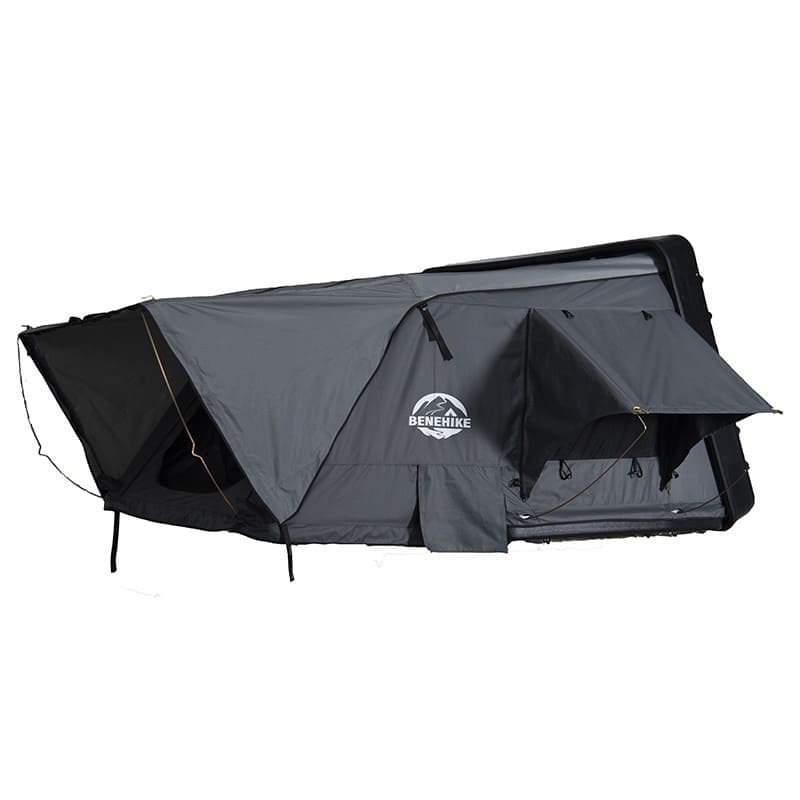
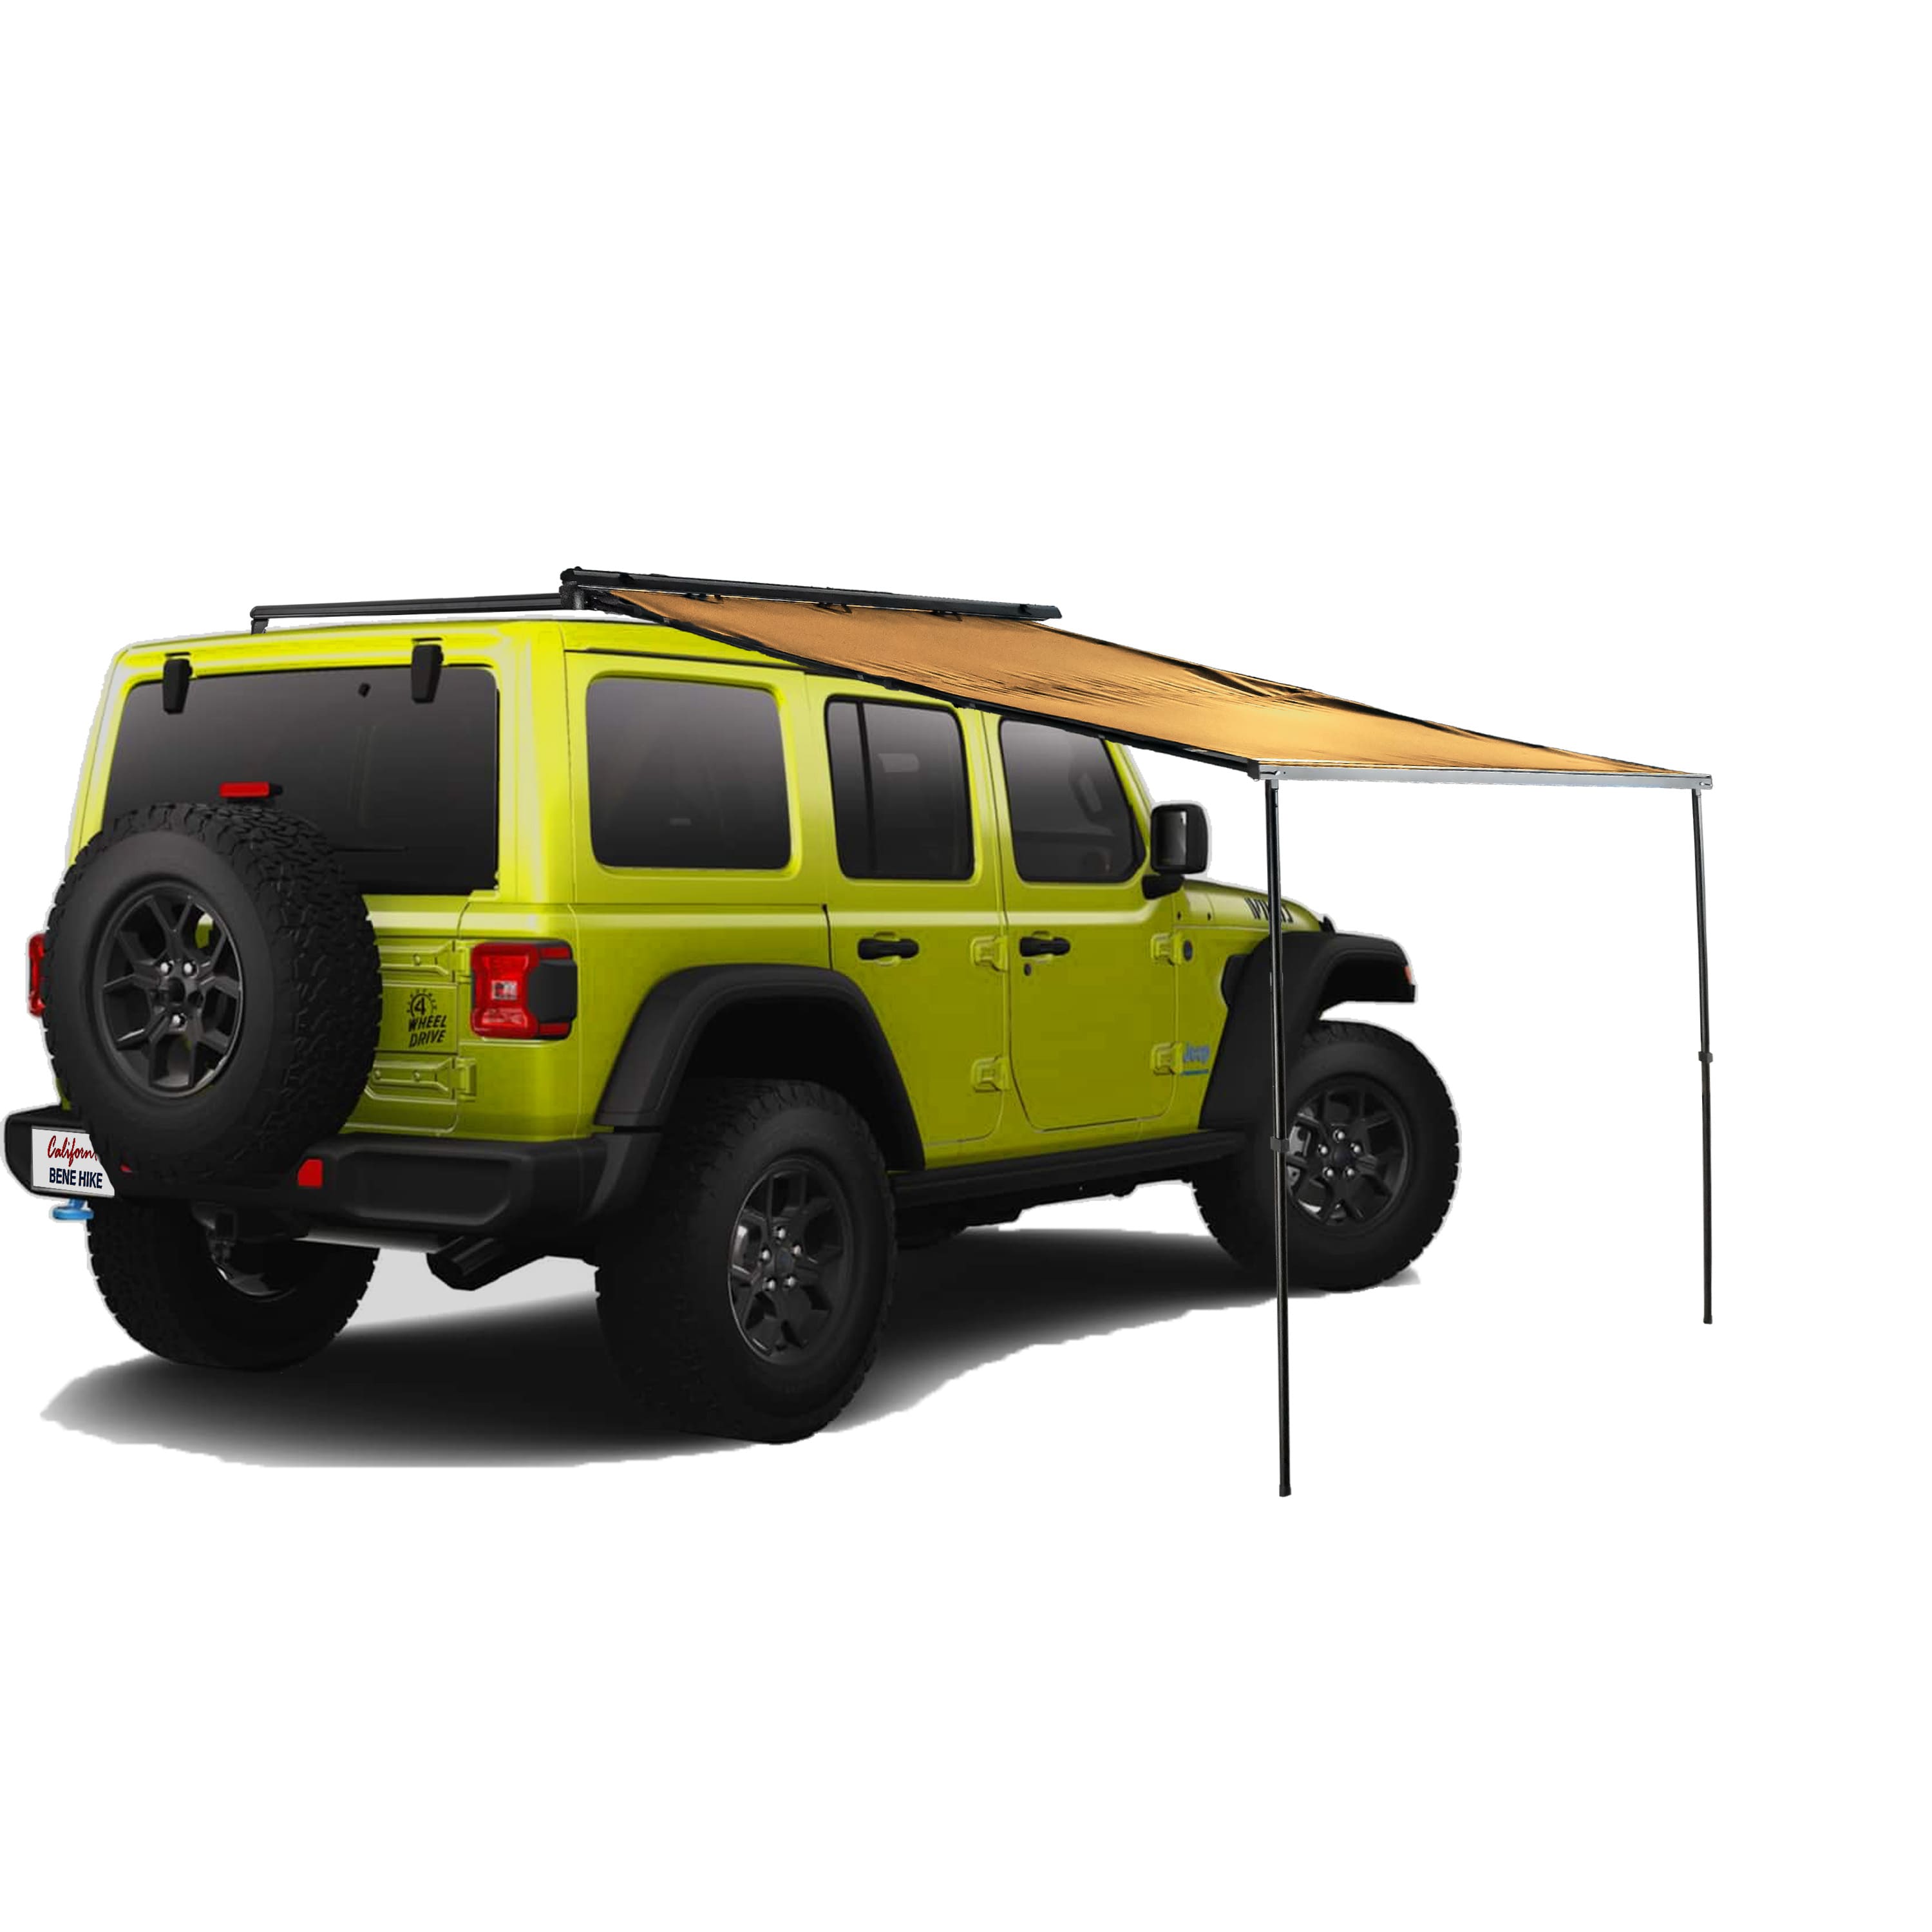
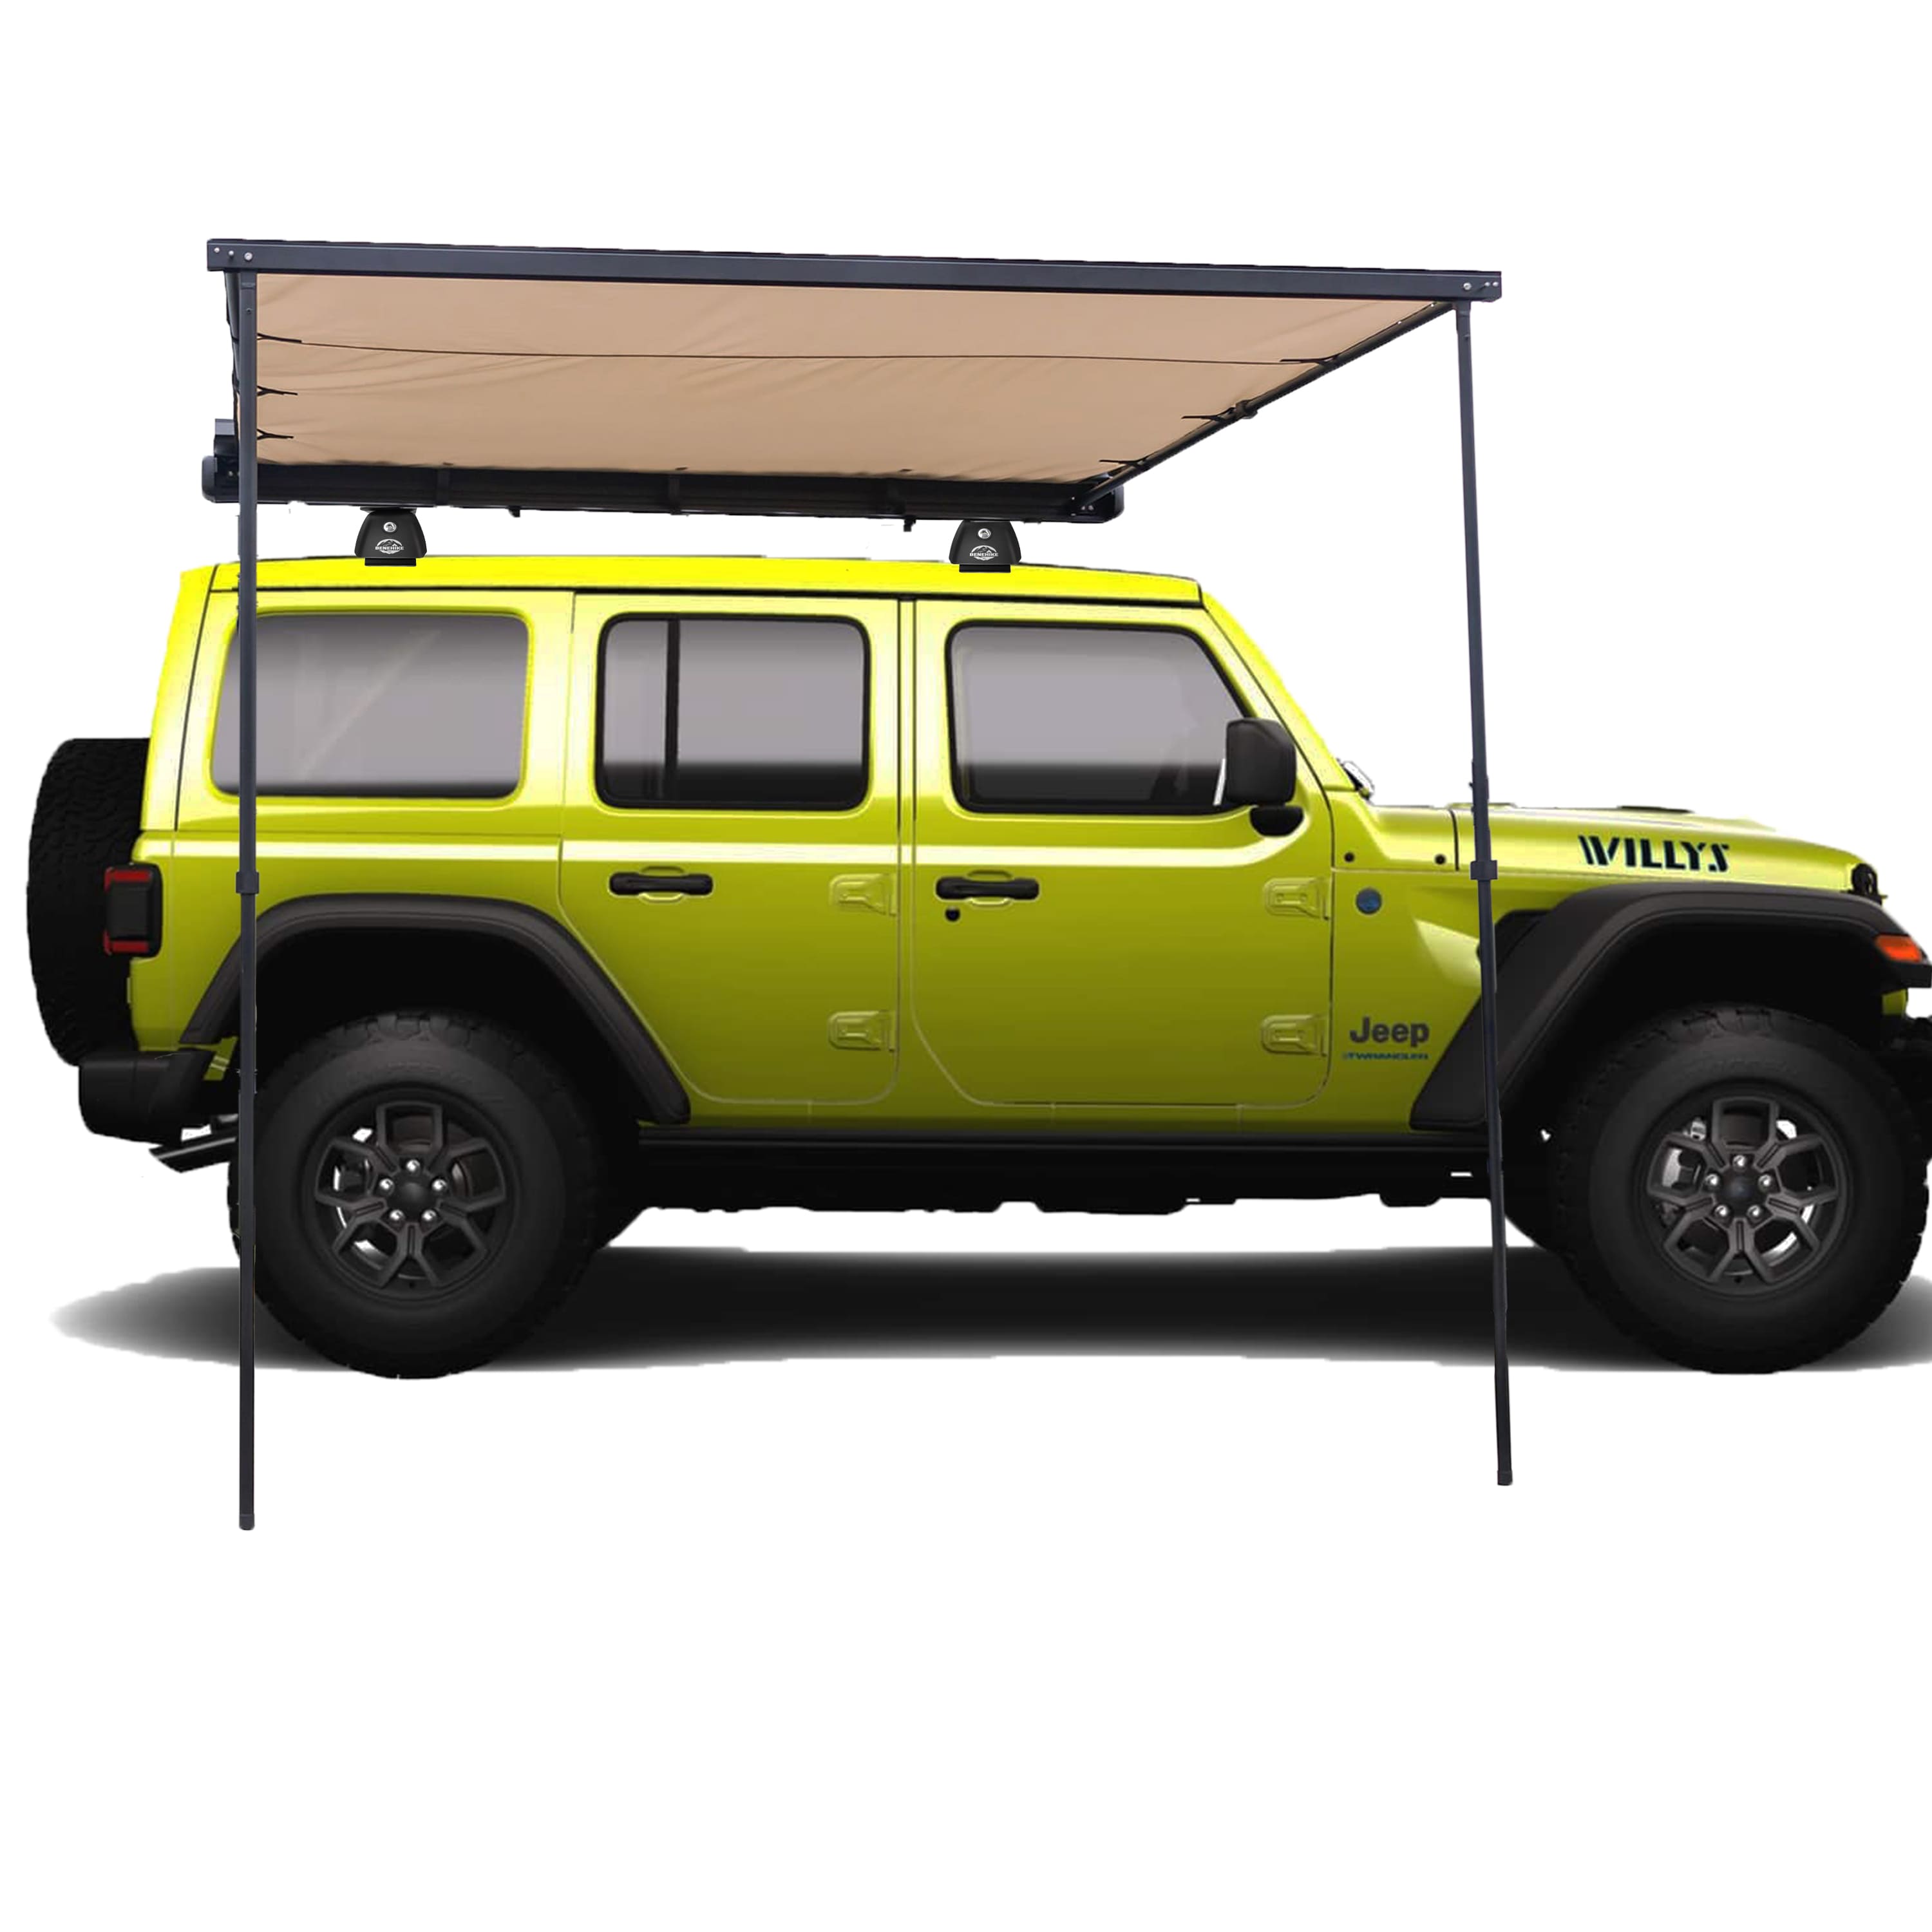
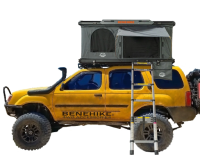
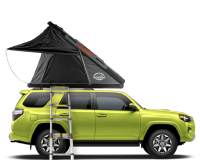
The very first step is choosing the right rooftop tent for your vehicle. There are several factors to consider:
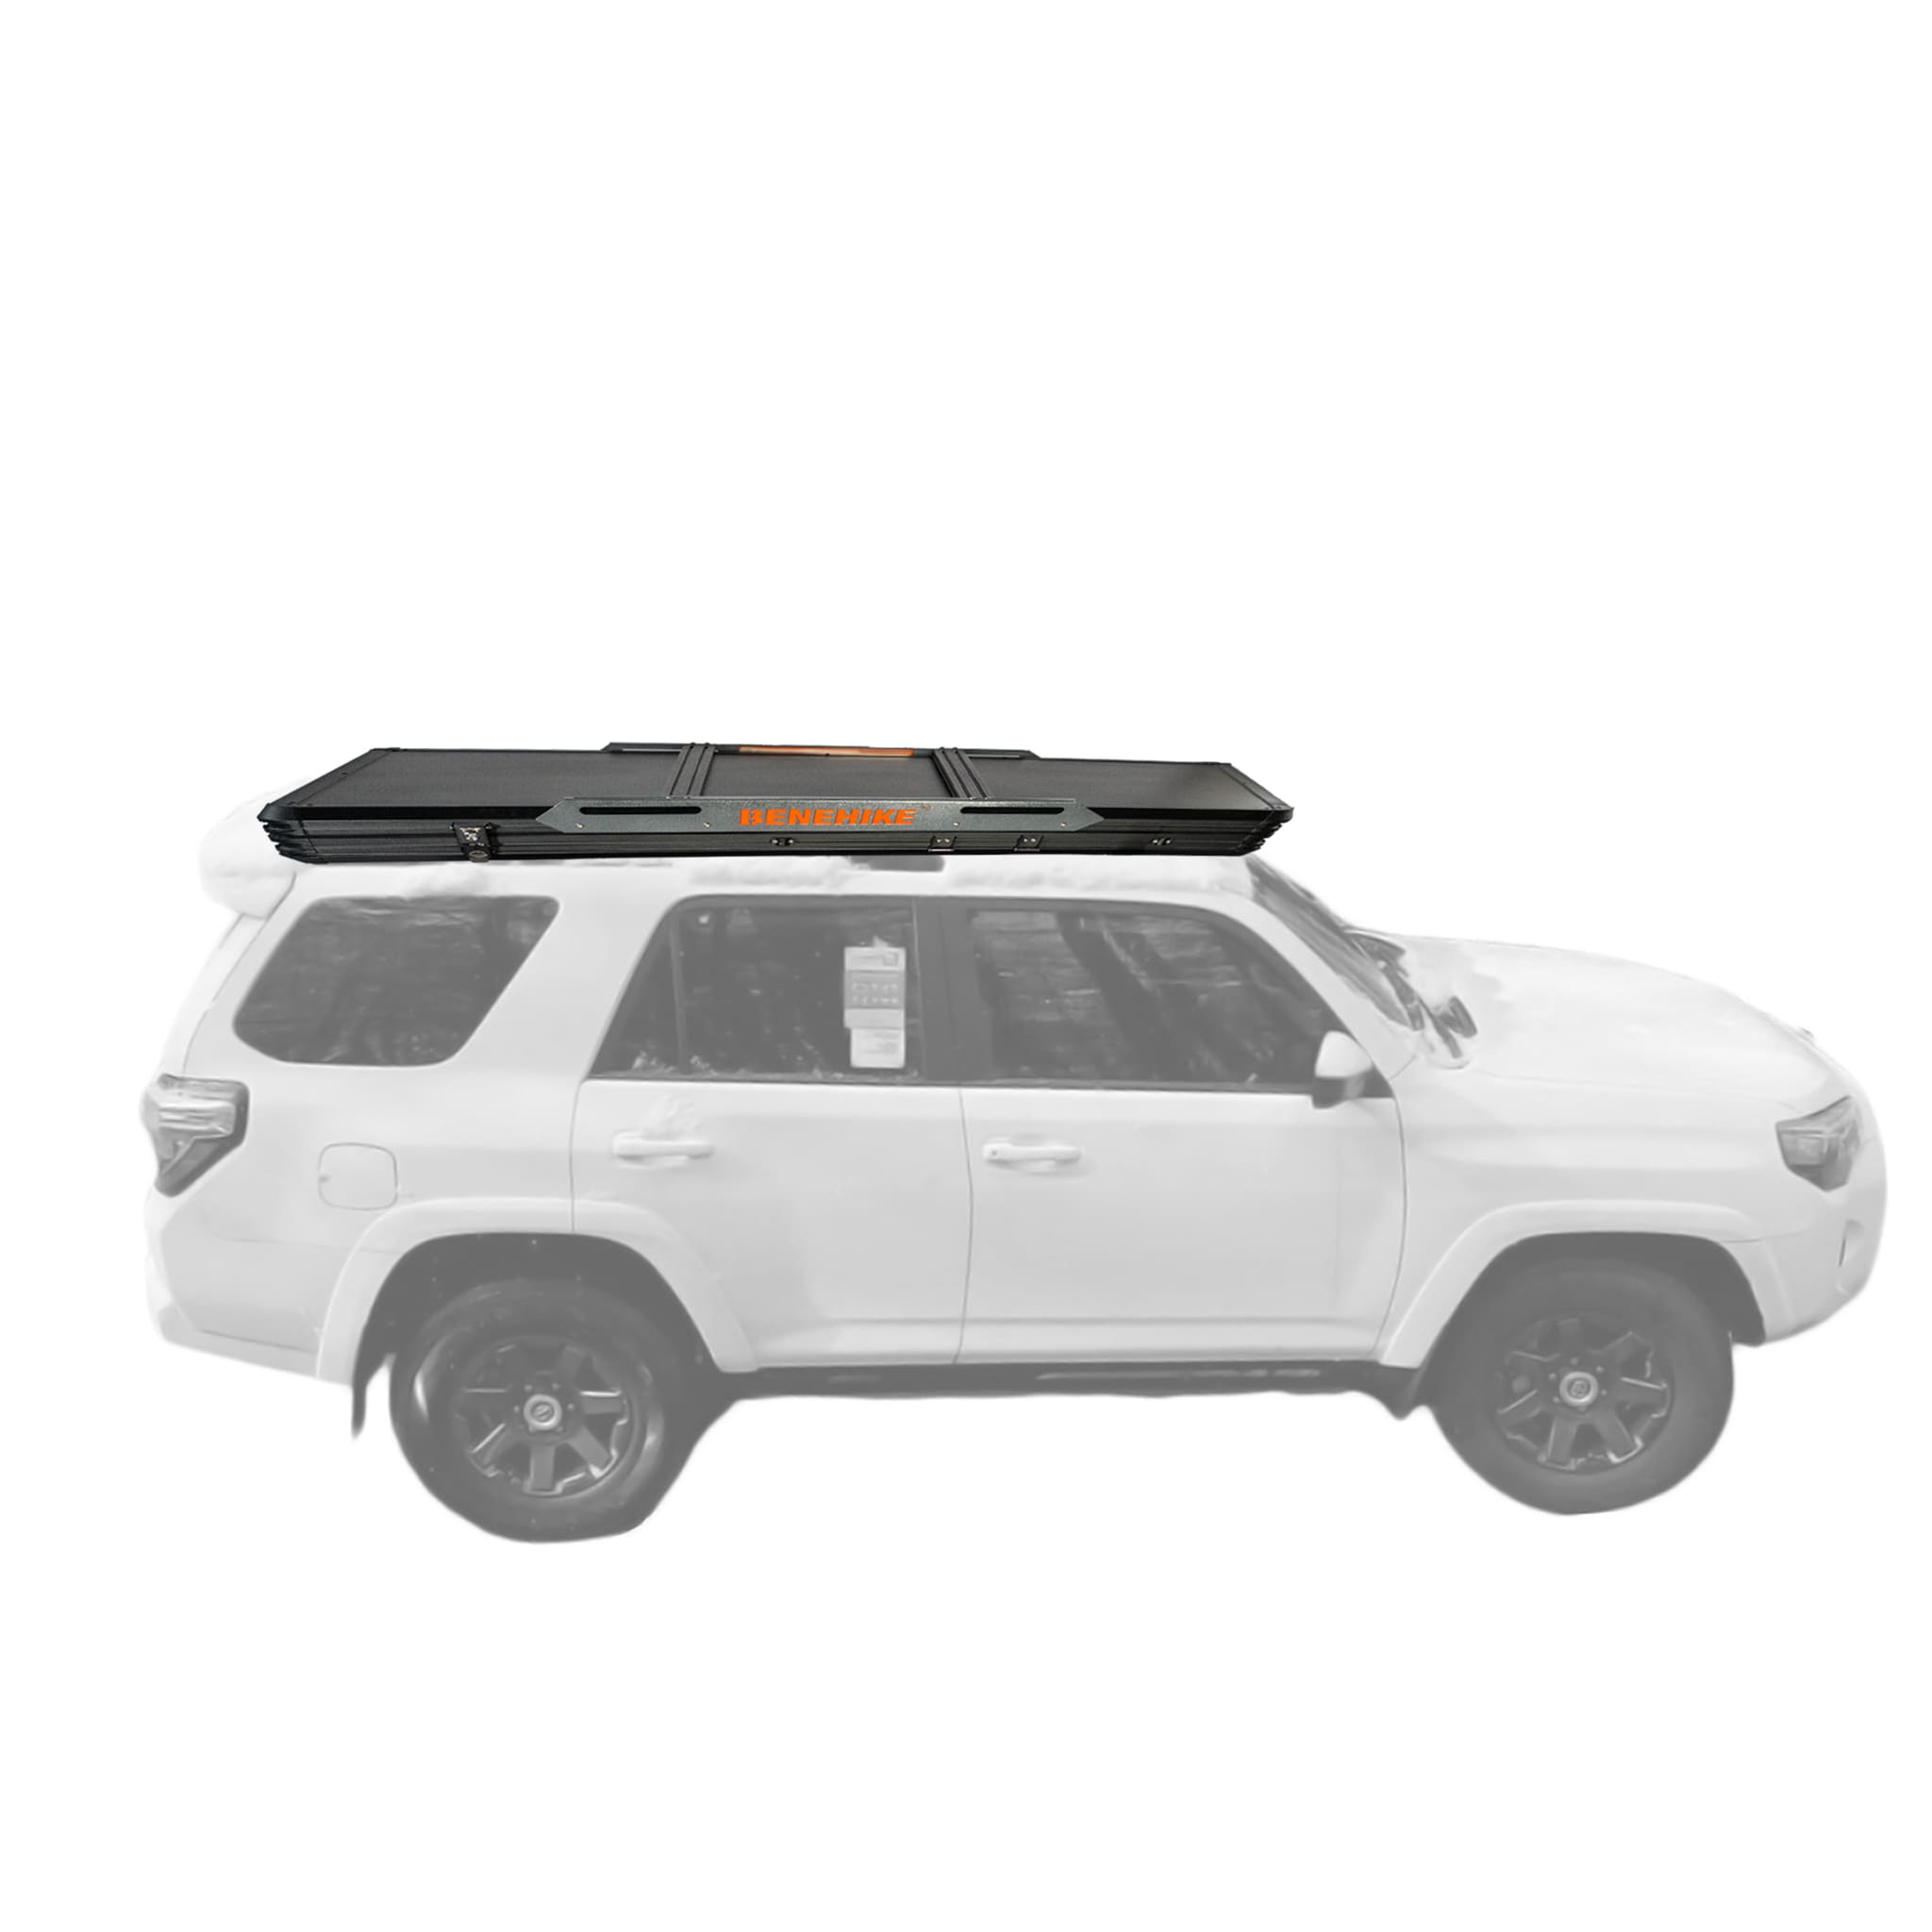
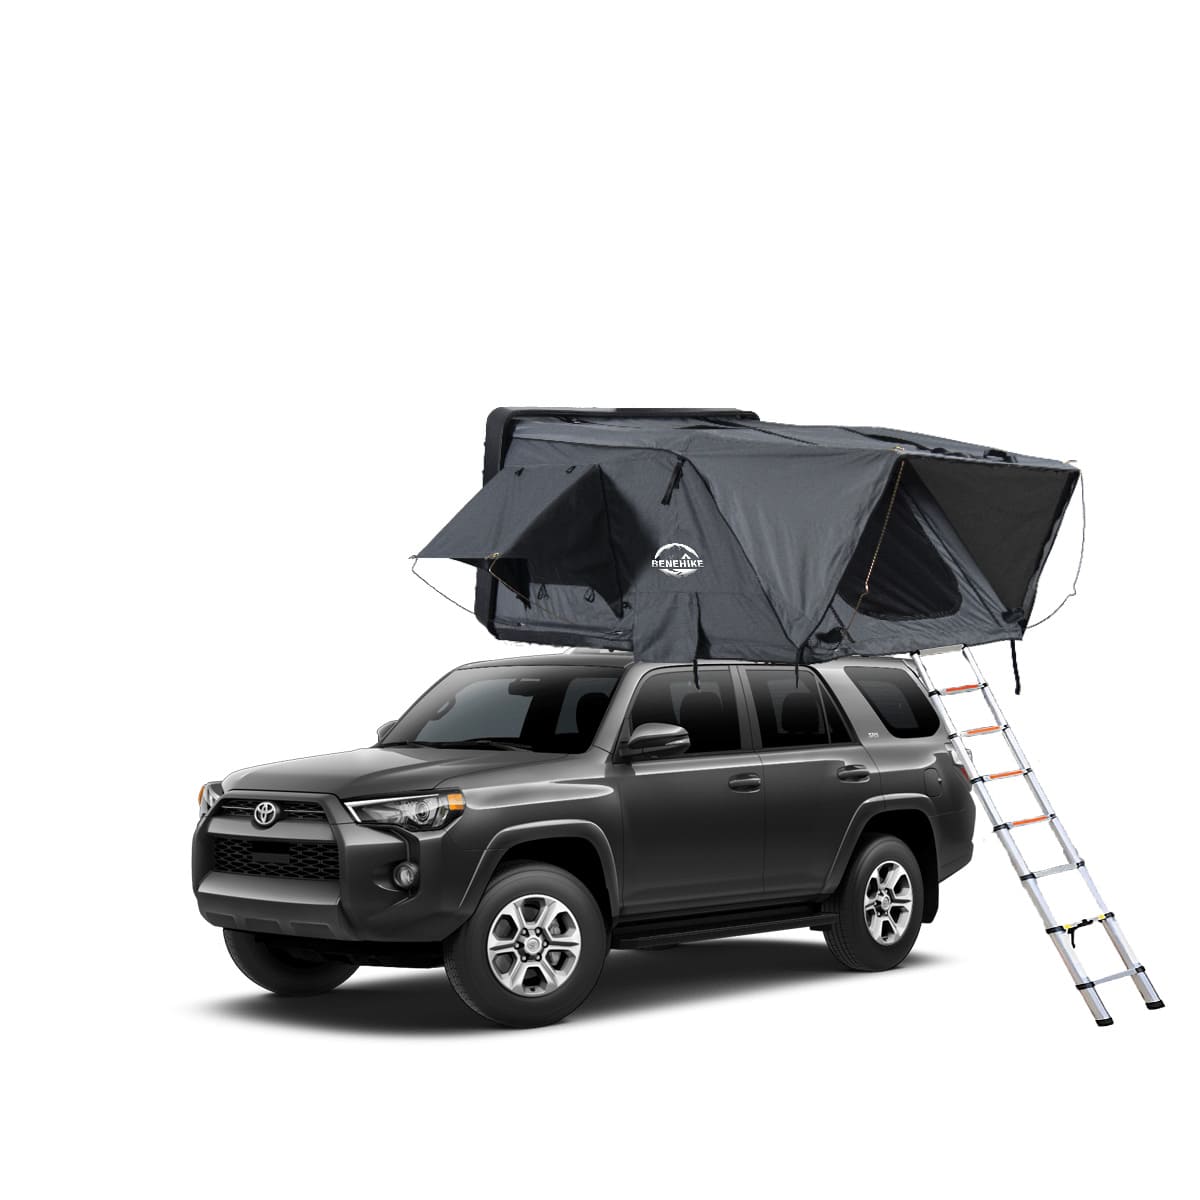
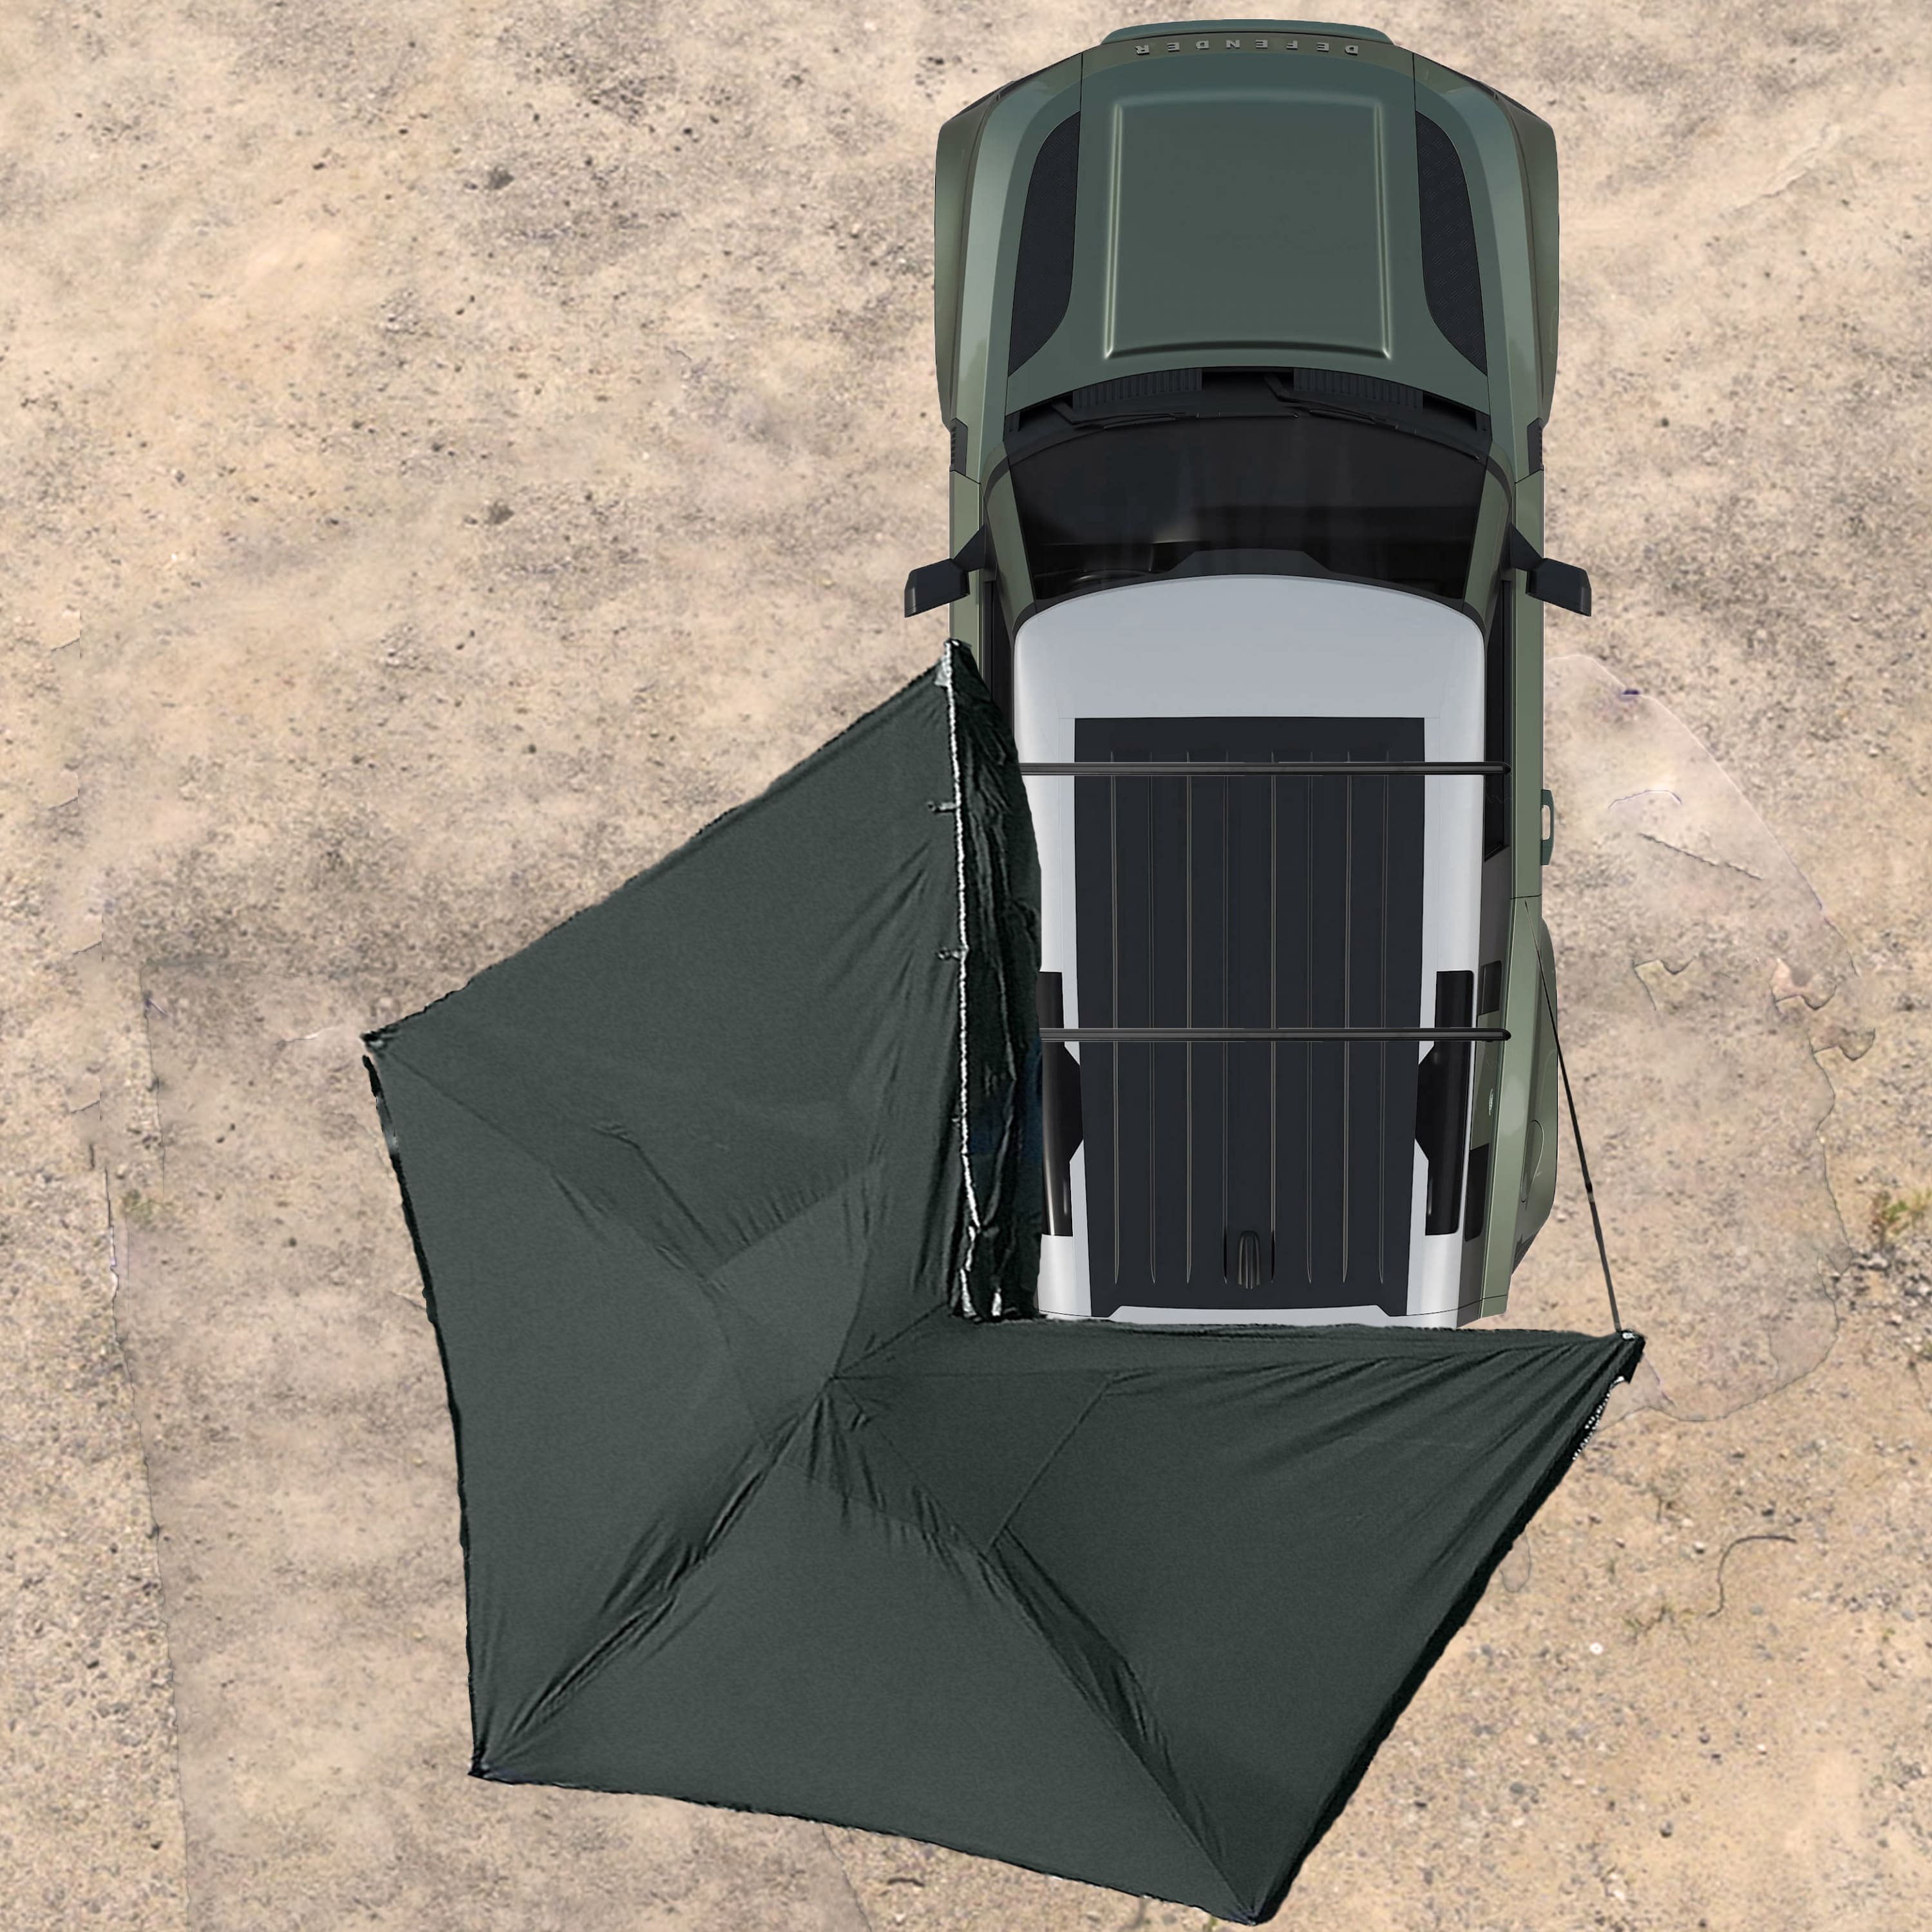
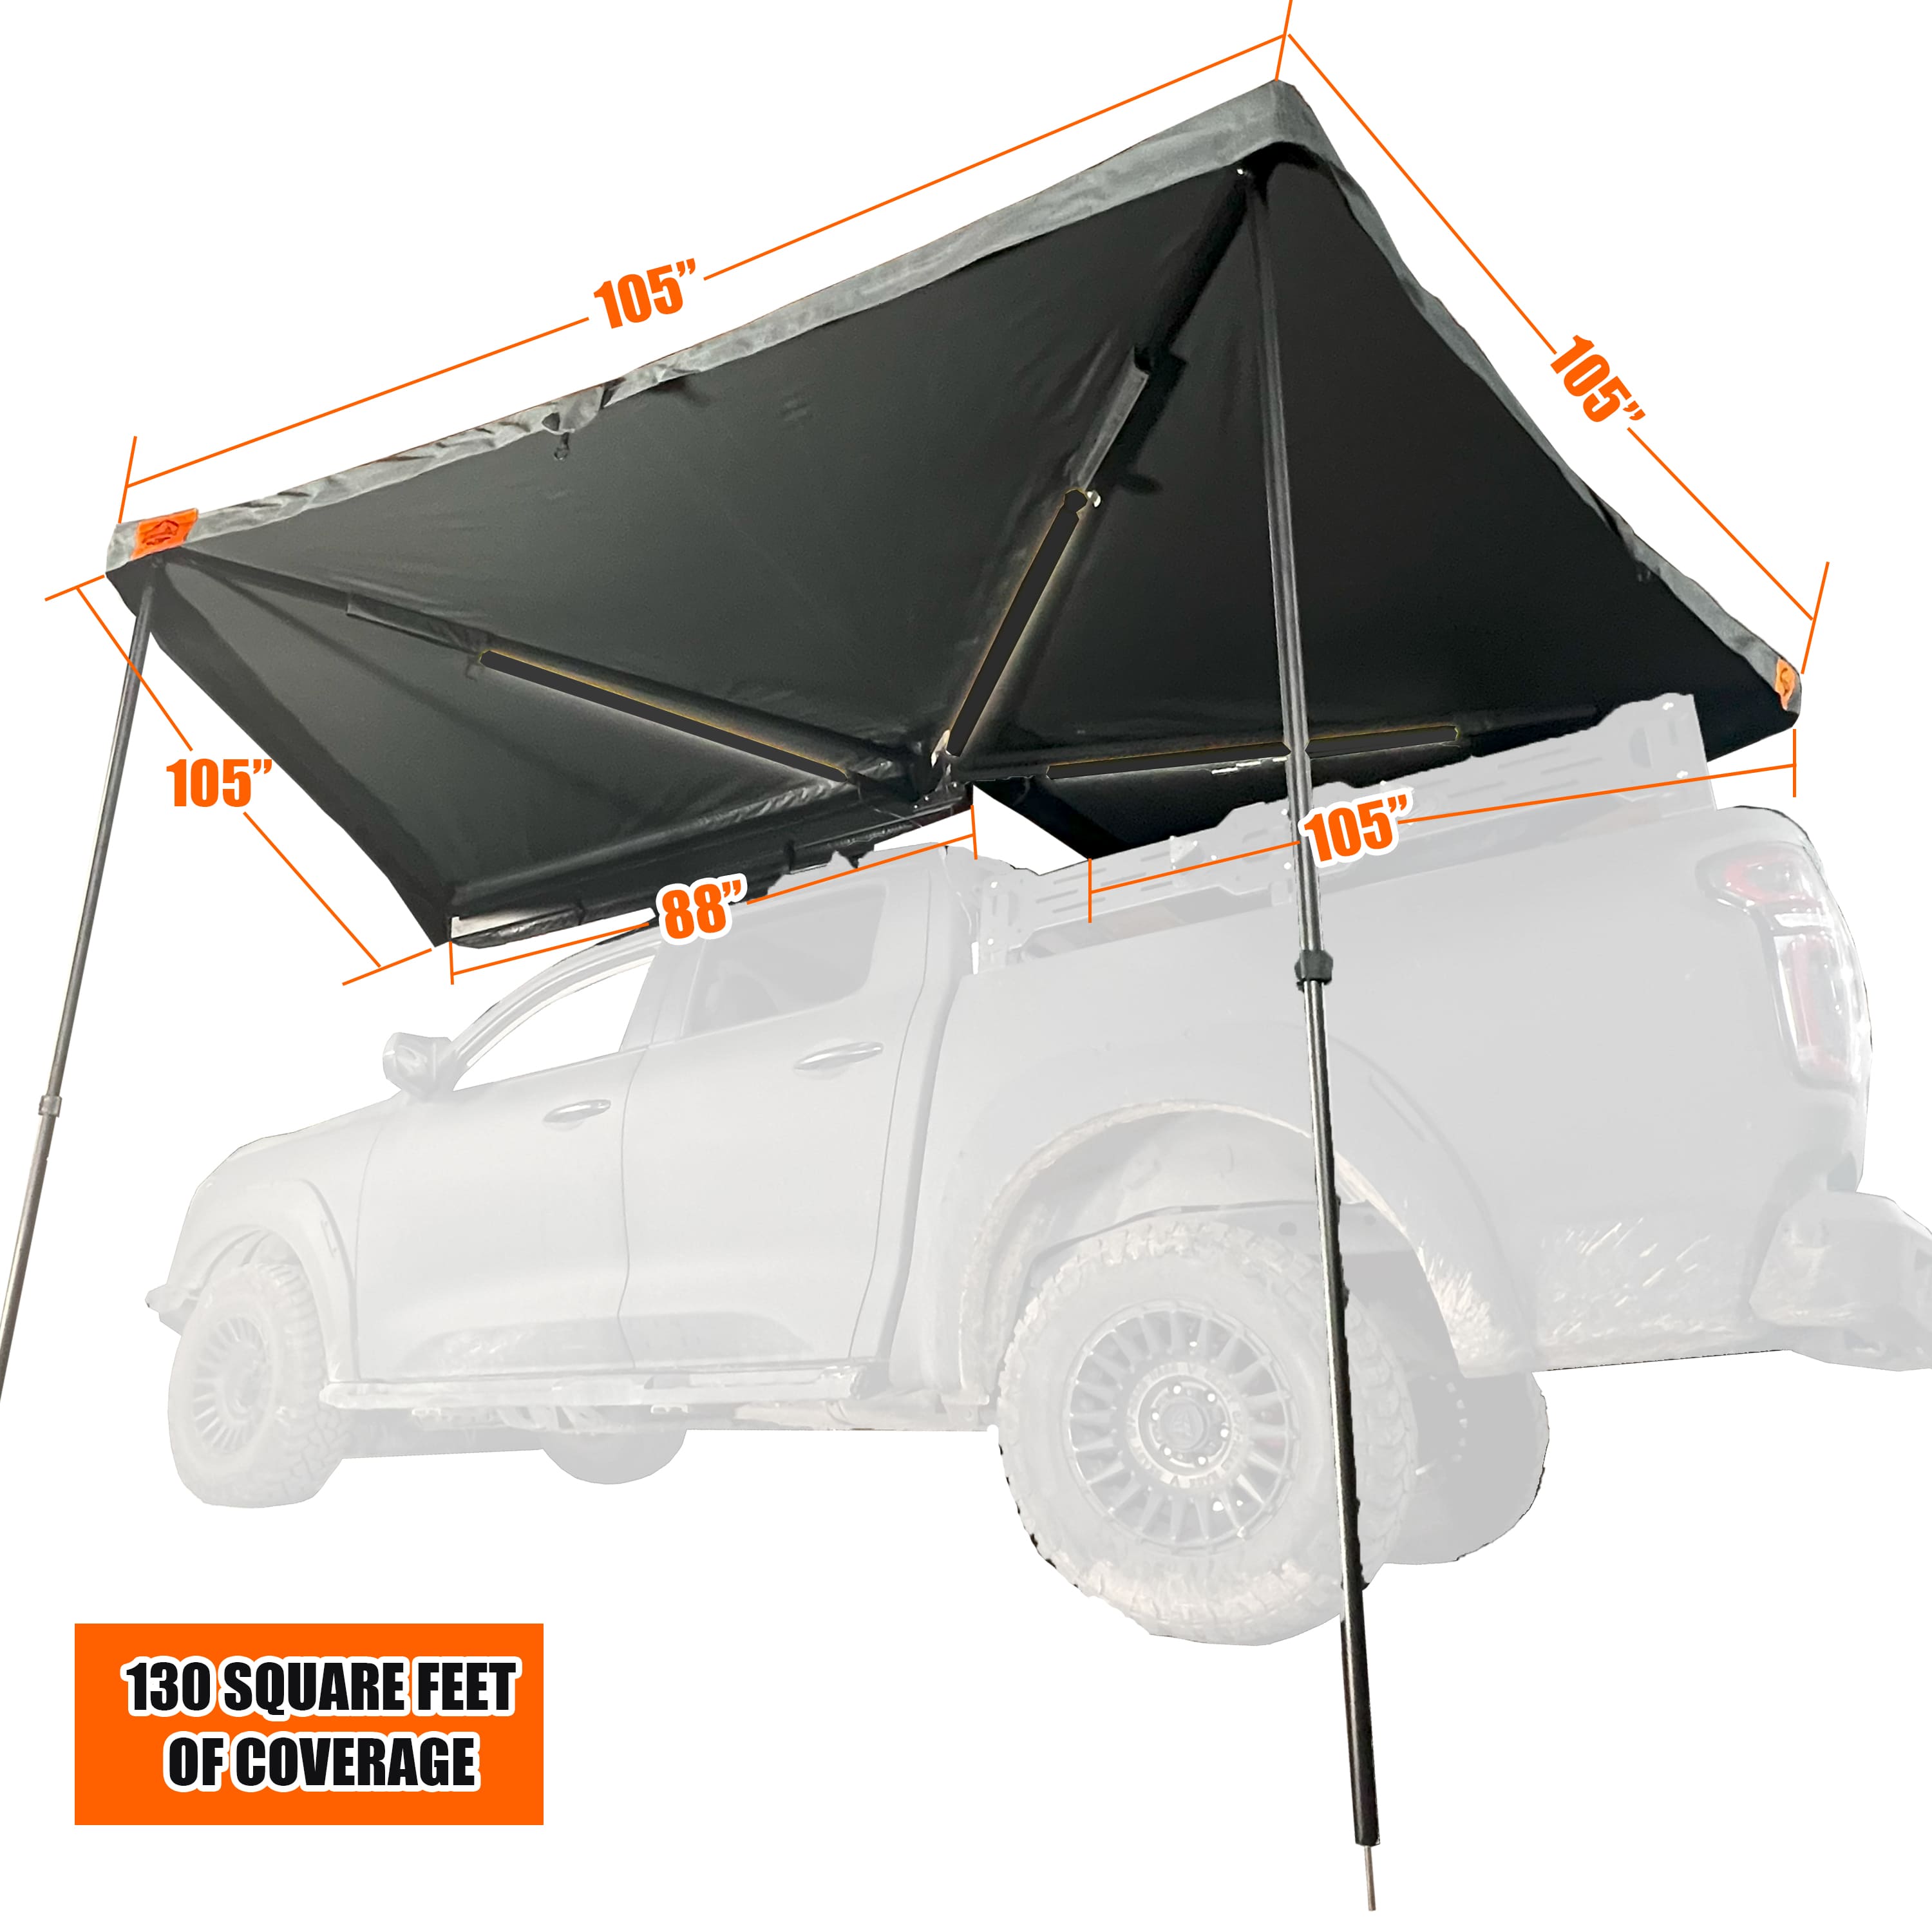
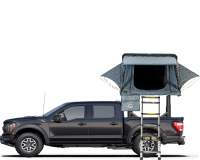
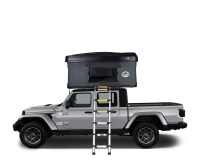
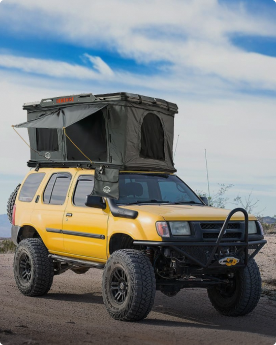
- Your Vehicle Type - Roof top tents come in various sizes to fit different vehicle types, from Compact SUVs to Full Size Trucks. Measure your vehicle's roof area and height clearance to determine the tent size that will fit best.
- Vehicle Roof Shape- Tents are designed for flat, sloping or curved roofs. Measure your roof's curve or slope to ensure the tent will have a tight seal and stable platform.
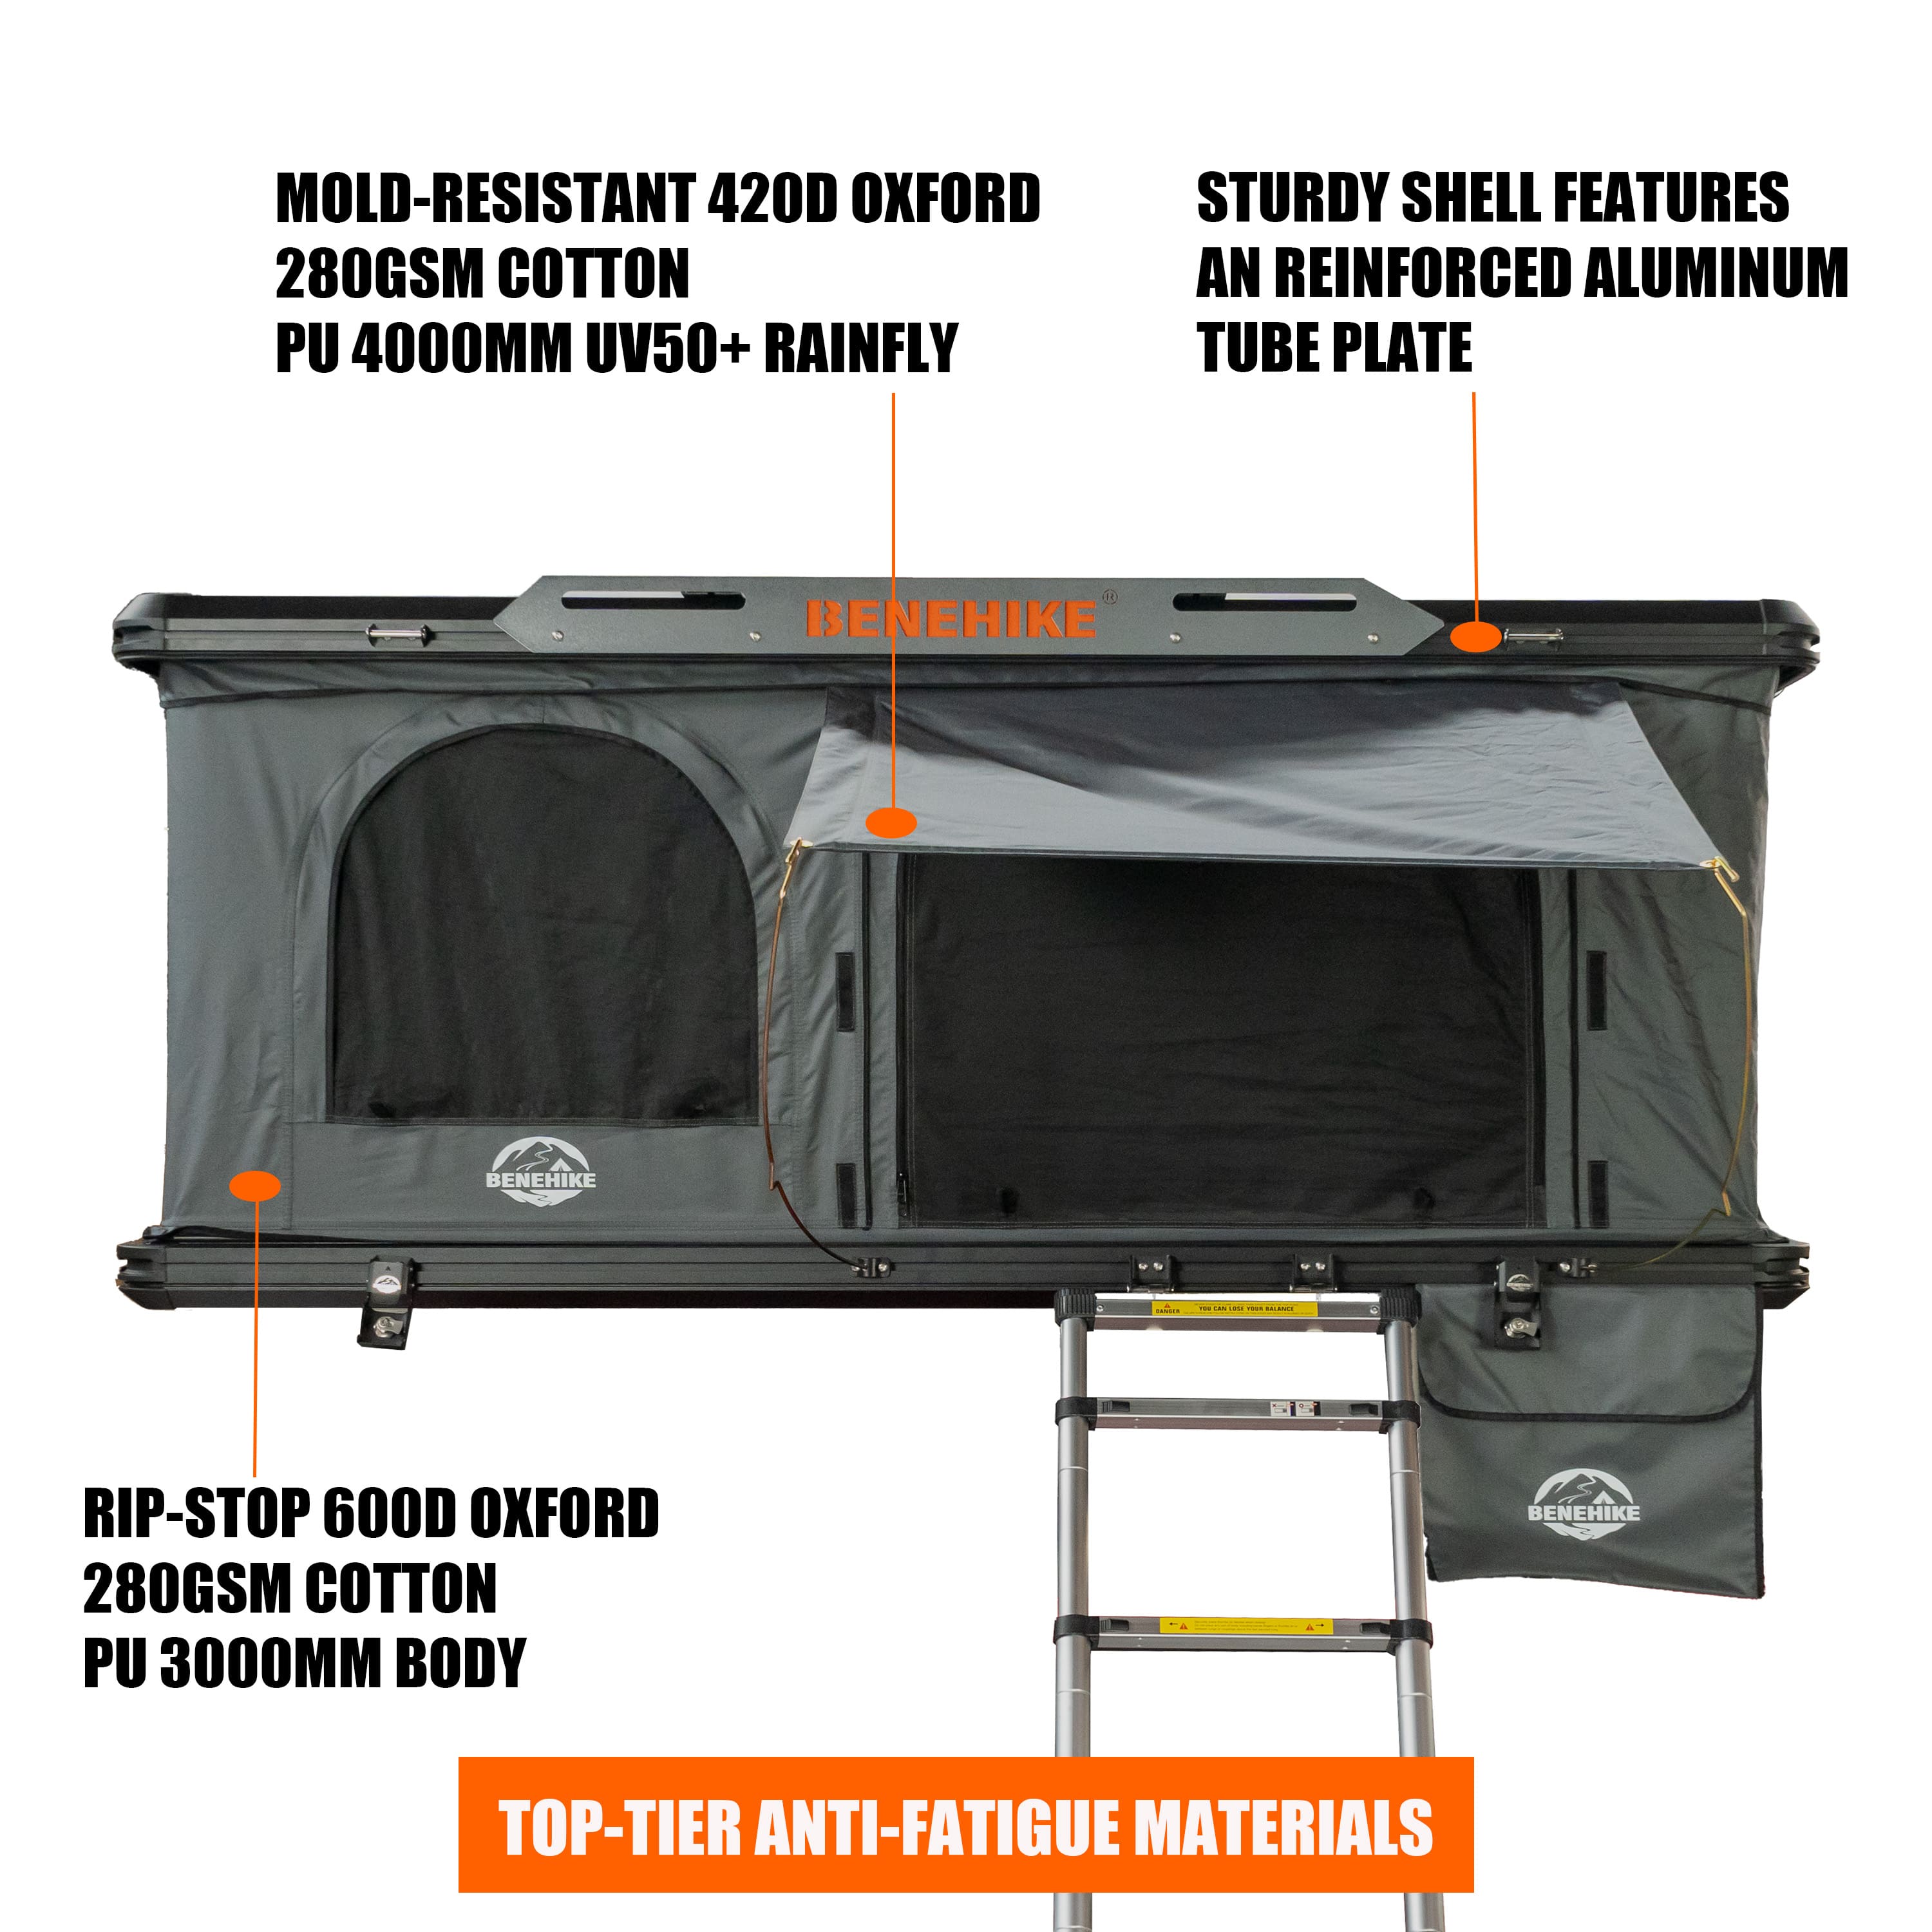
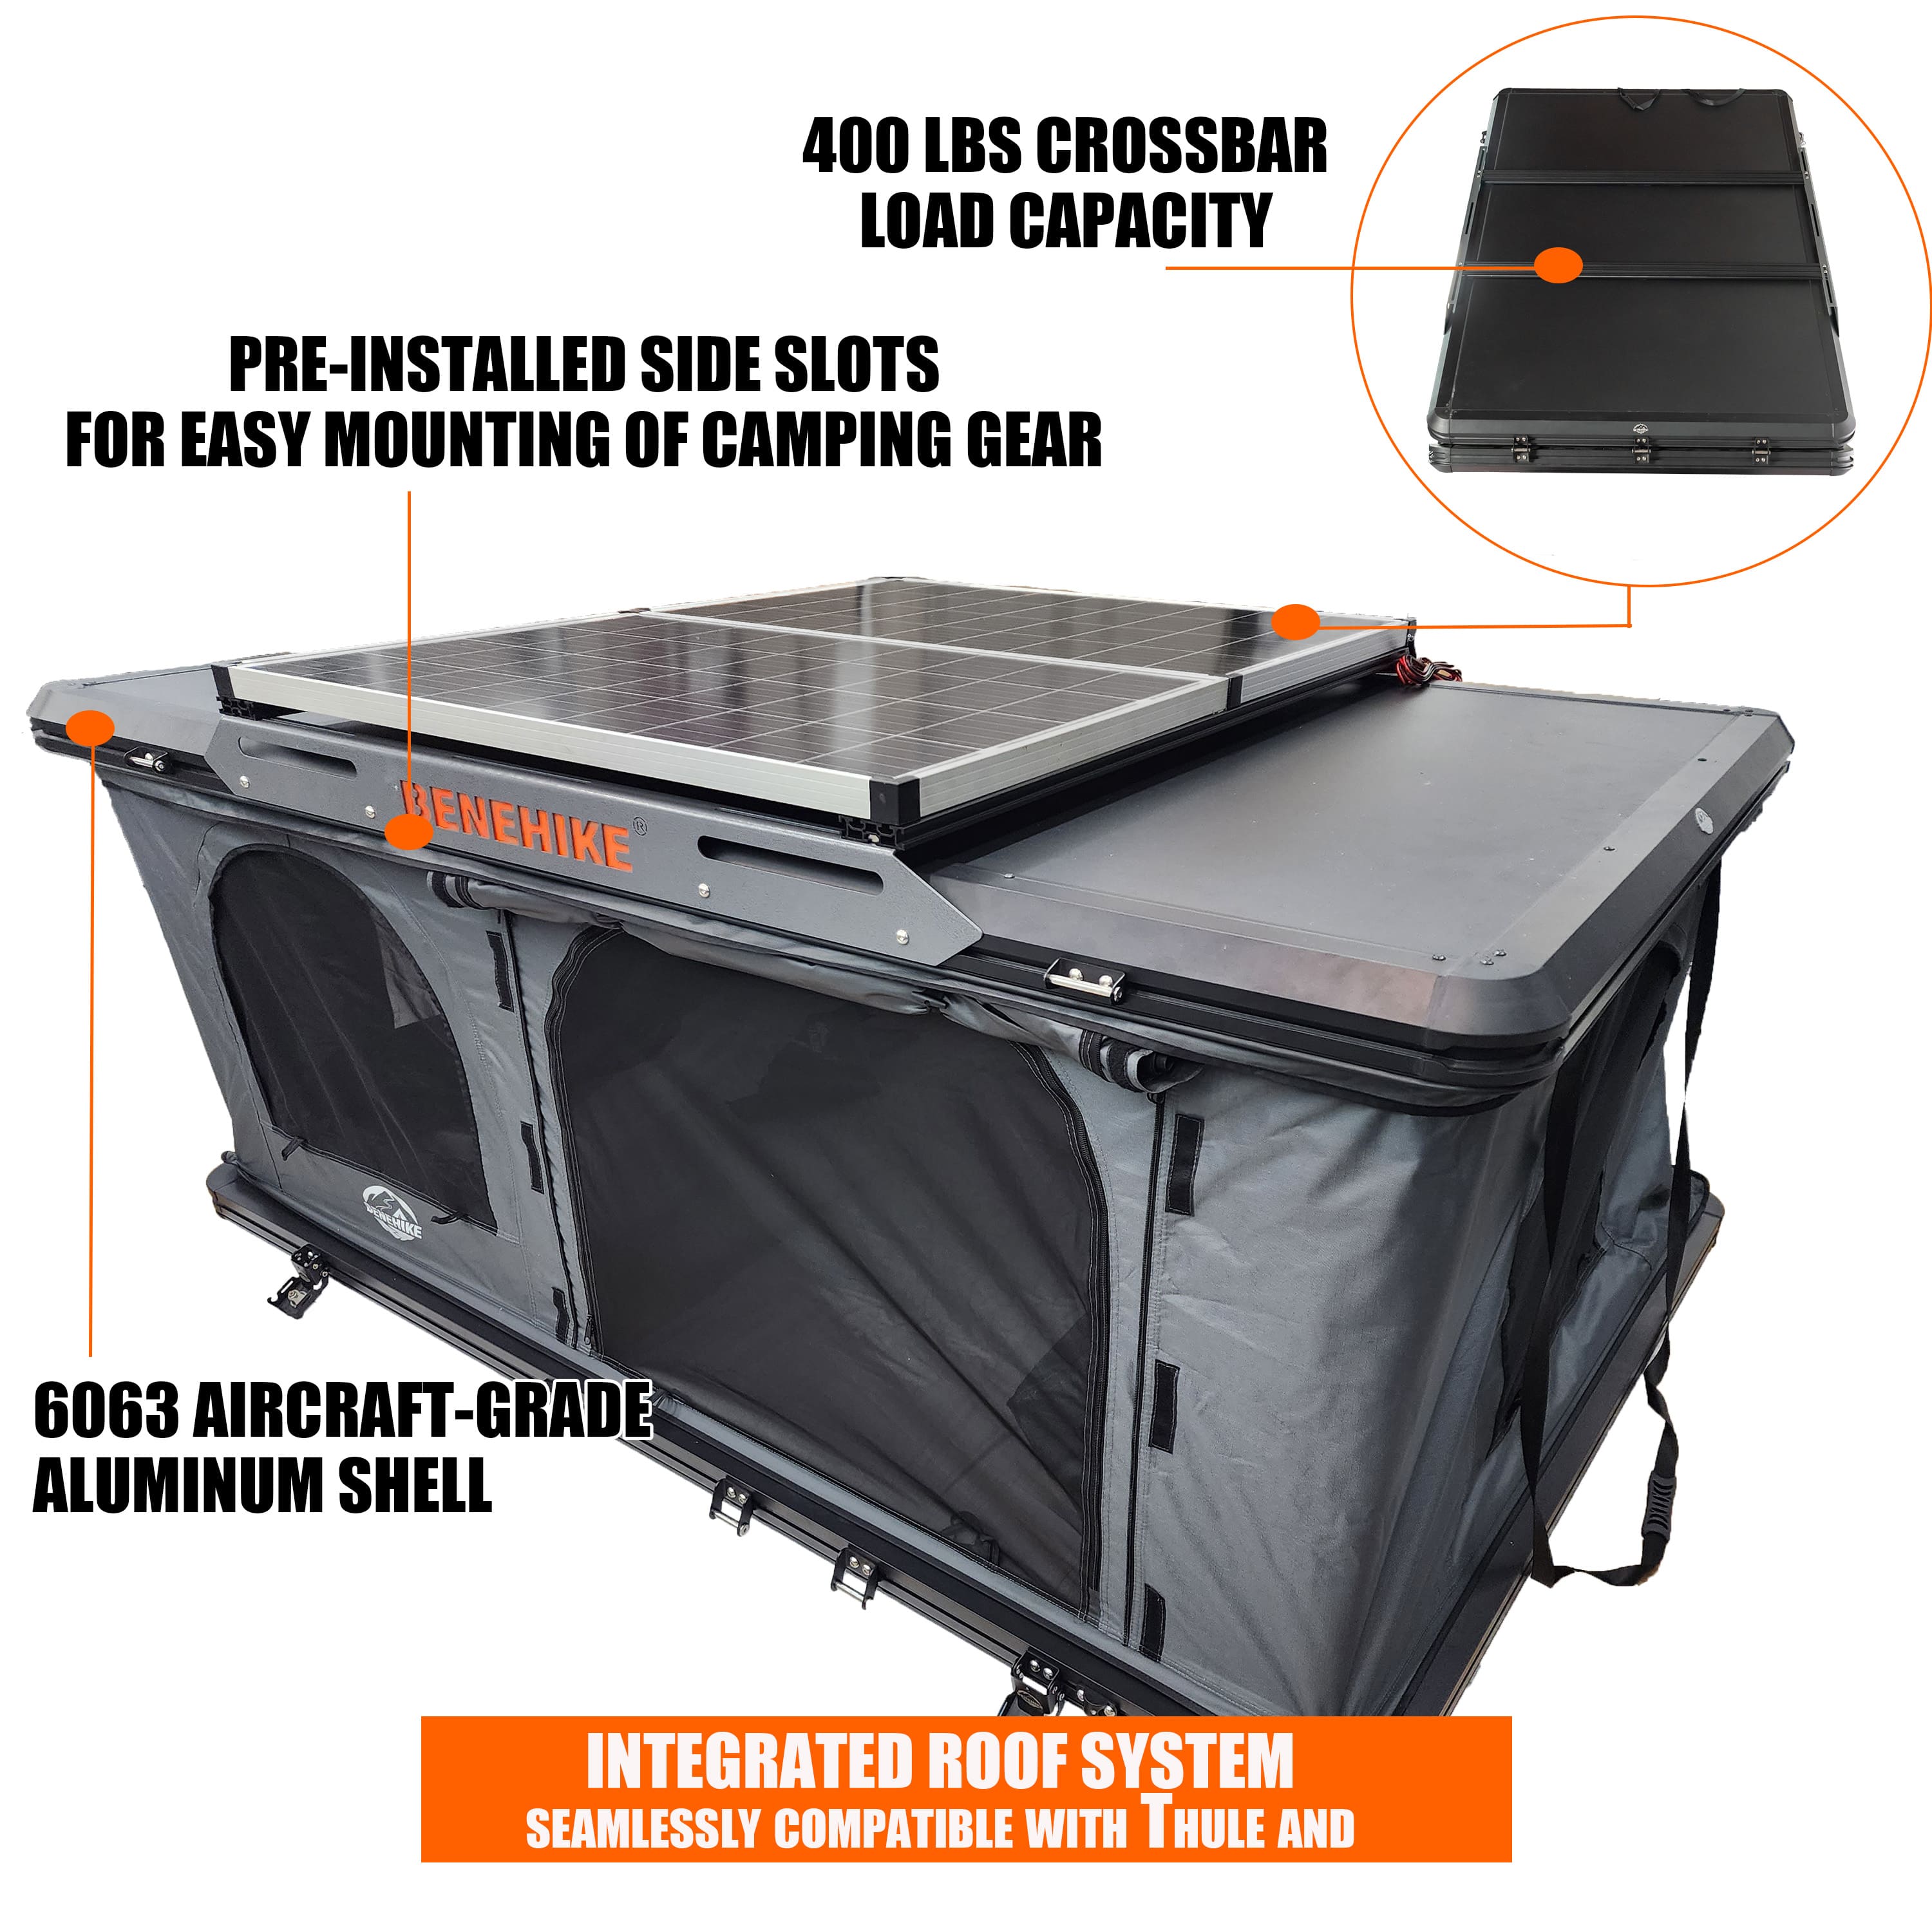
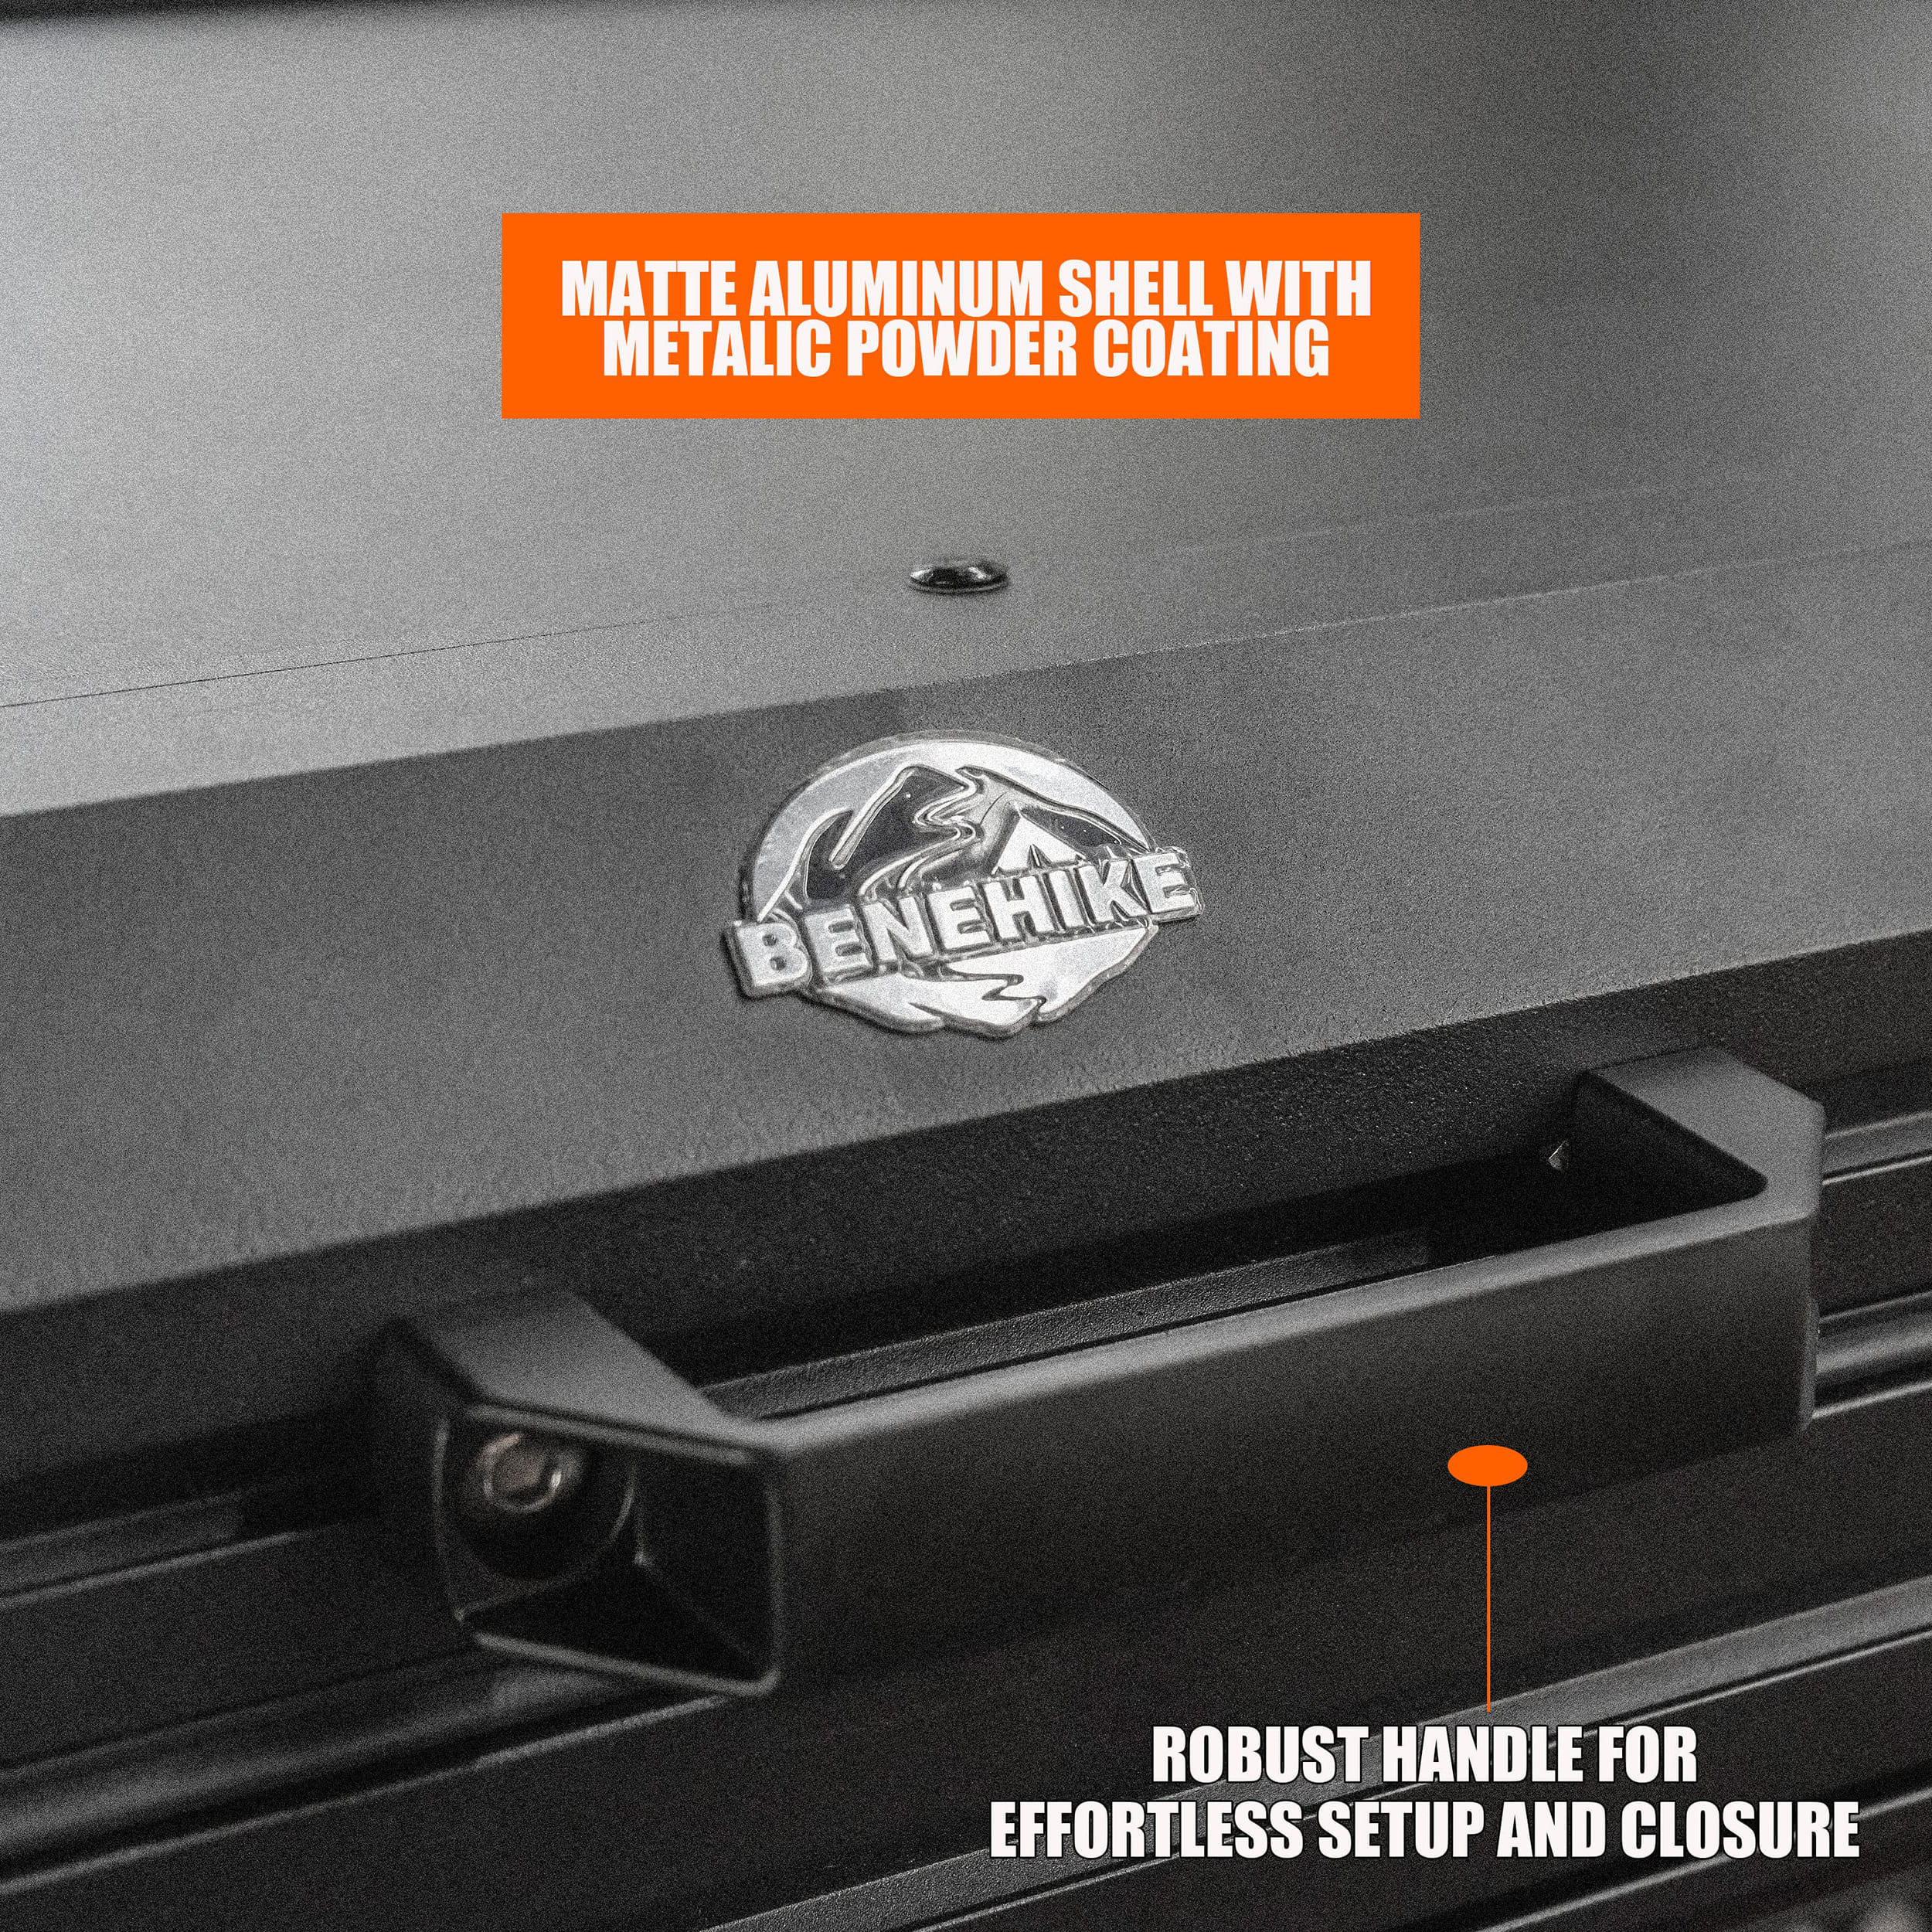
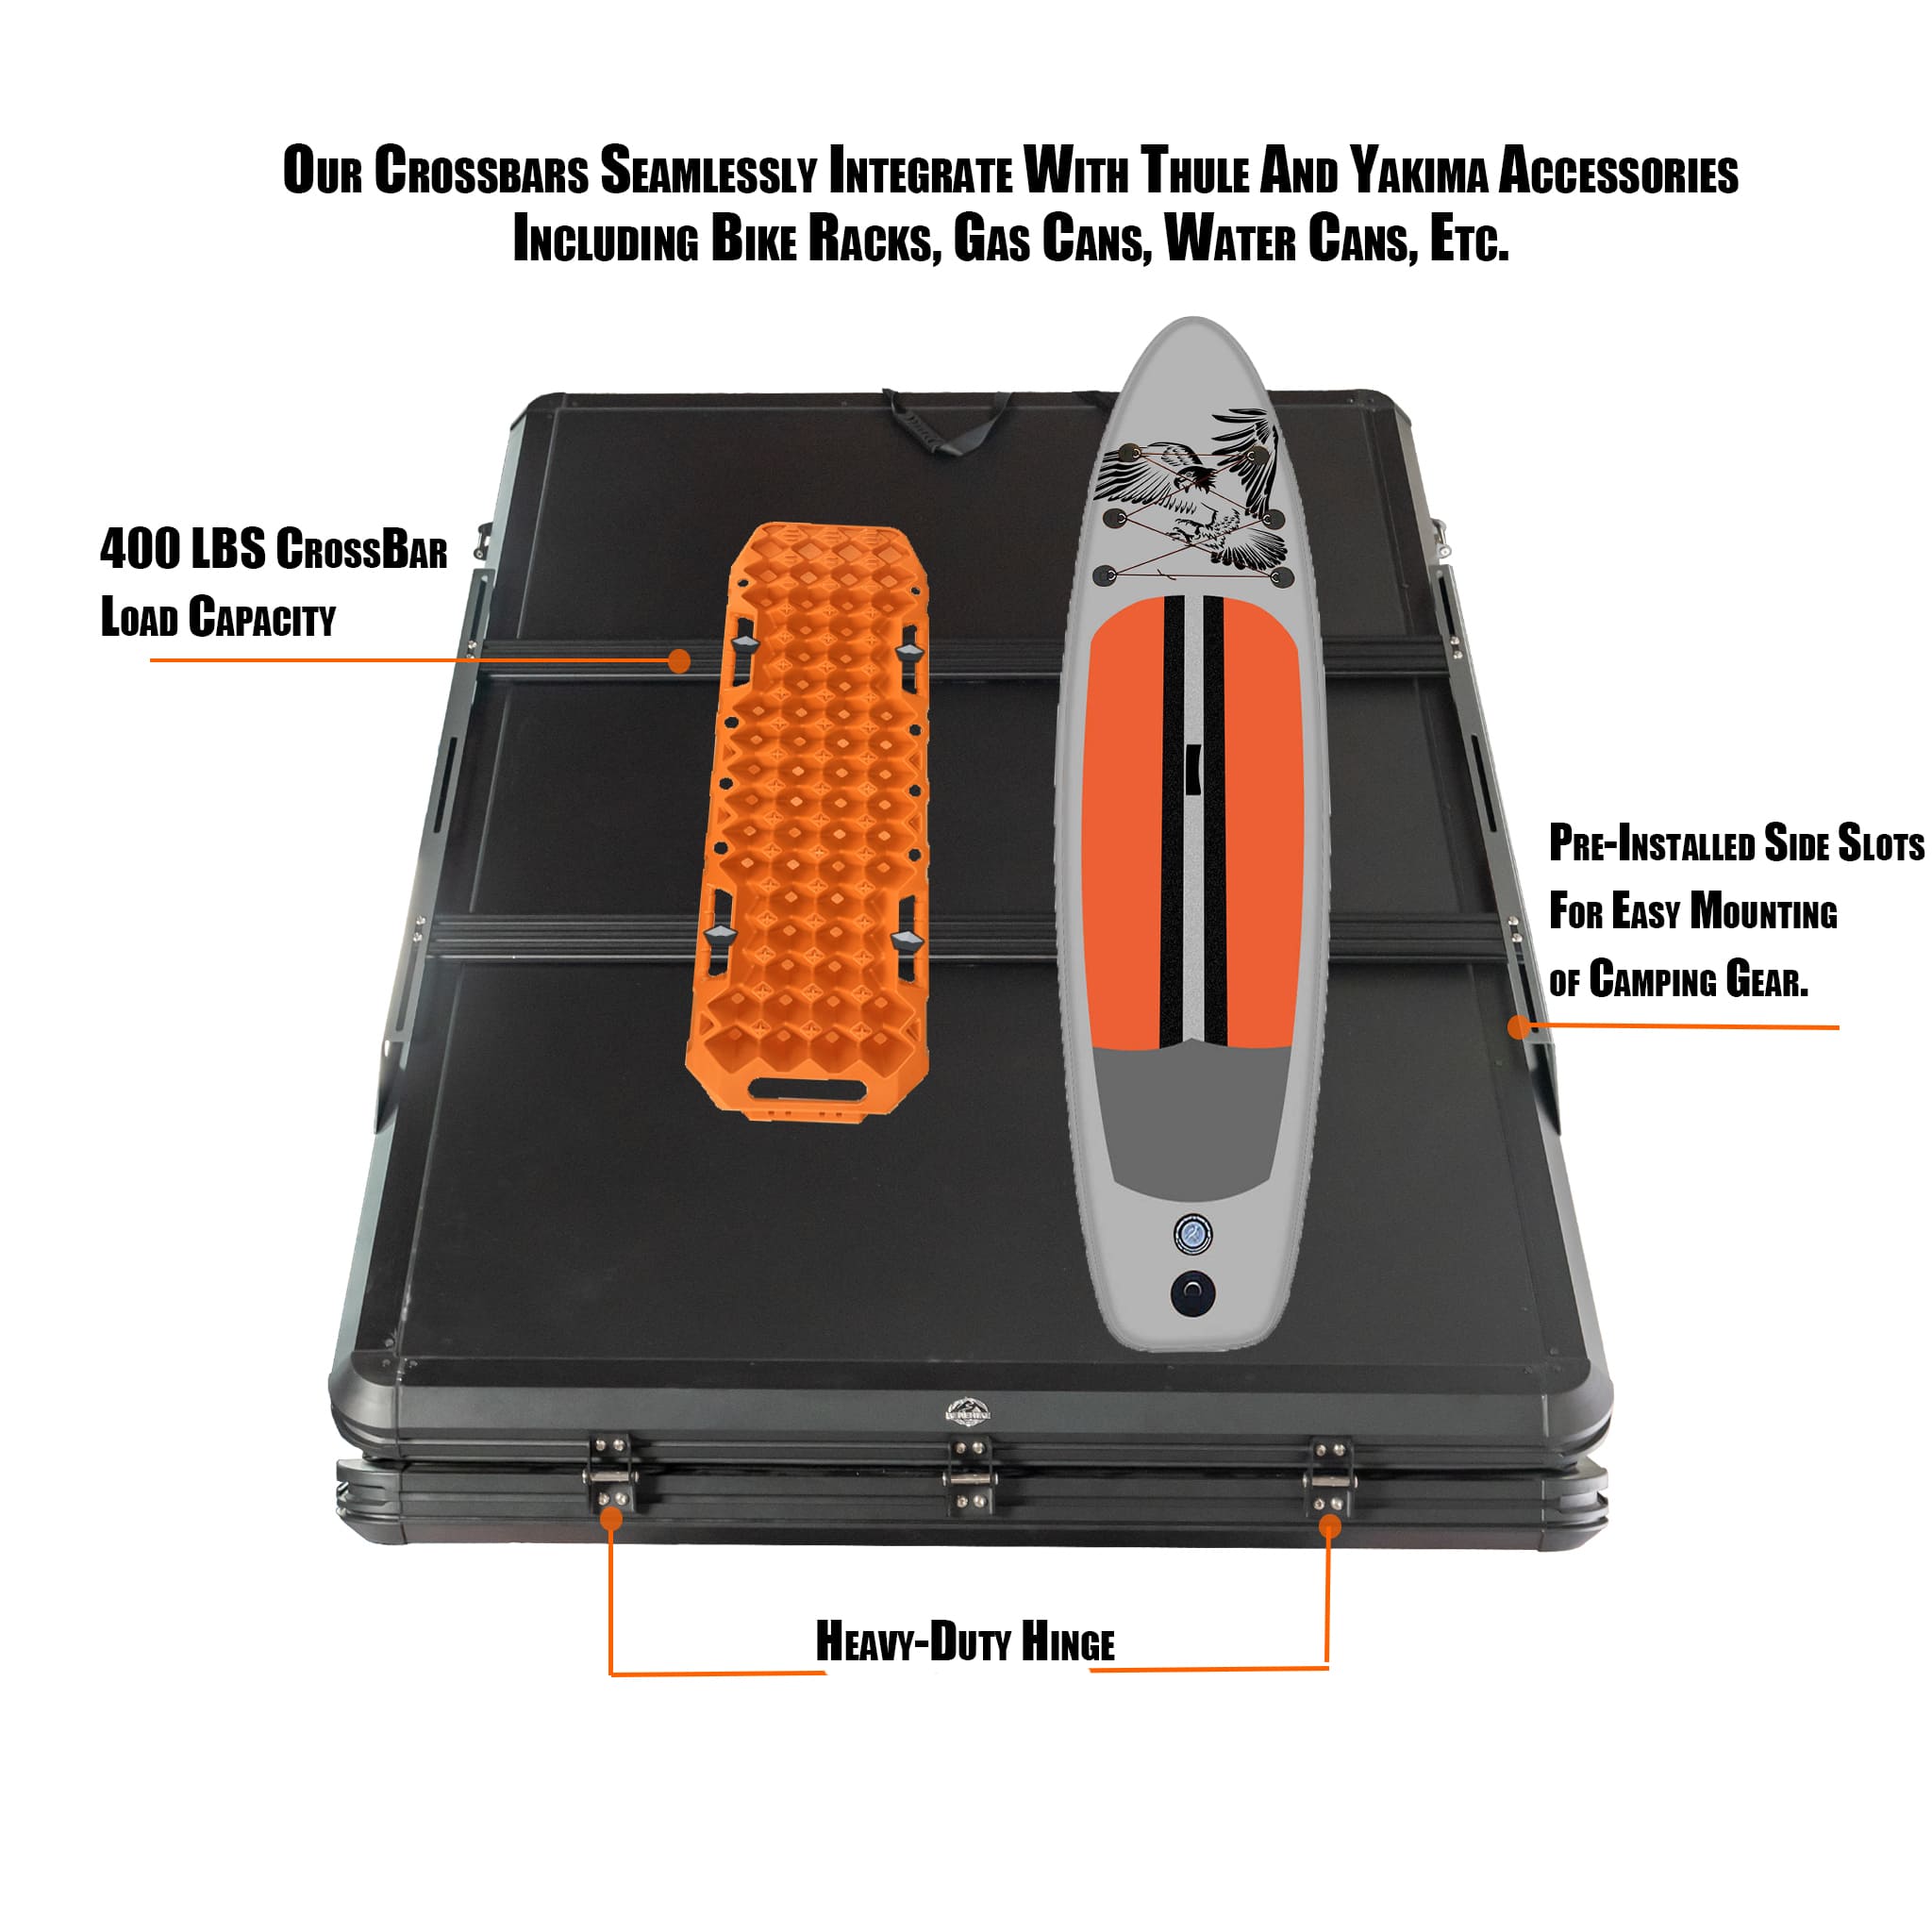
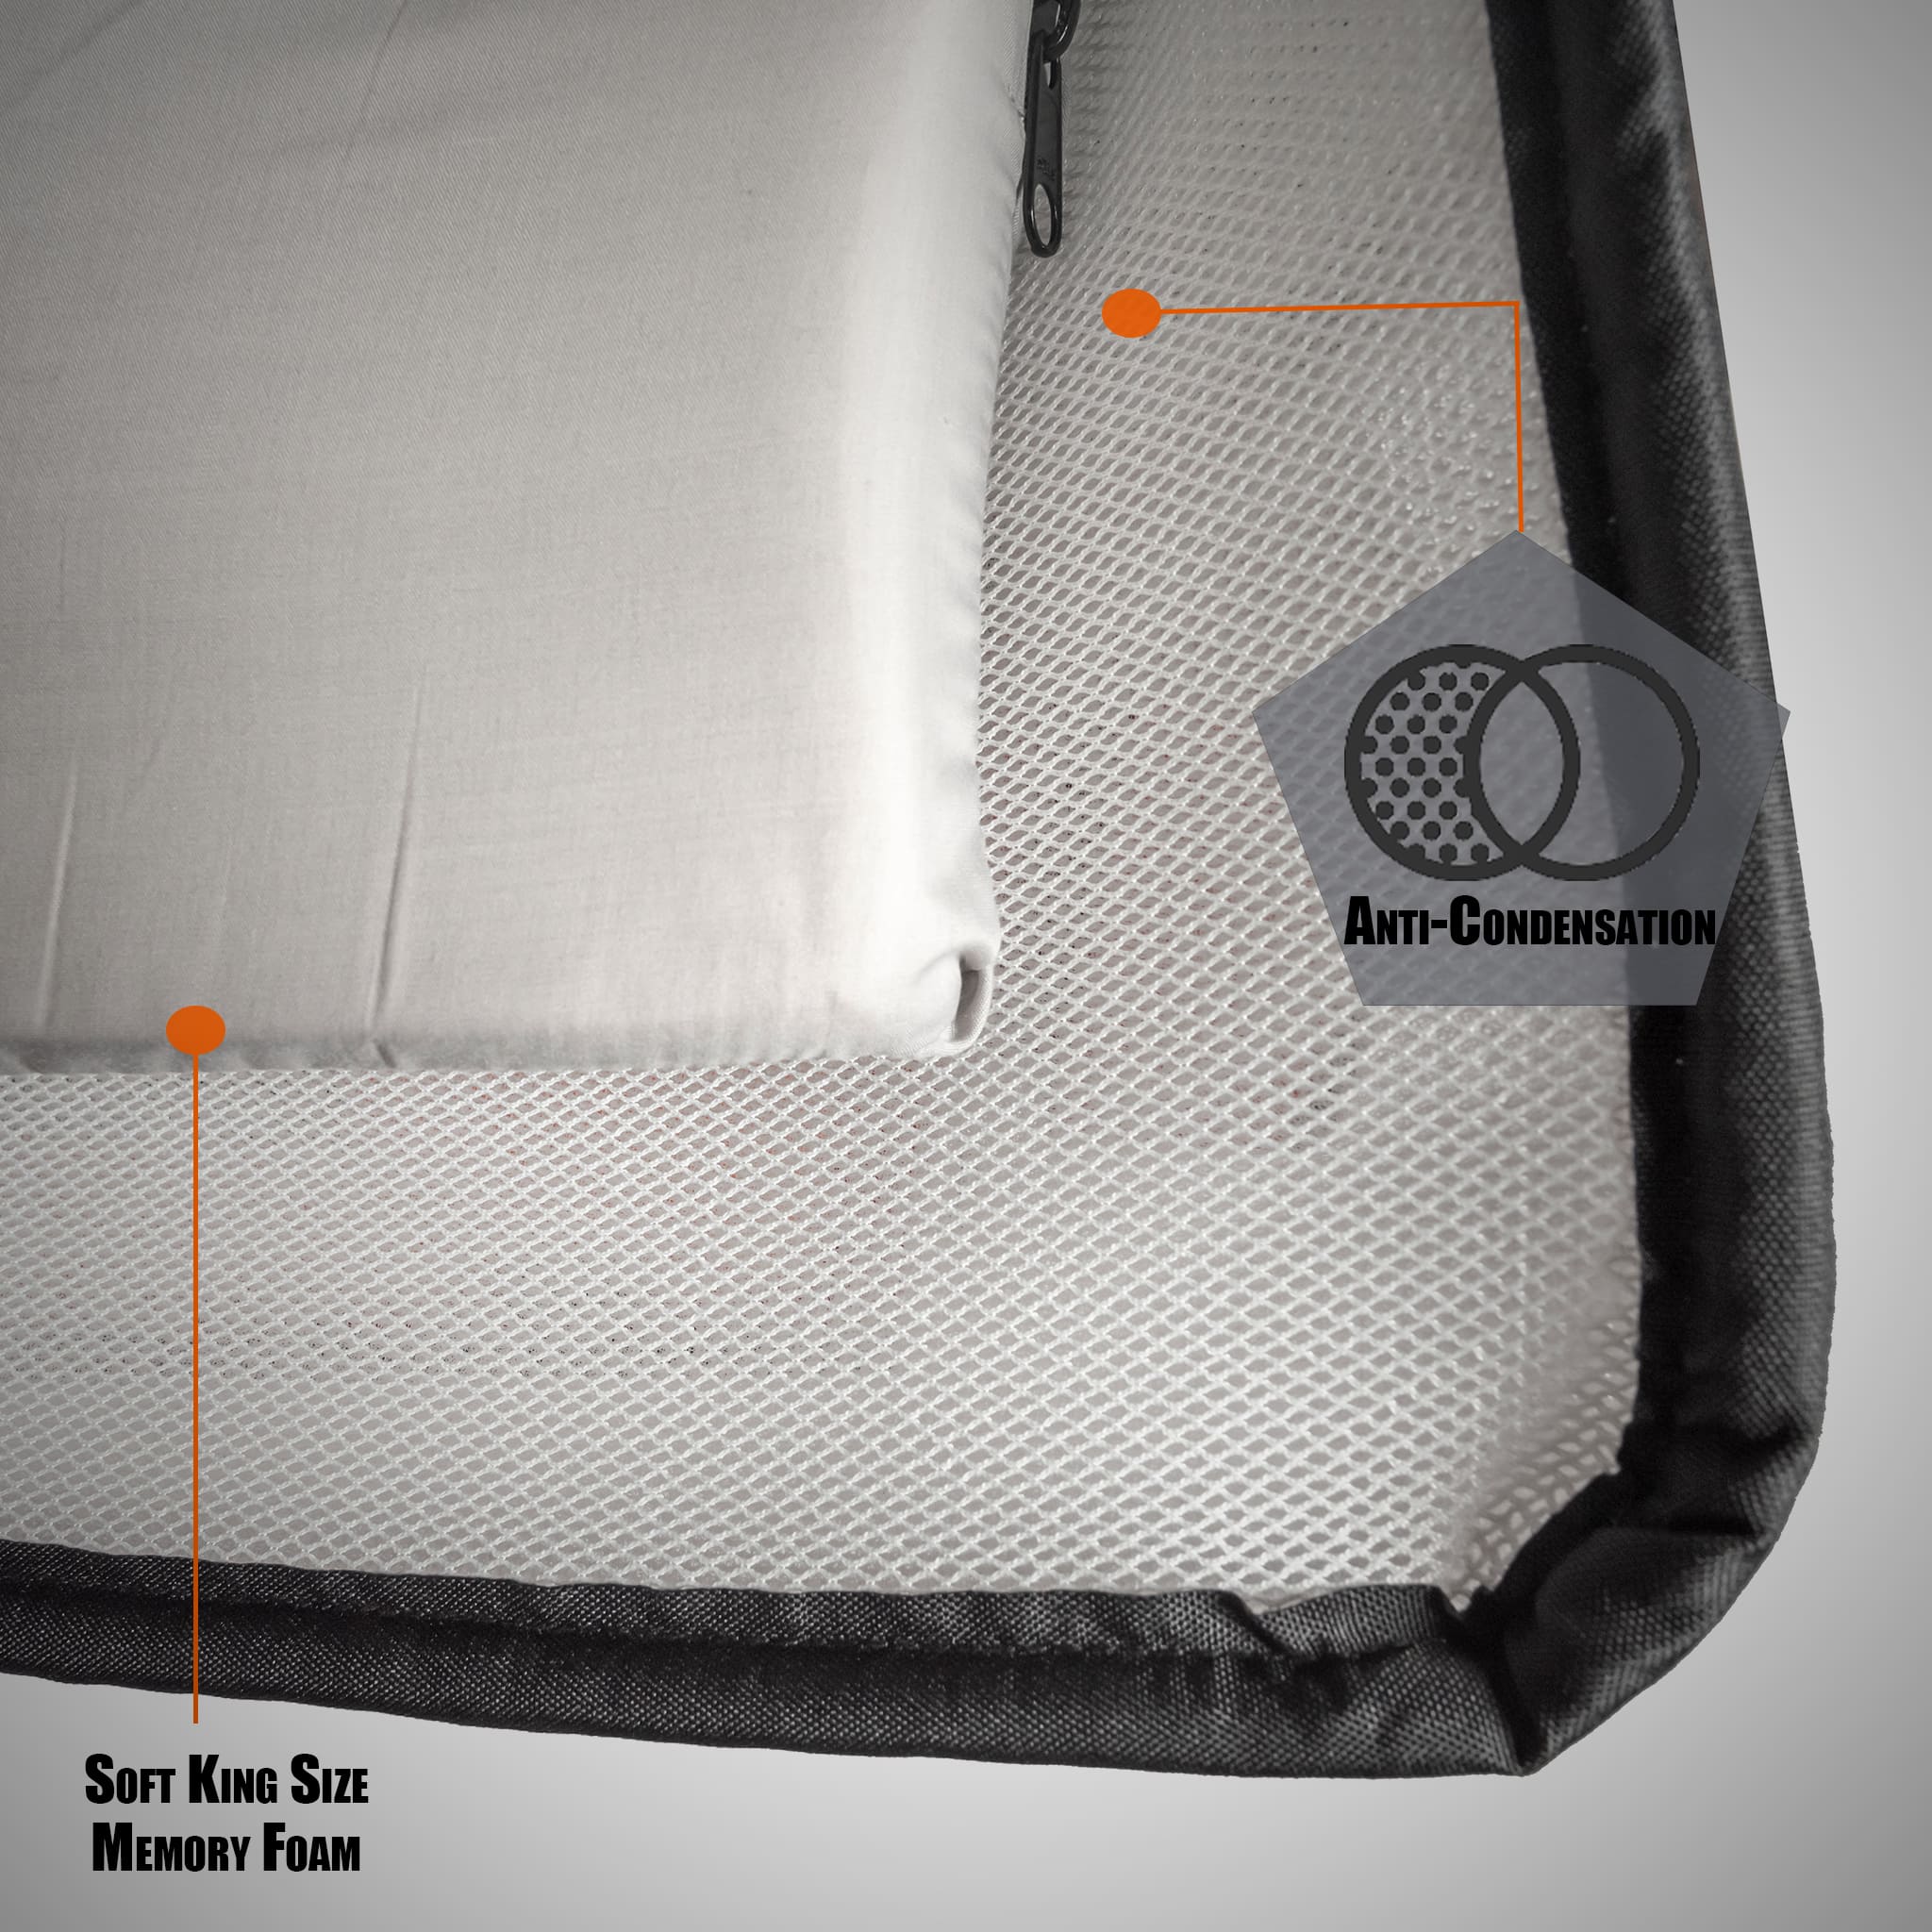
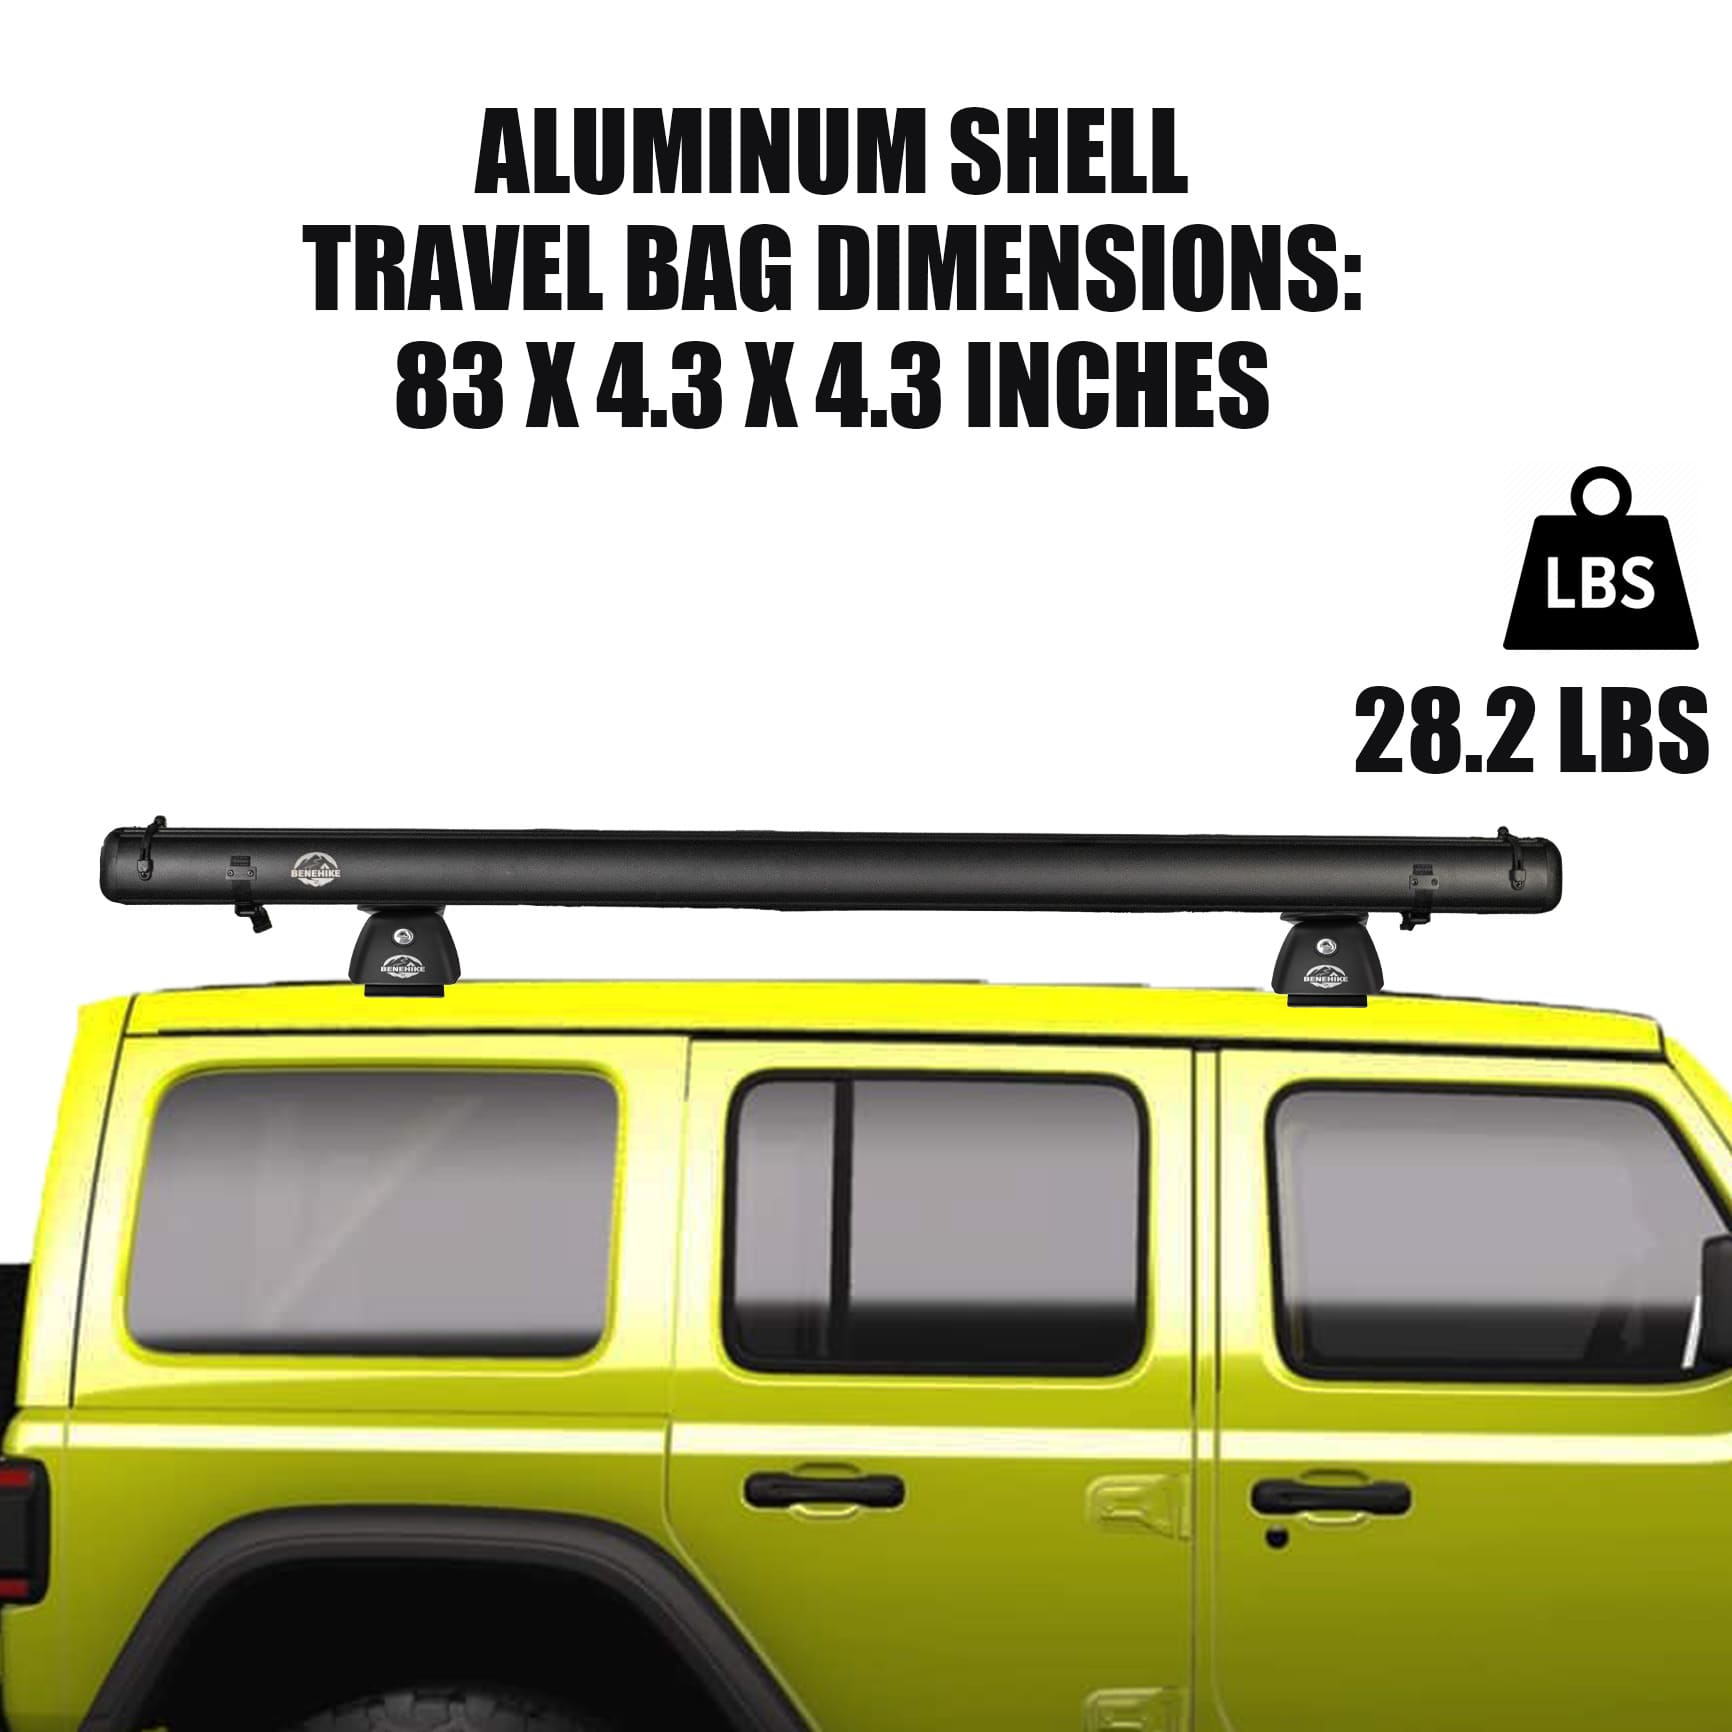
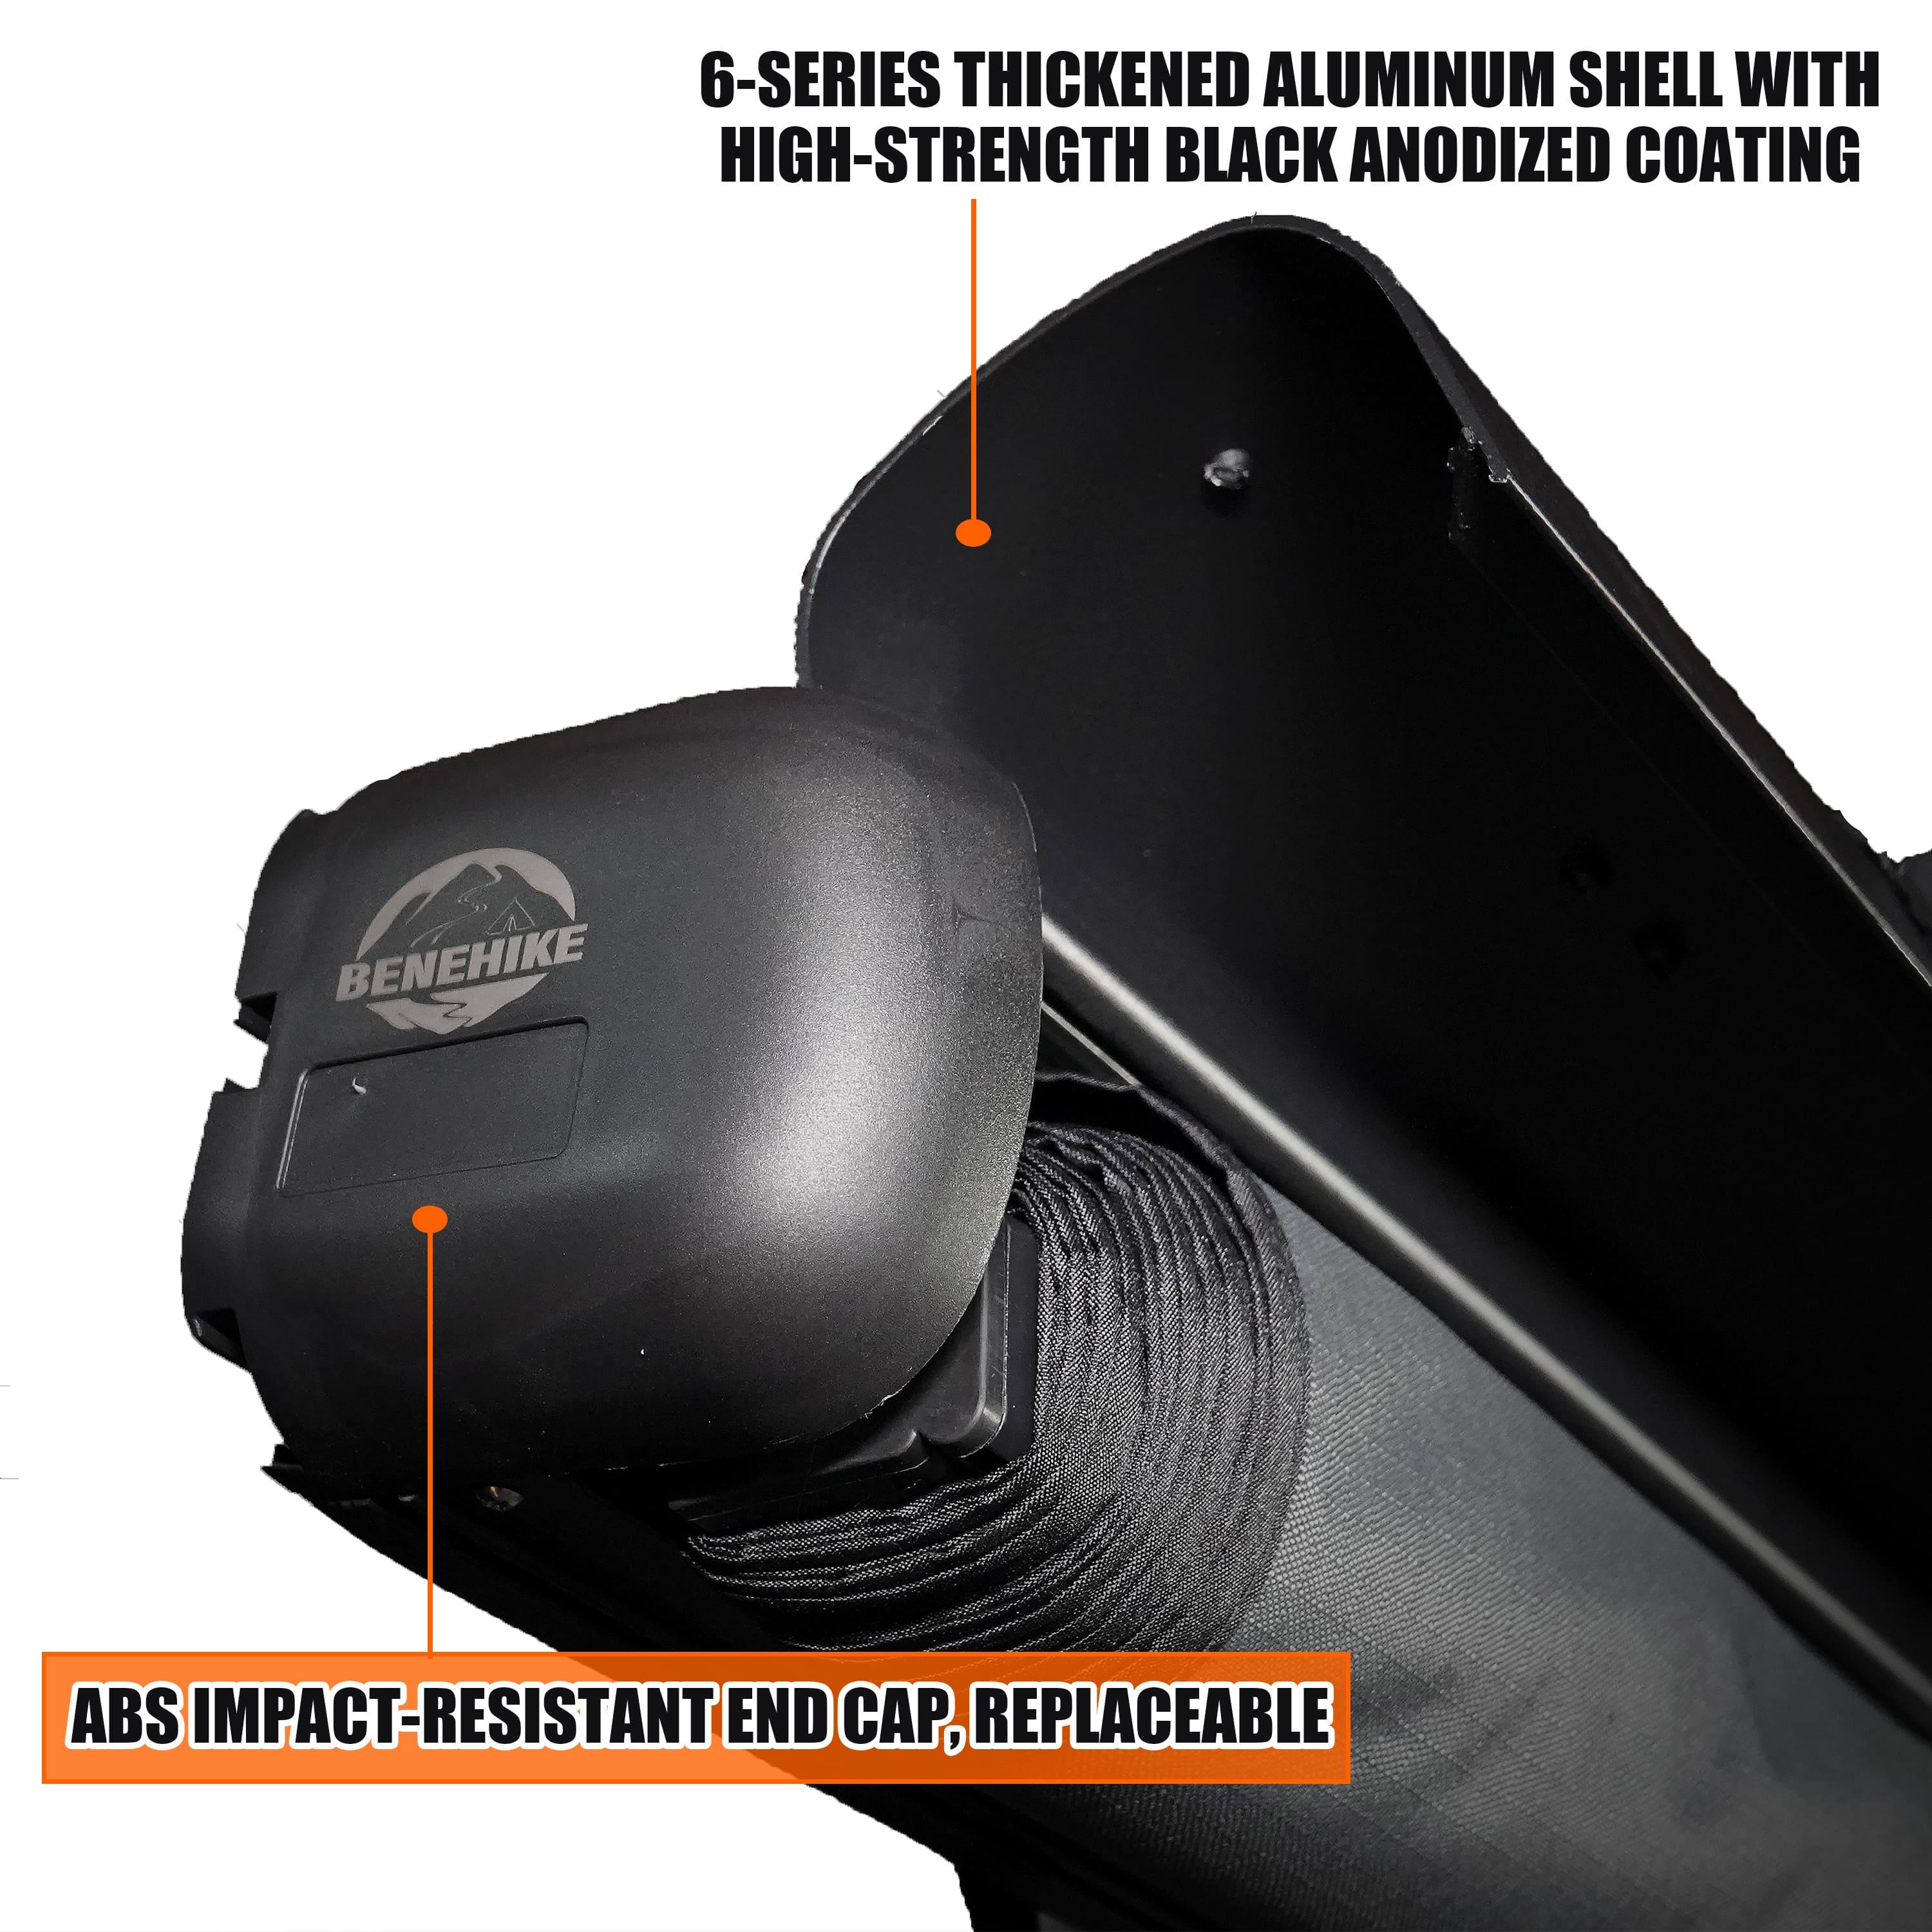
- Vehicle Load Capacity- Check your vehicle's roof load rating to make sure the tent and occupants' weight will not exceed it. Most tents weigh between 100-300 lbs.
- Tent Size - Tents range from small, good for 1-2 people to extra large, fitting up to 5 people. Choose a size that matches your typical camping group.
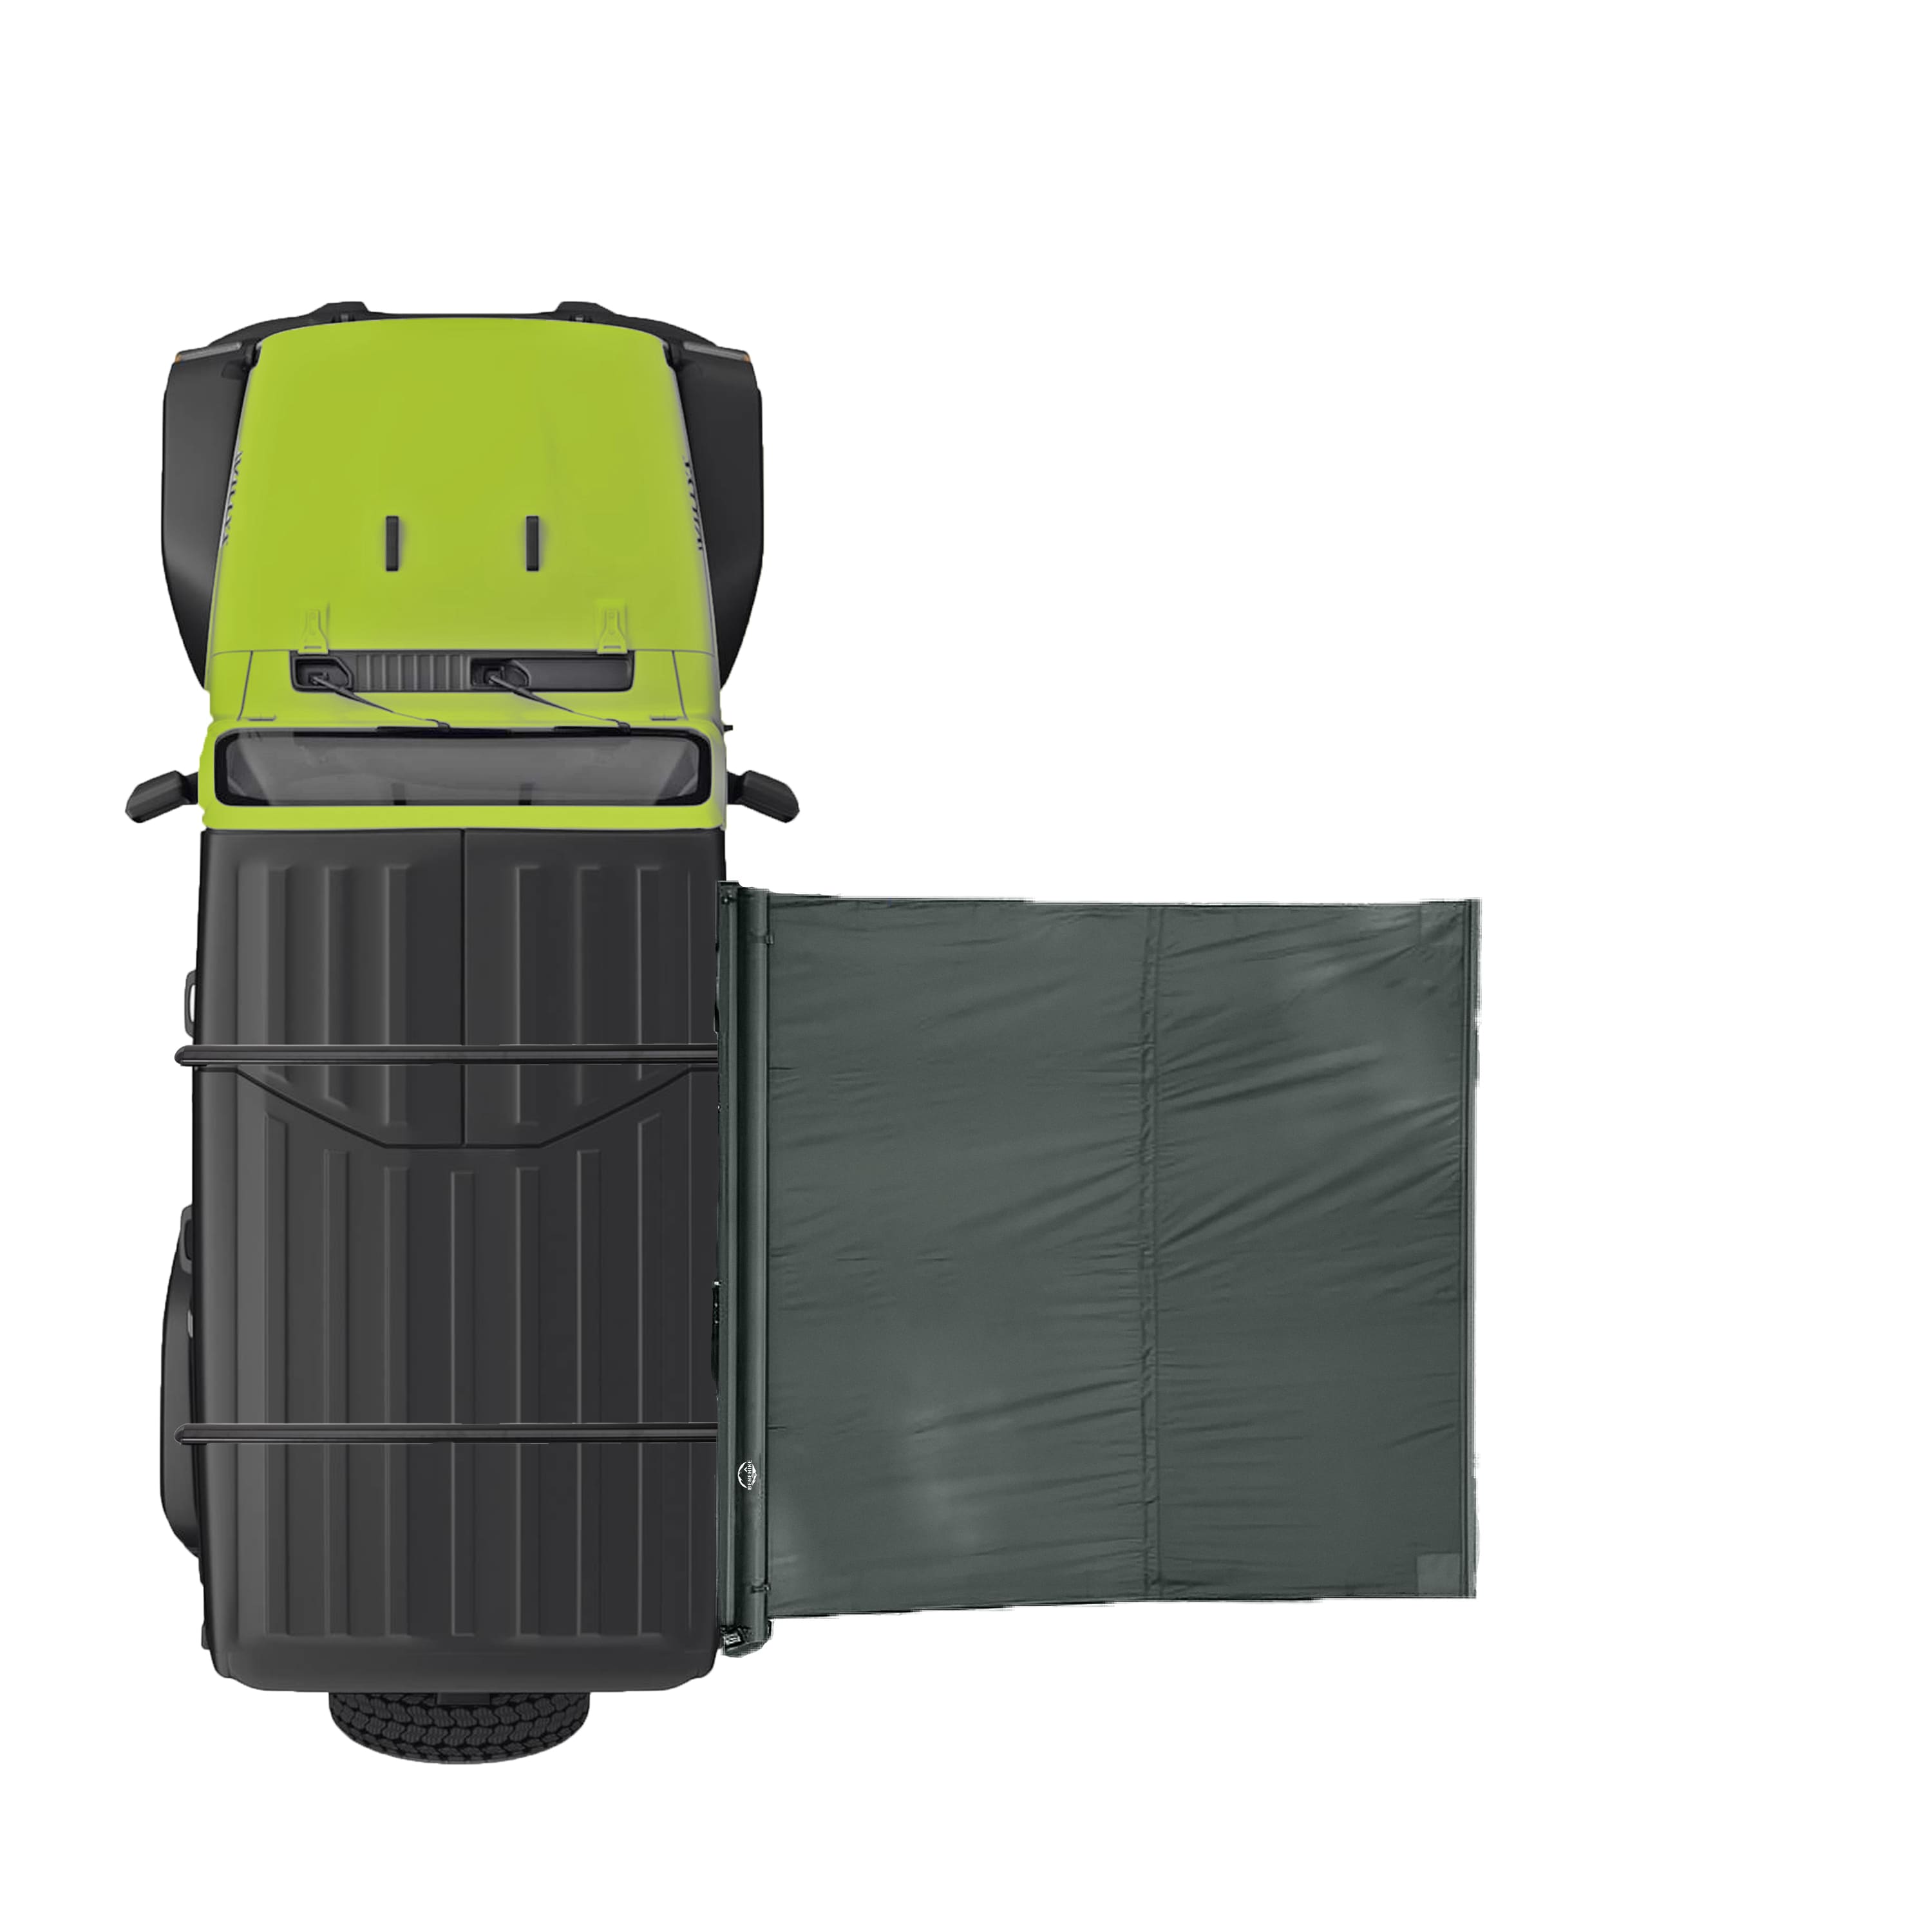
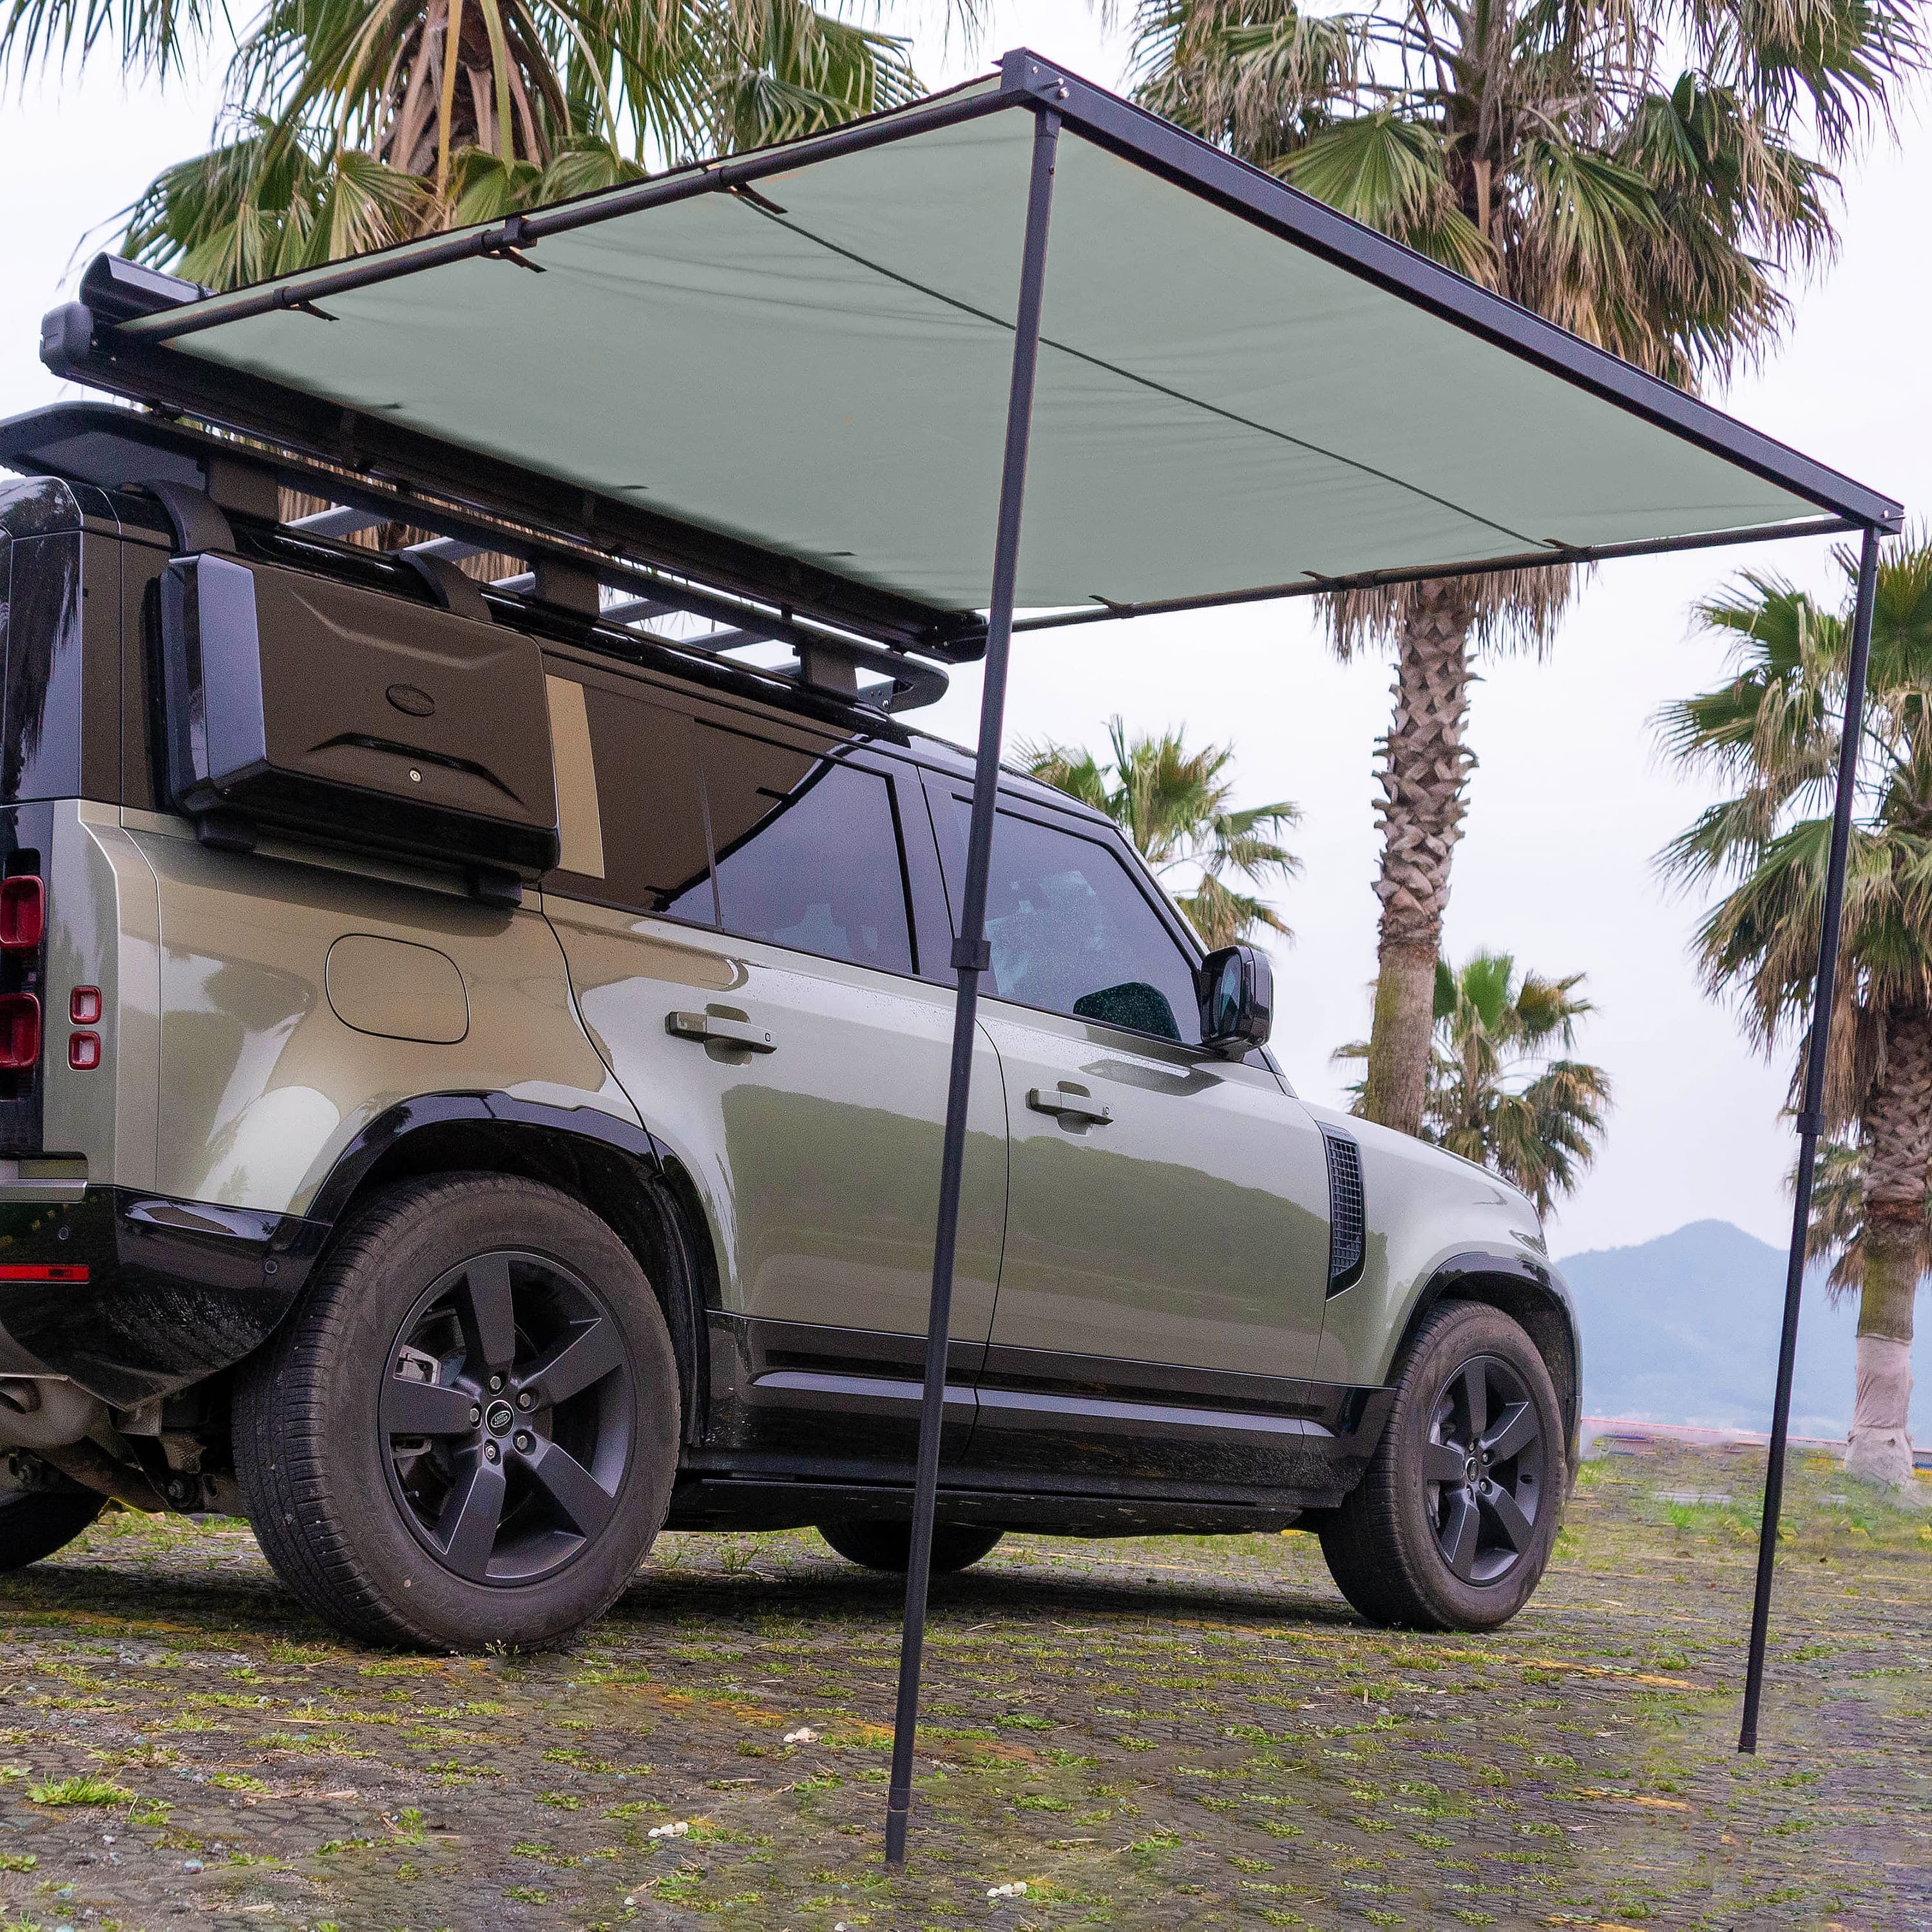
- Access - Consider if you need a front or rear access tent to make getting in and out as convenient as possible from your vehicle.
Once you've determined these factors, you can start narrowing down potential tents that will fit your specific vehicle and needs. The right fit is key for stability, operation and a comfortable camping experience.
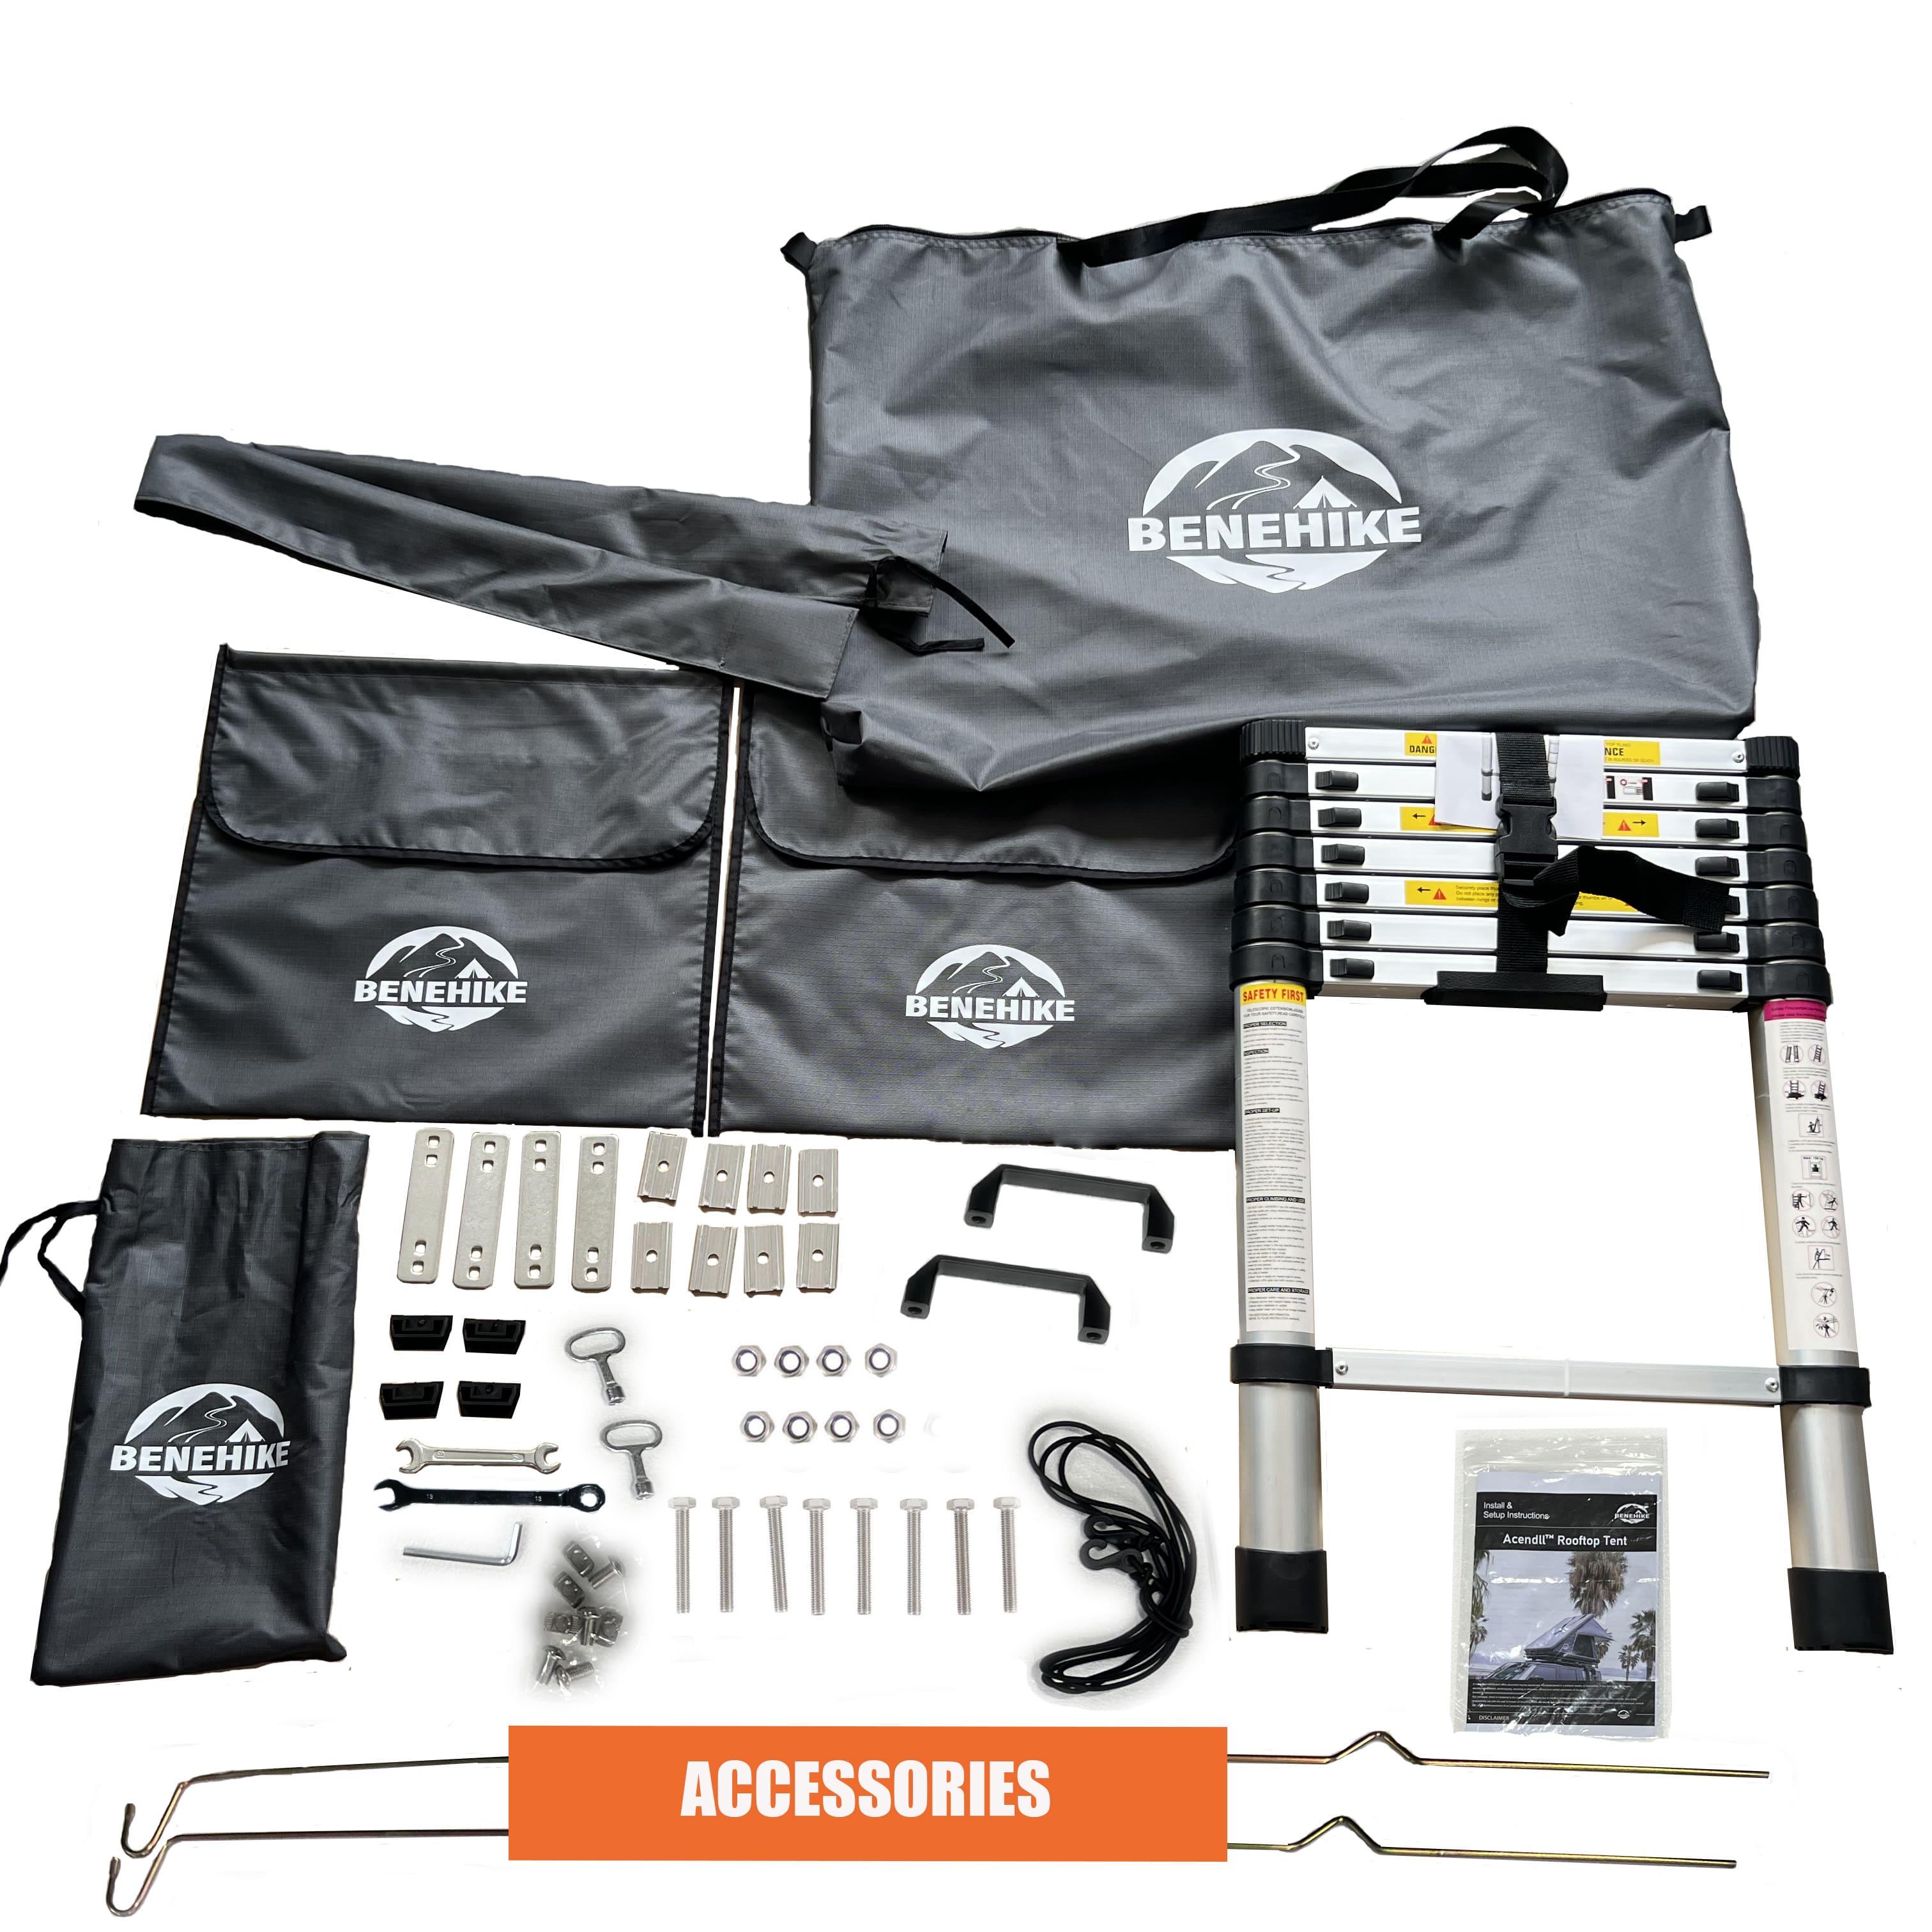
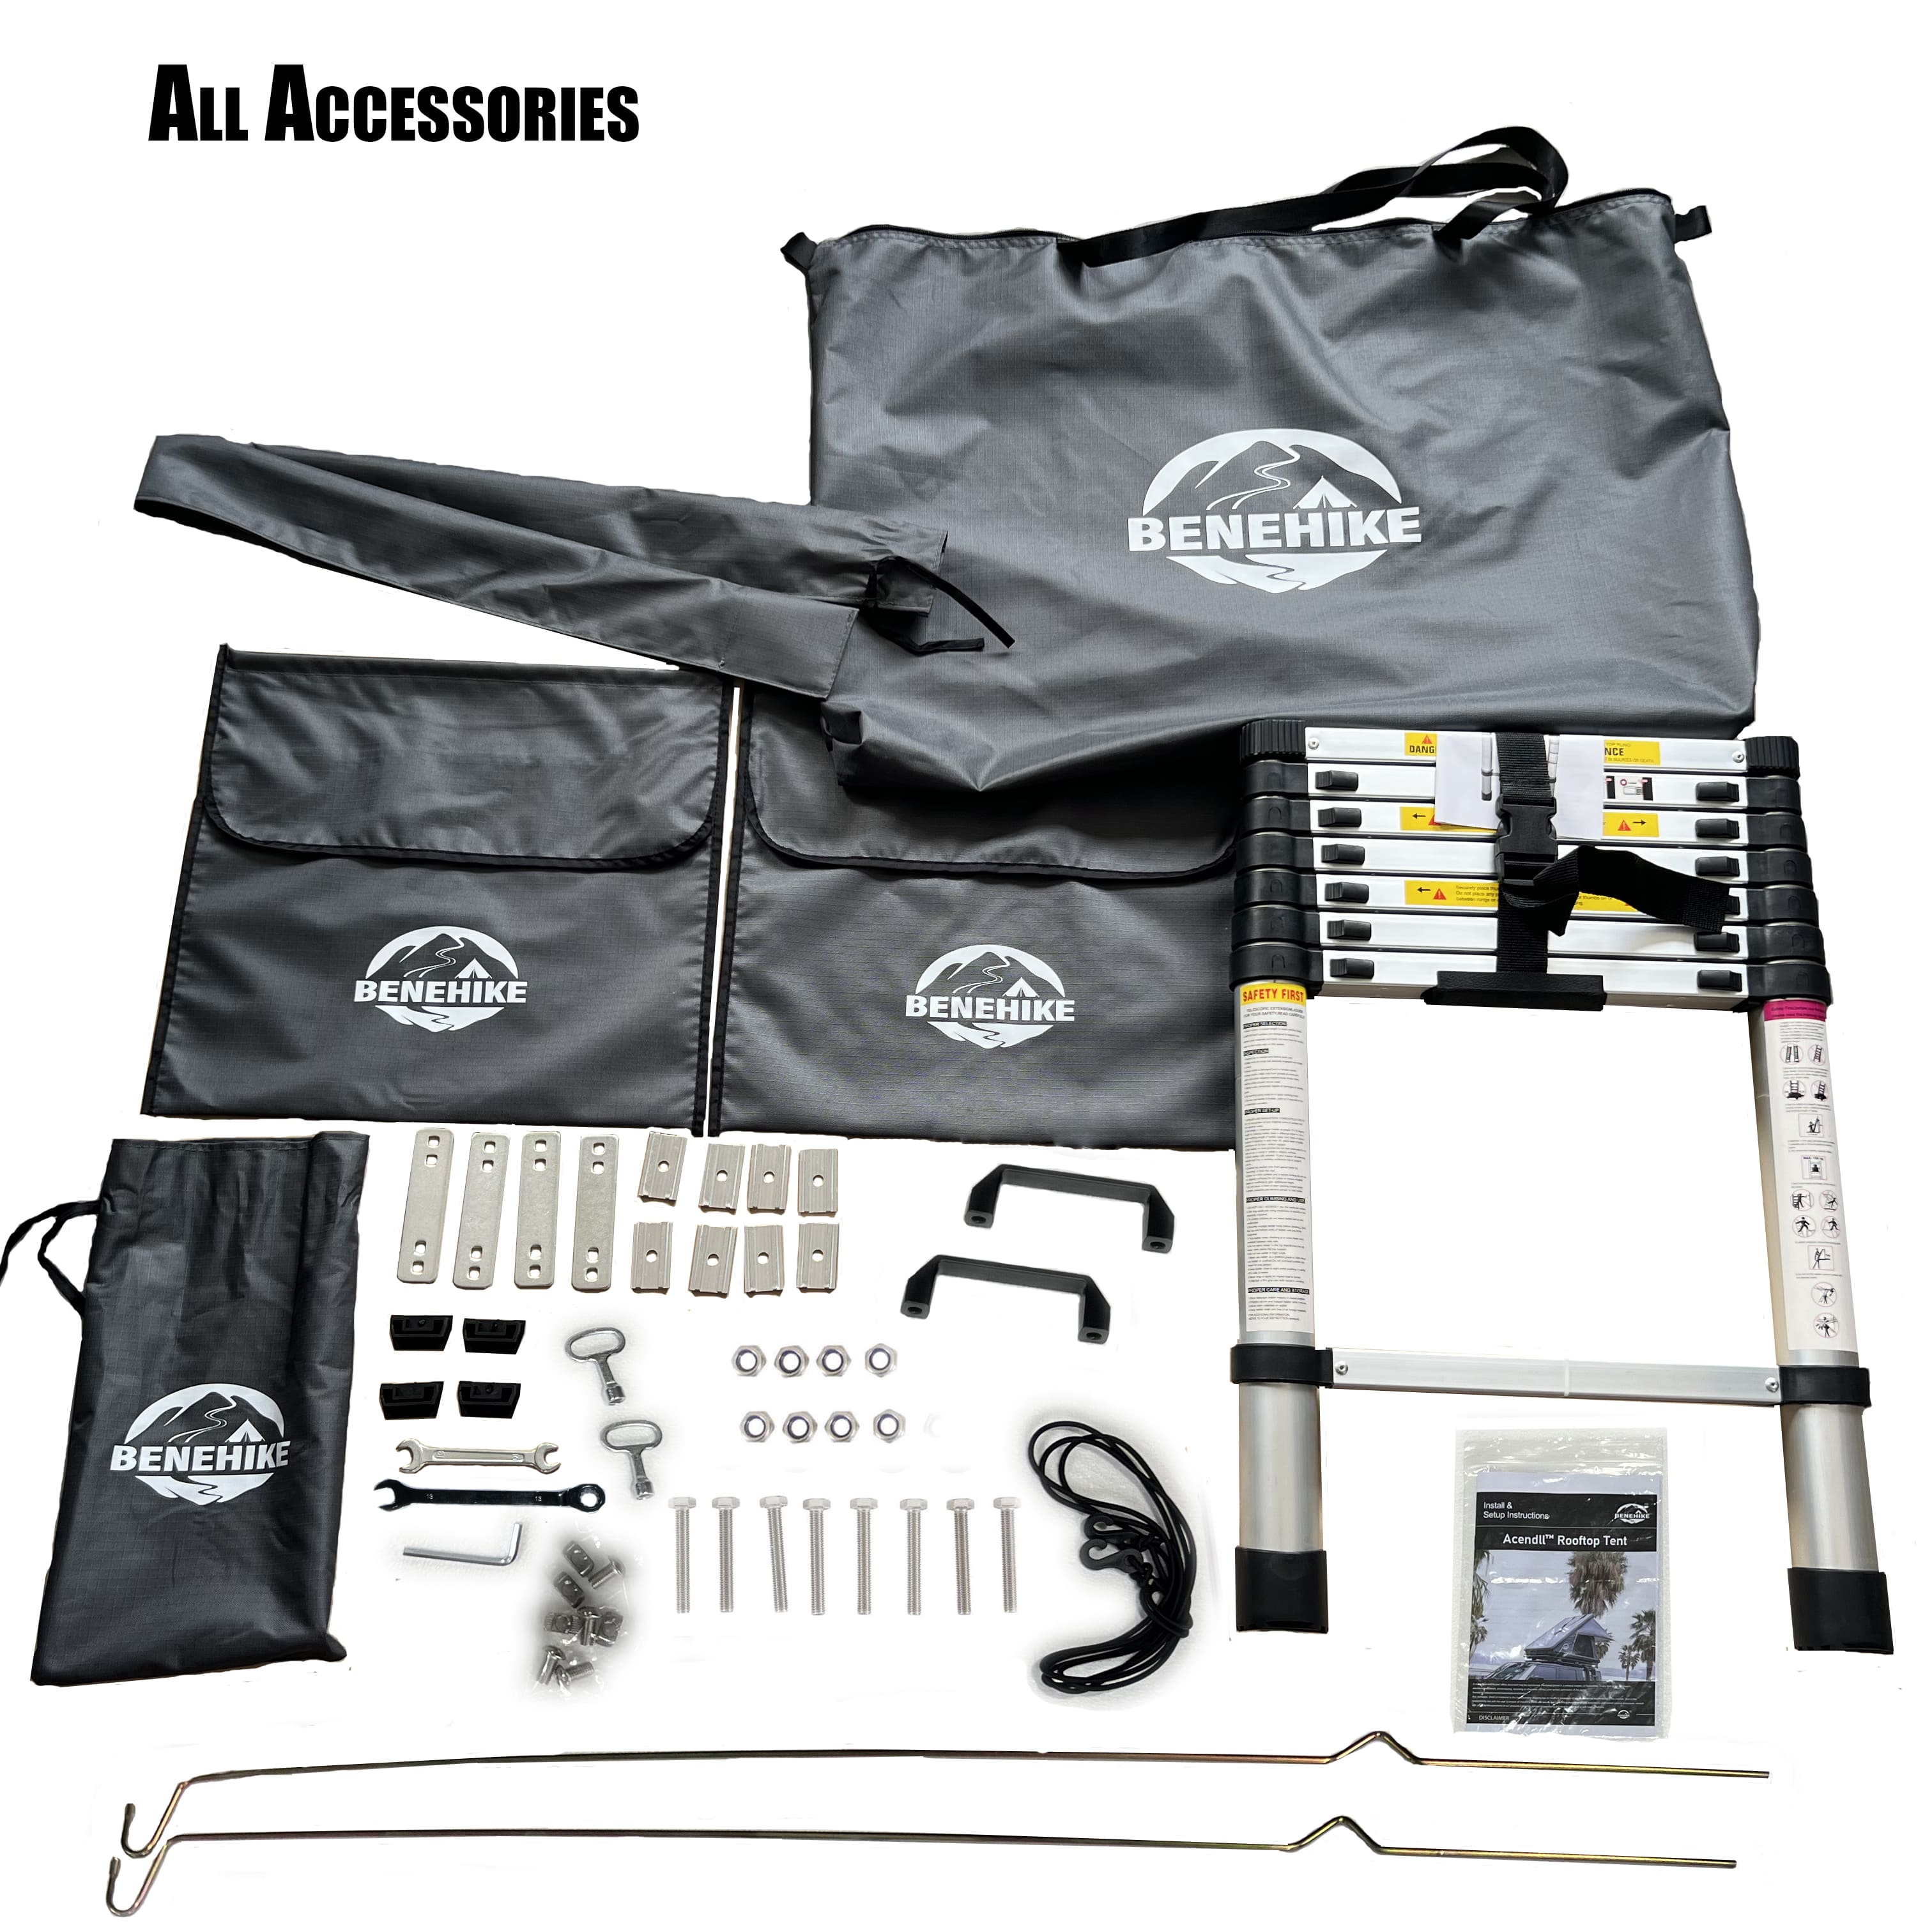
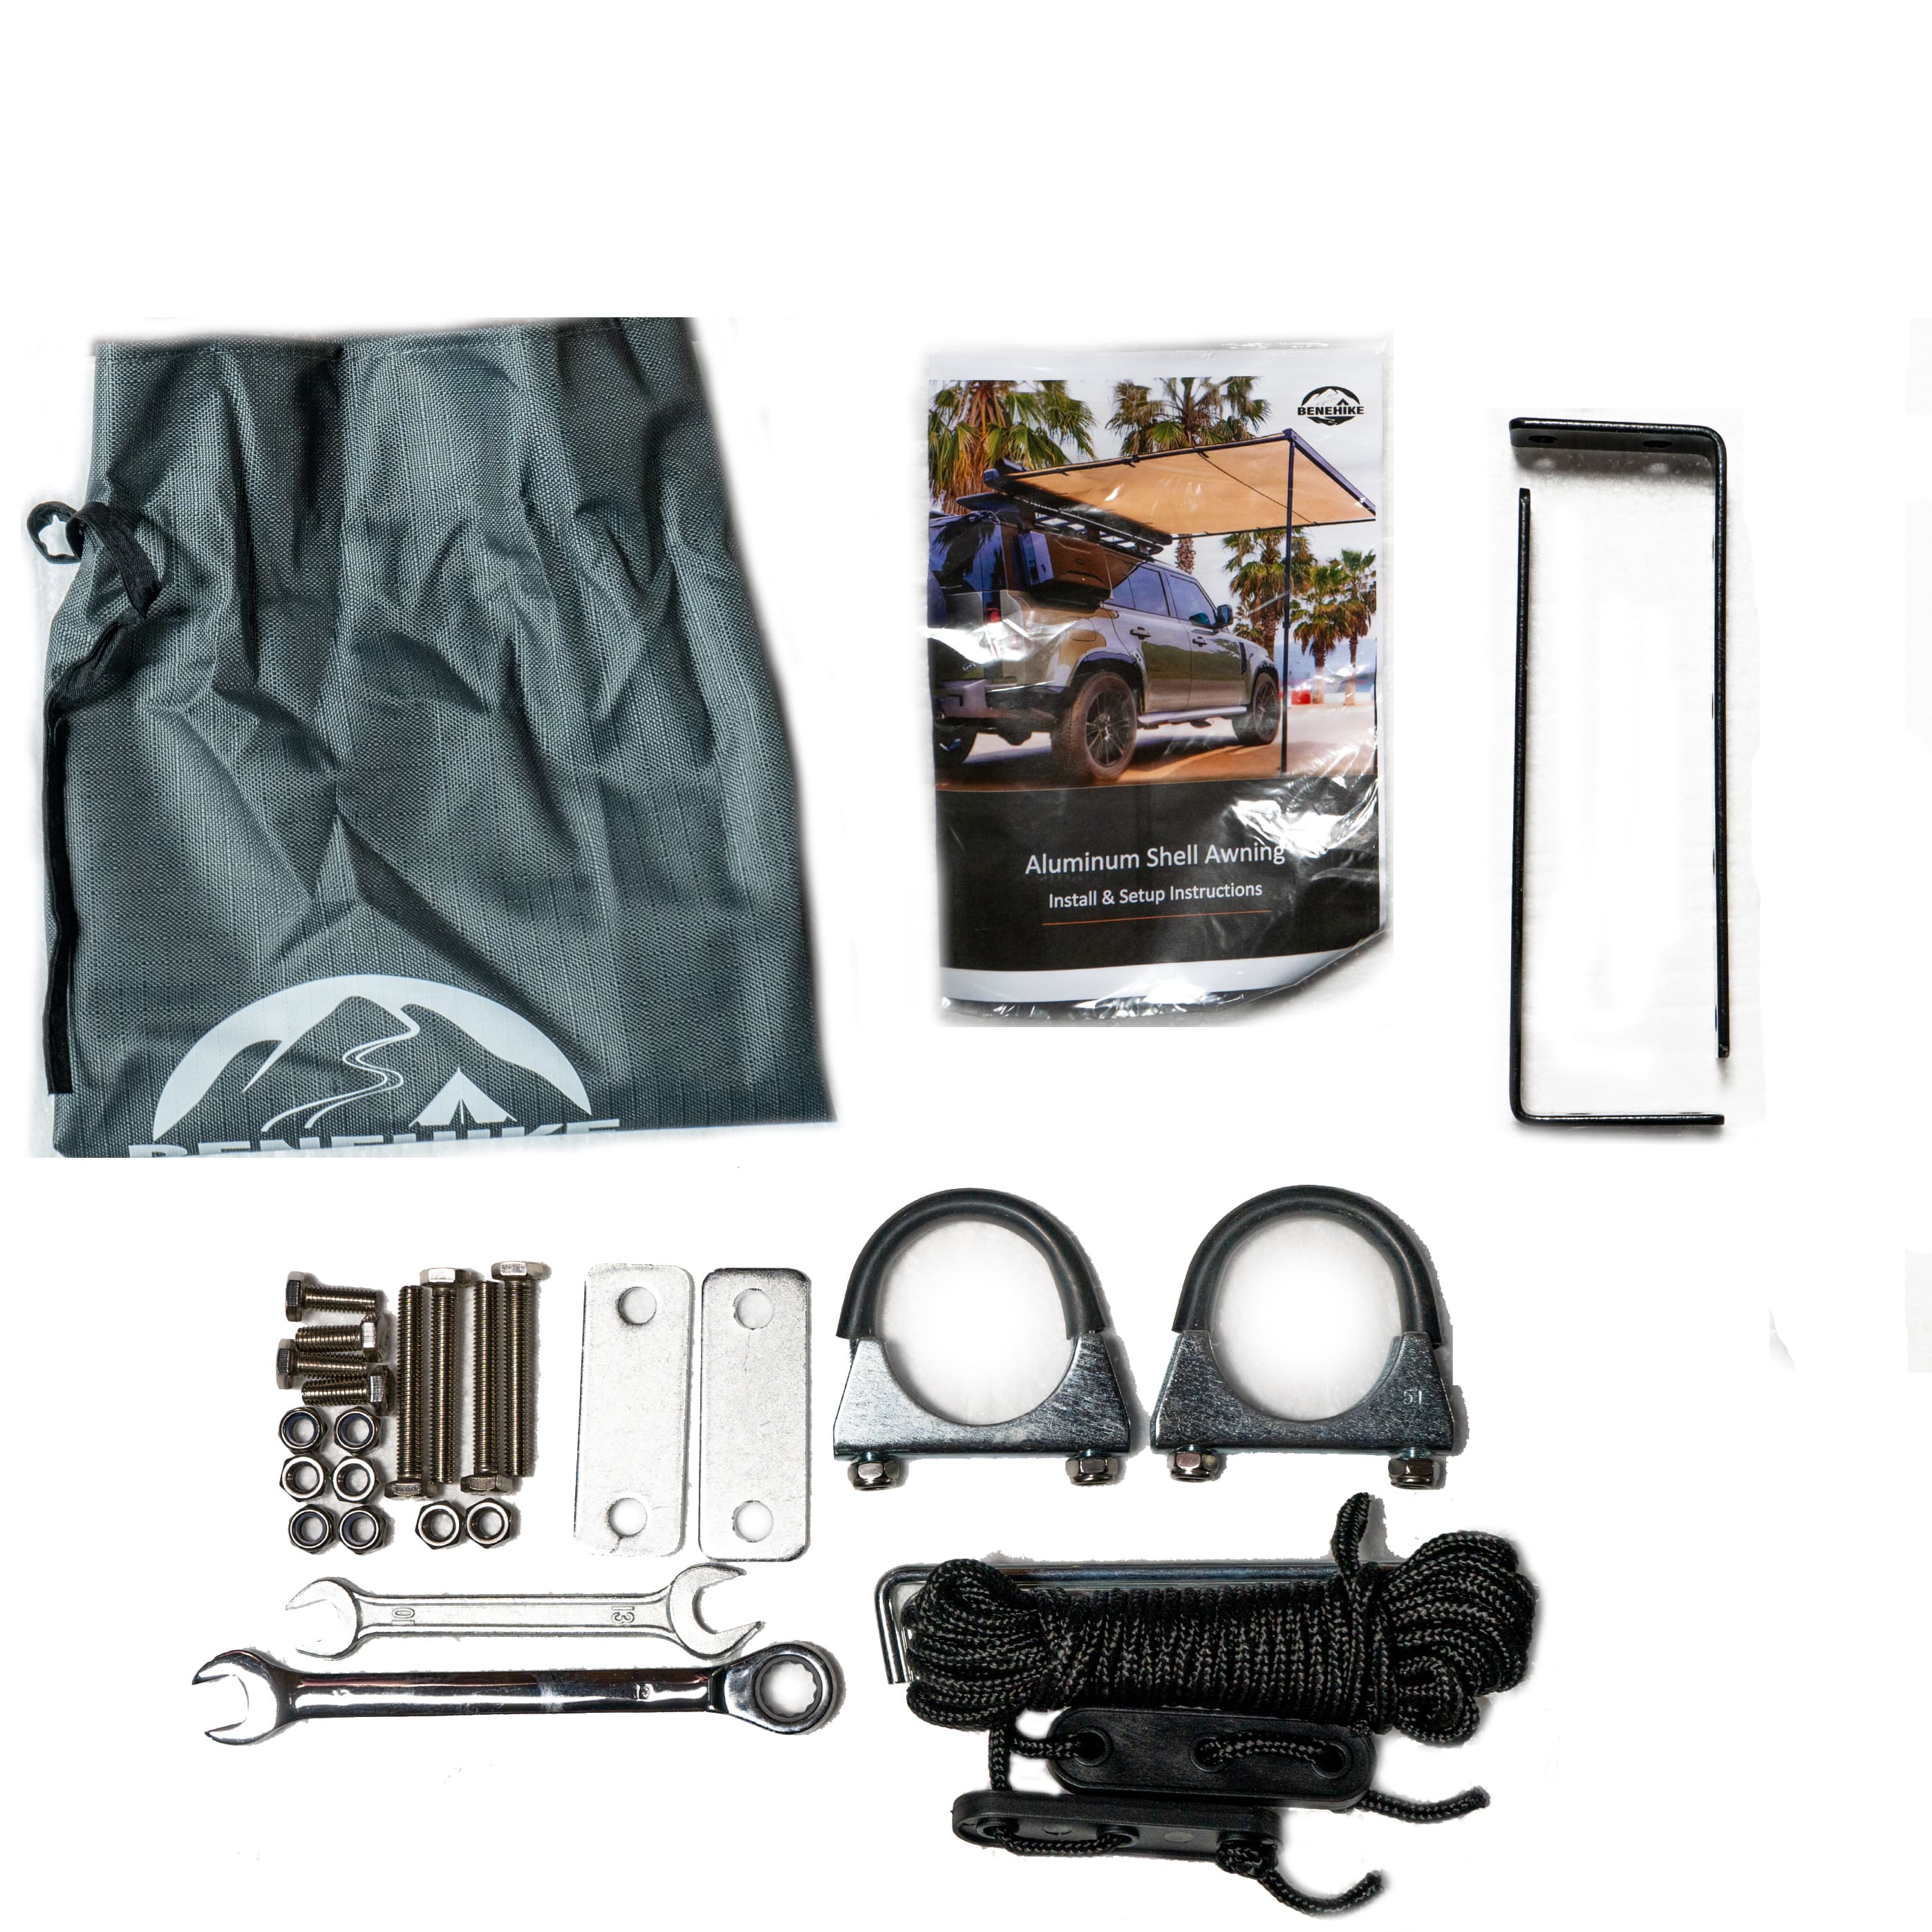
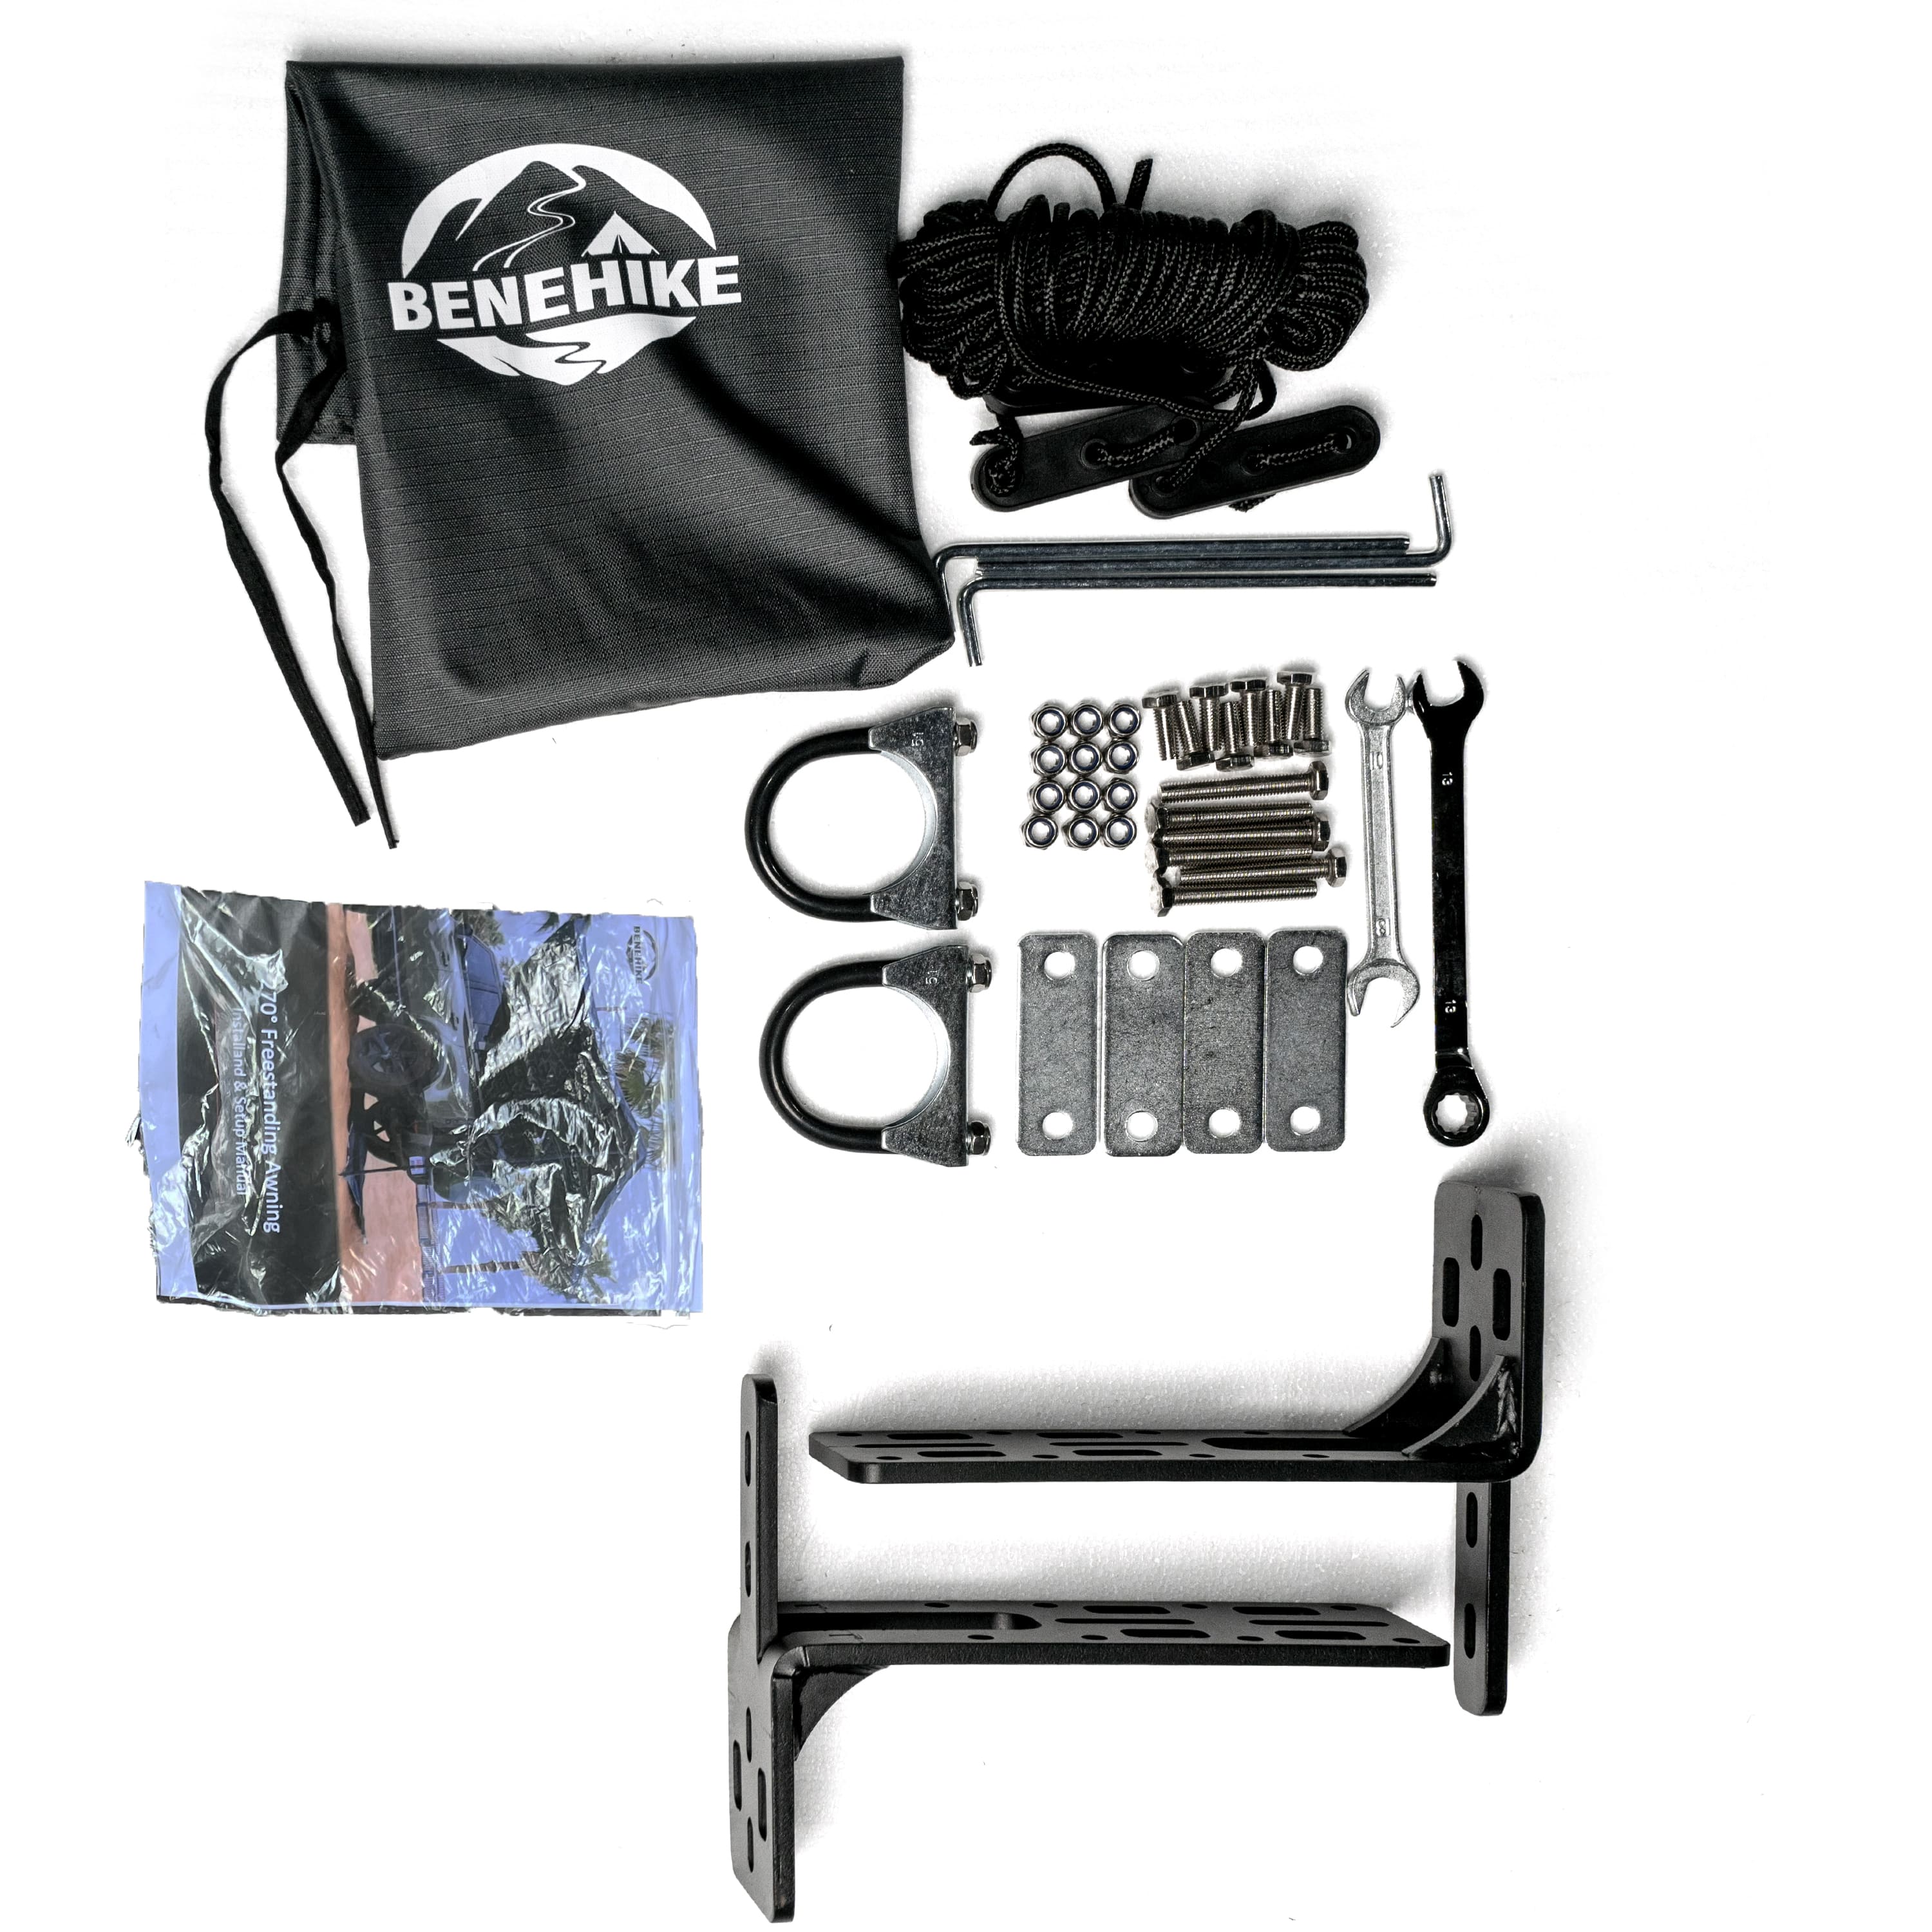
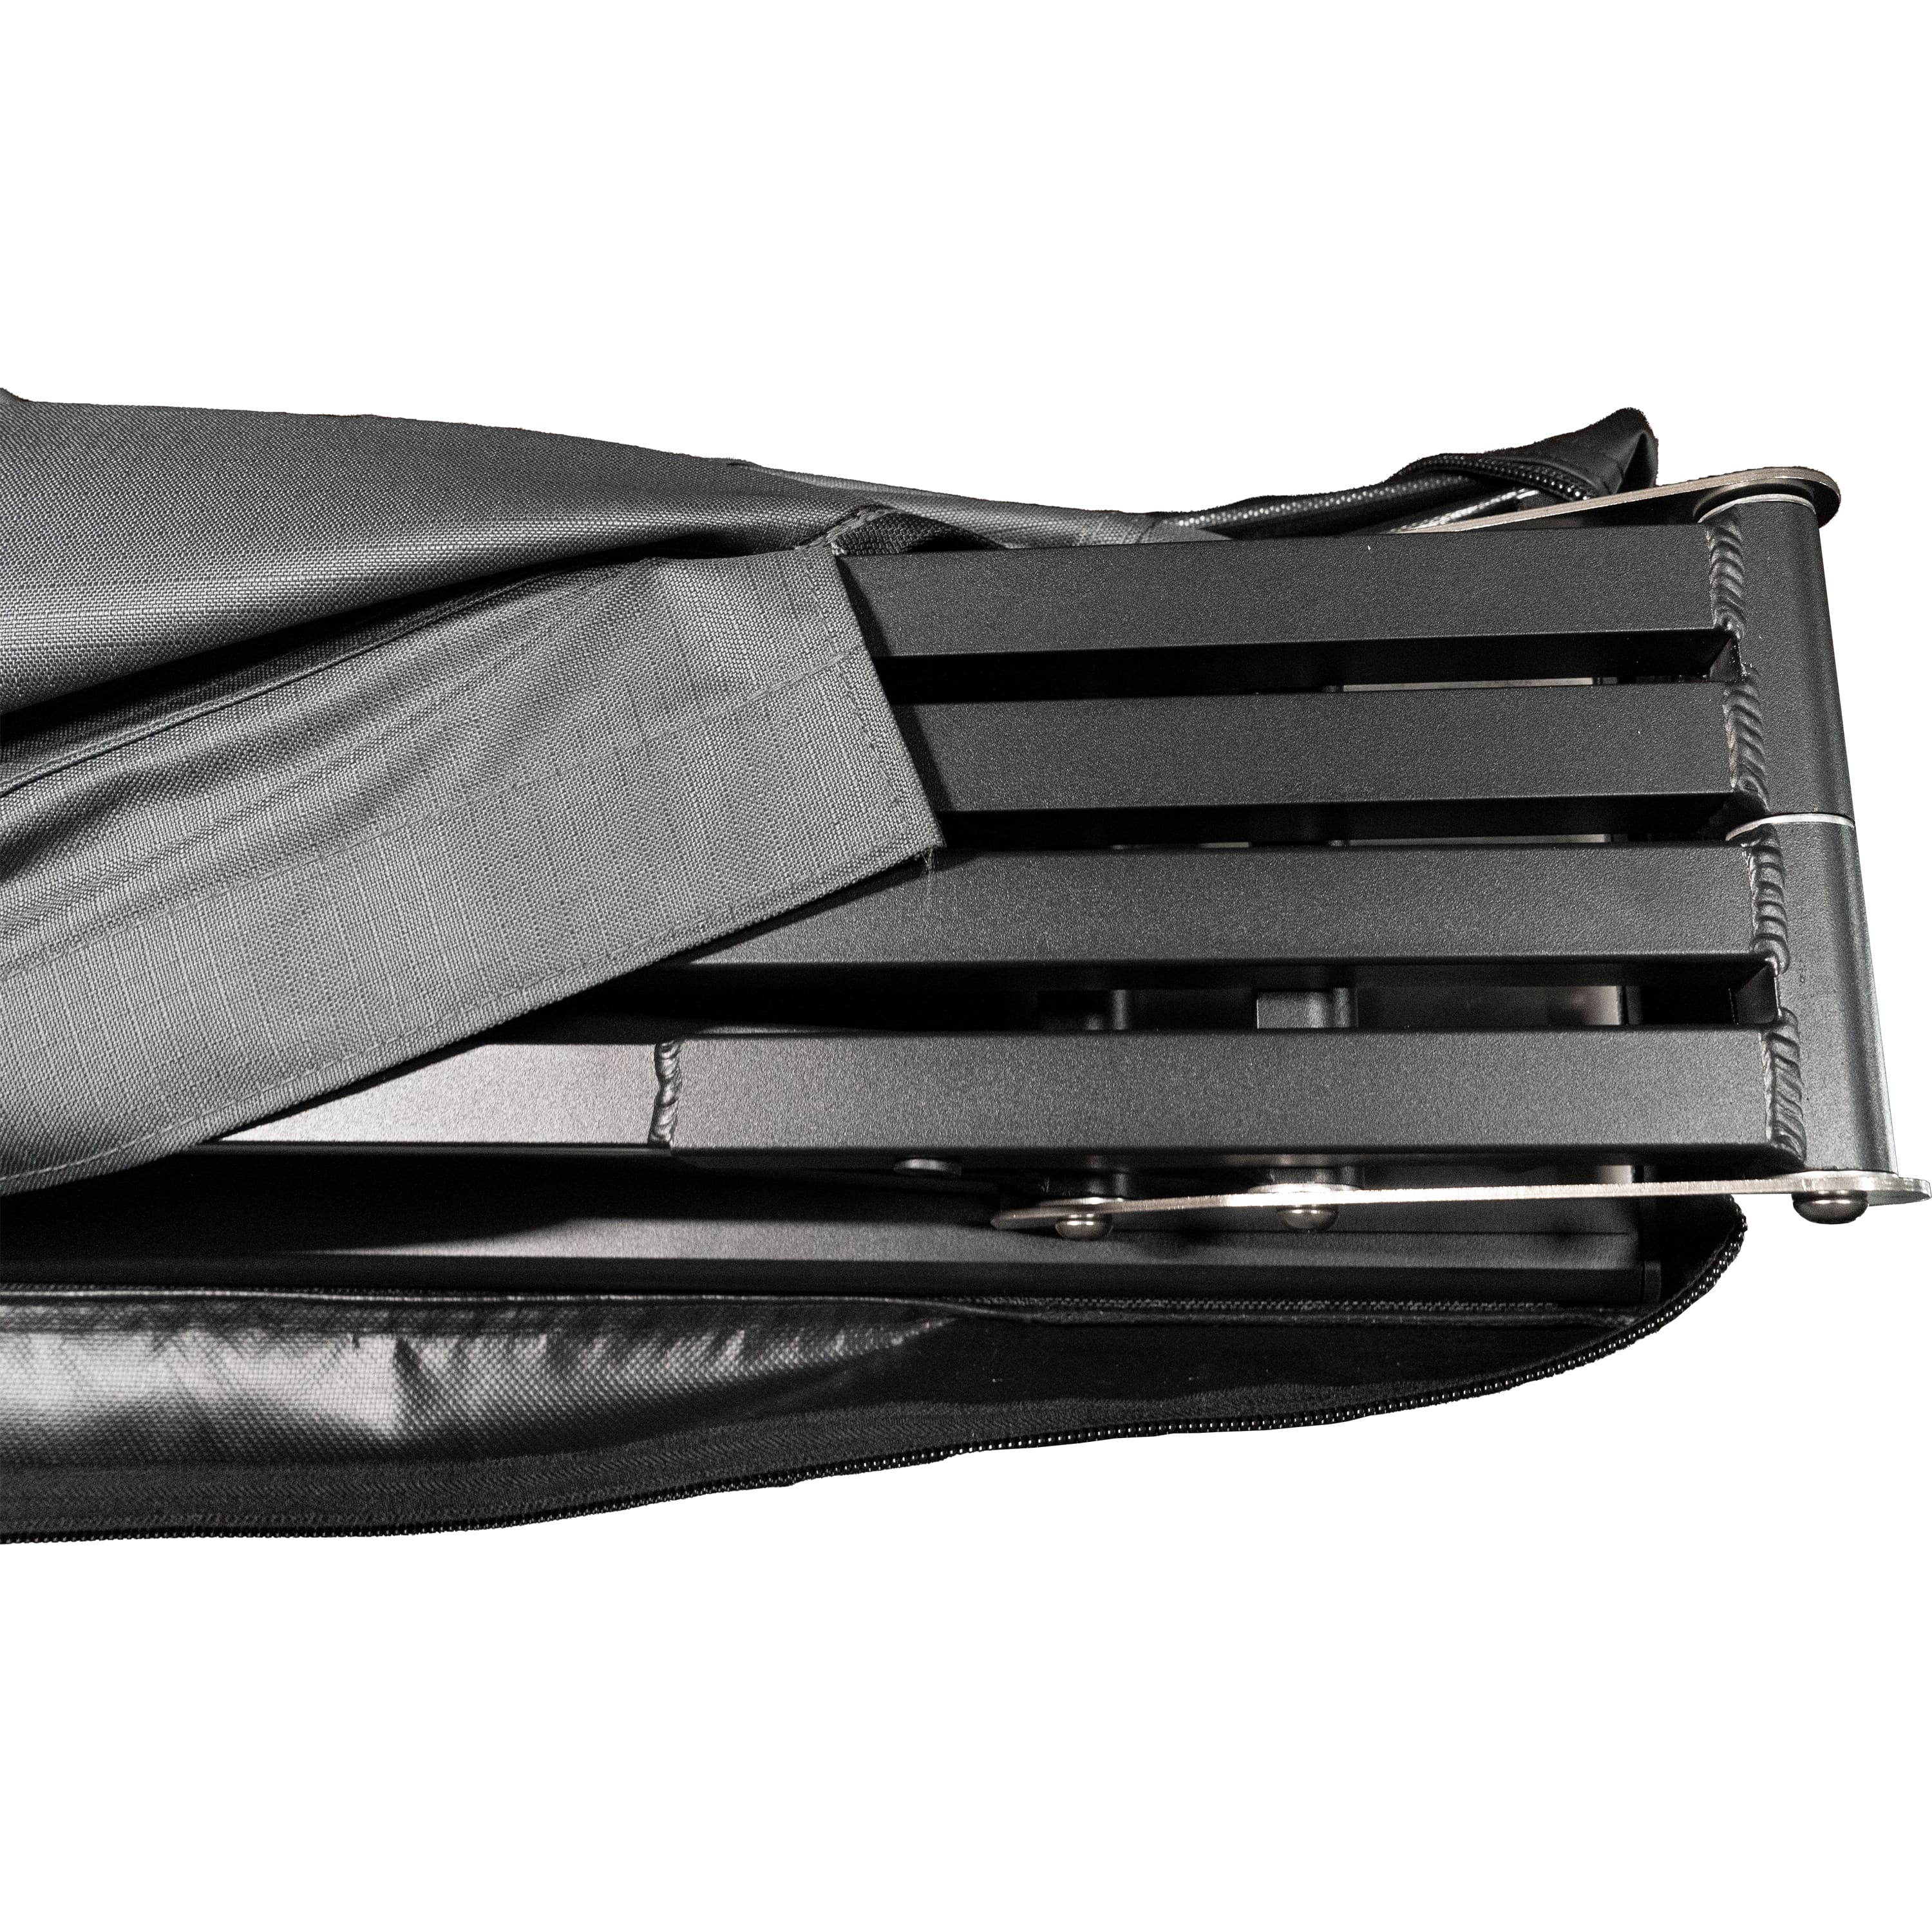
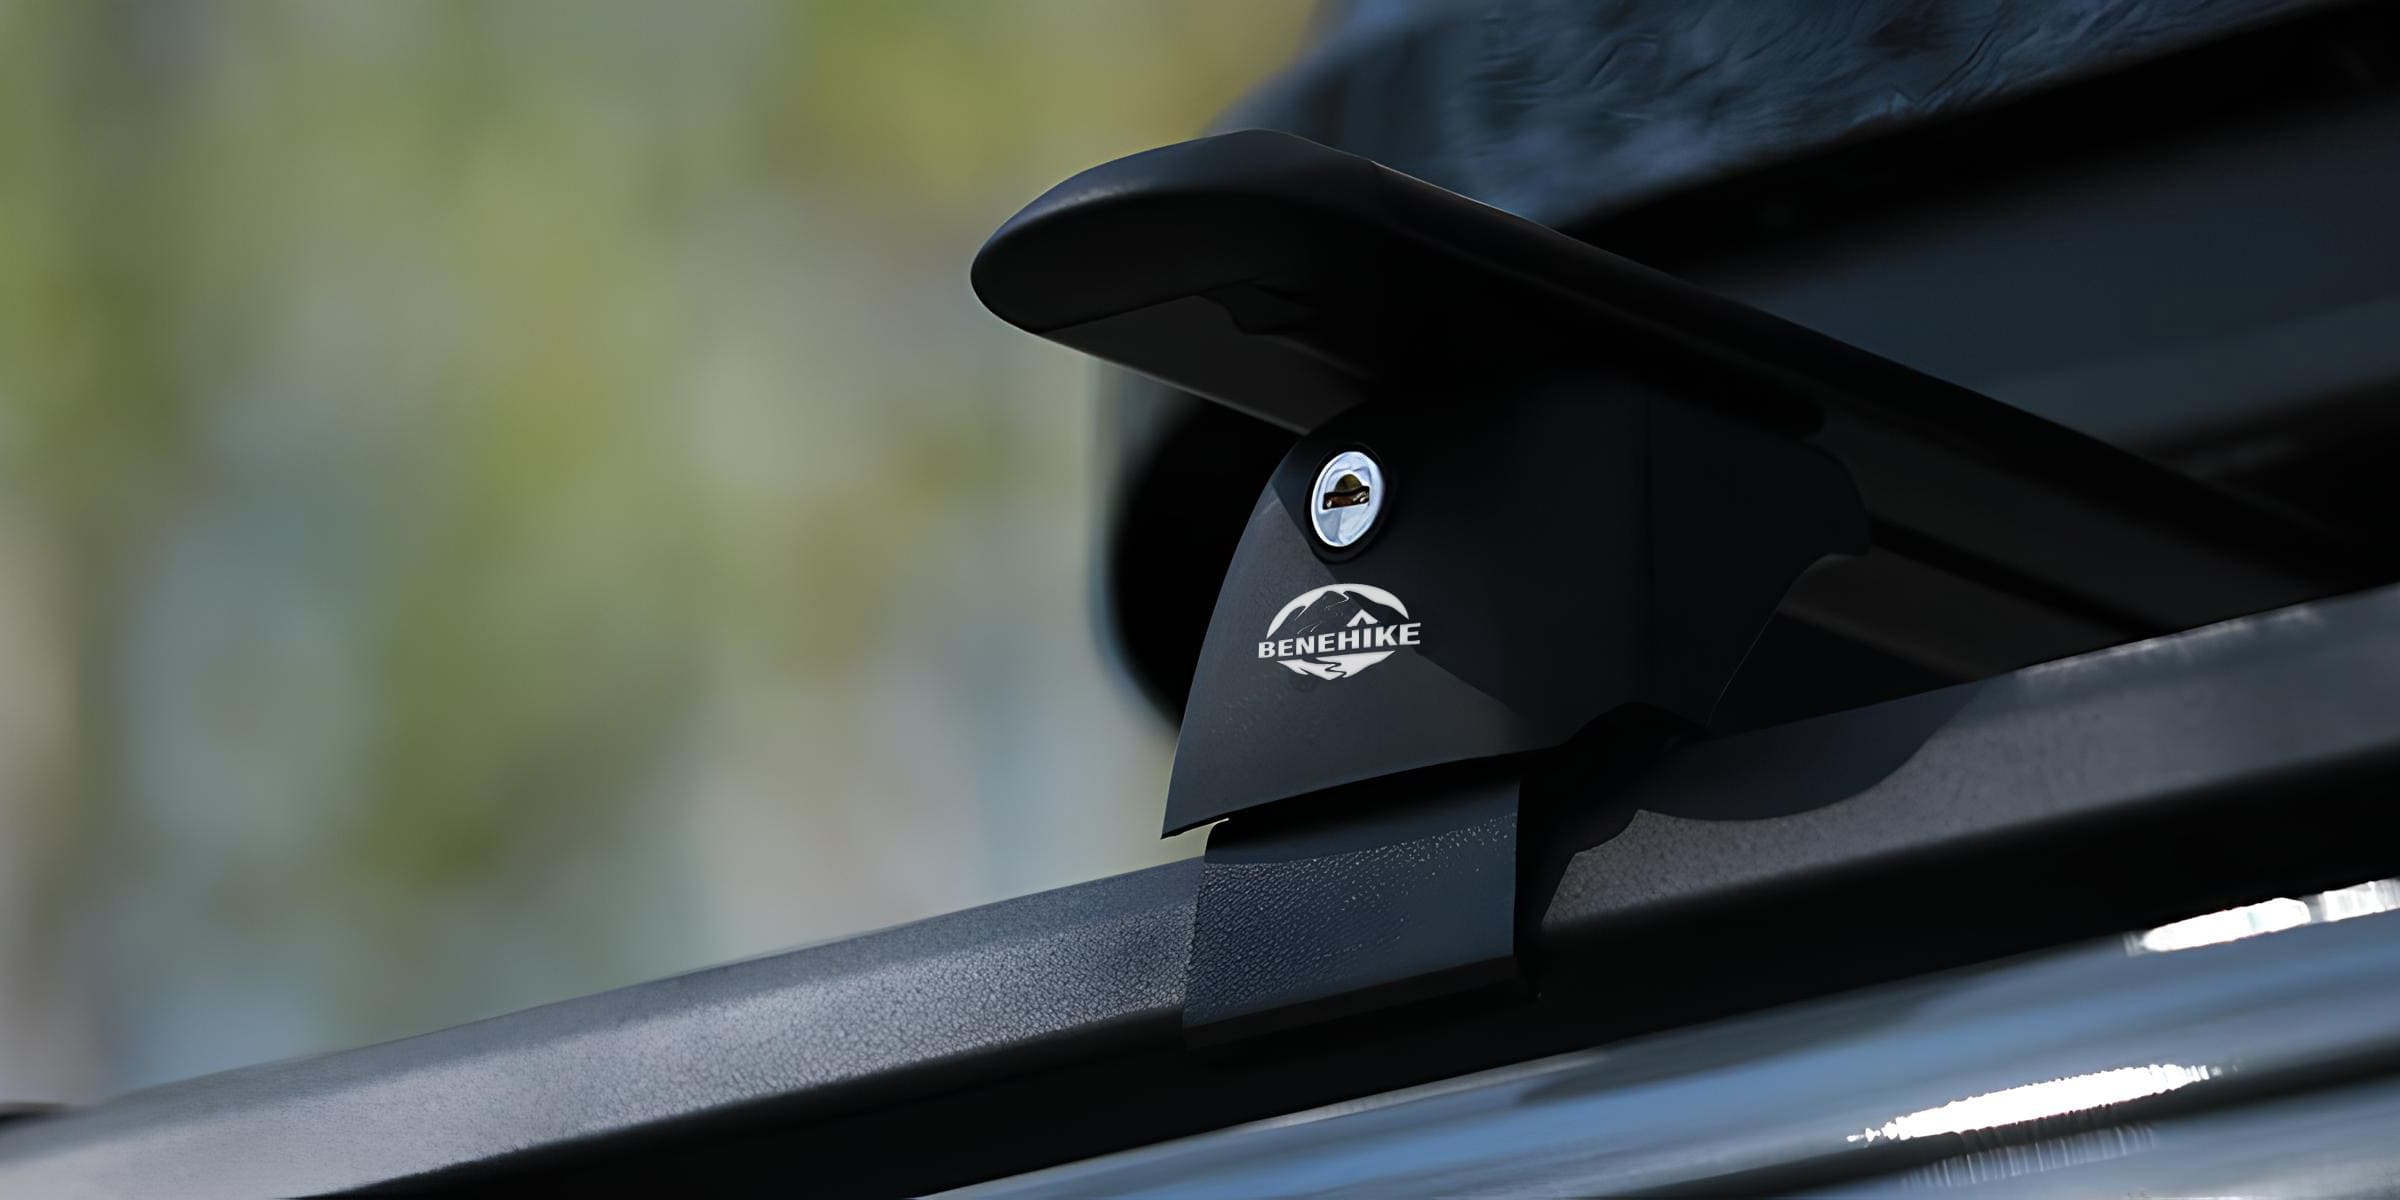
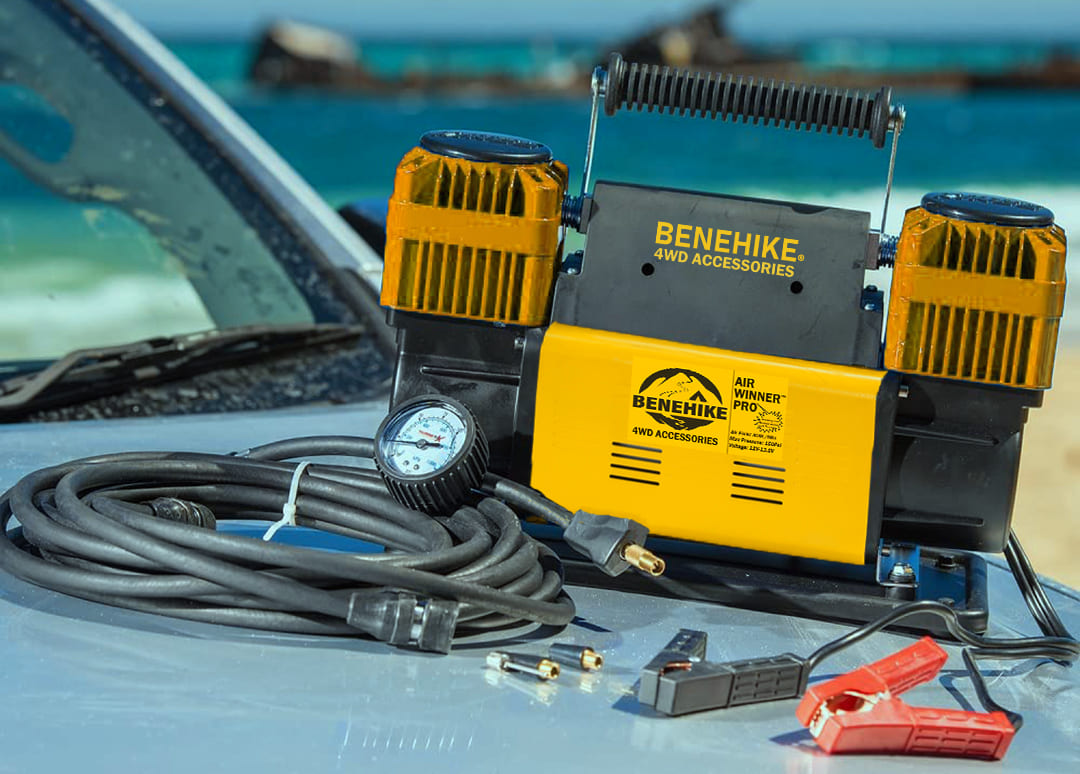
After you have decided the roof top tent, gather the necessary tools and equipment for installation. This typically includes:
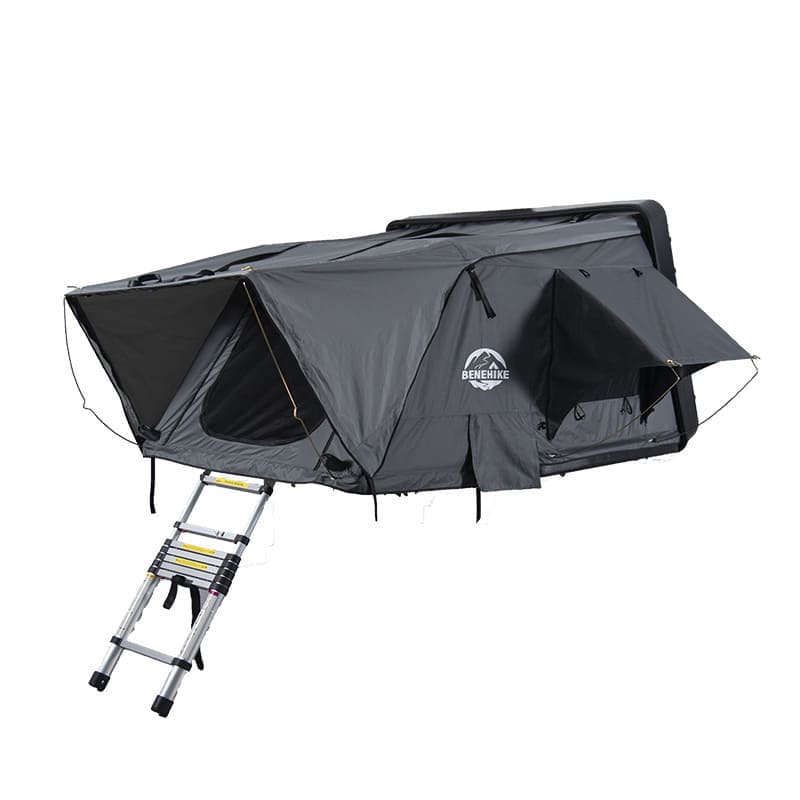
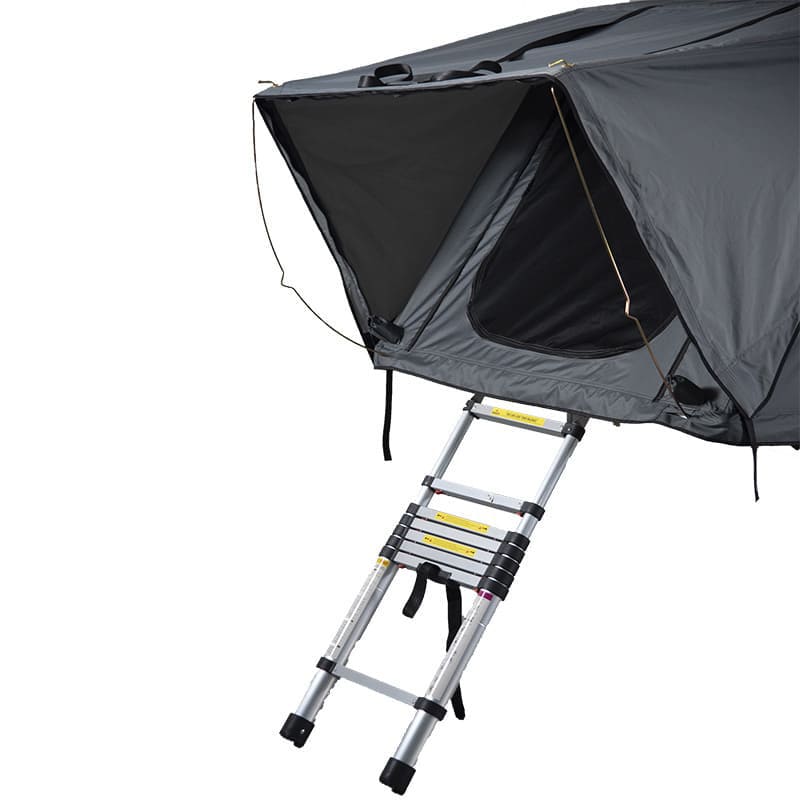
- Ladder or step stool for roof access
- Metric socket set and ratchet for tightening bolts
- Cordless drill for securing tent mounting plates
- Torque wrench to ensure bolts are tightened properly
- Mounting hardware specific to your rooftop tentYou'll also want to have the tent manual, any additional seals or parts that come with the tent, and protective blankets or pads to ensure your roof rack stays scratch free during installation.

Taking the time for thorough research, vehicle preparation and tooling up front will make the actual tent installation process much smoother and give you peace of mind that your rooftop tent is securely set up for adventure.
Safety Precautions
It is extremely important to read and understand the manufacturer's instructions before the trip starts. The manual will provide specific safety warnings, installation tips and instructions tailored to your model of roof top tent. Read it in advance and carefully follow all recommendations to ensure correct and safe setup.
Meanwhile, it is also important to check the weather conditions and choose a suitable location for setting up the tent. If the location will have high winds, heavy rain or extreme cold temperatures, you need to seriously consider change the location or wait until the weather gets back to normal.
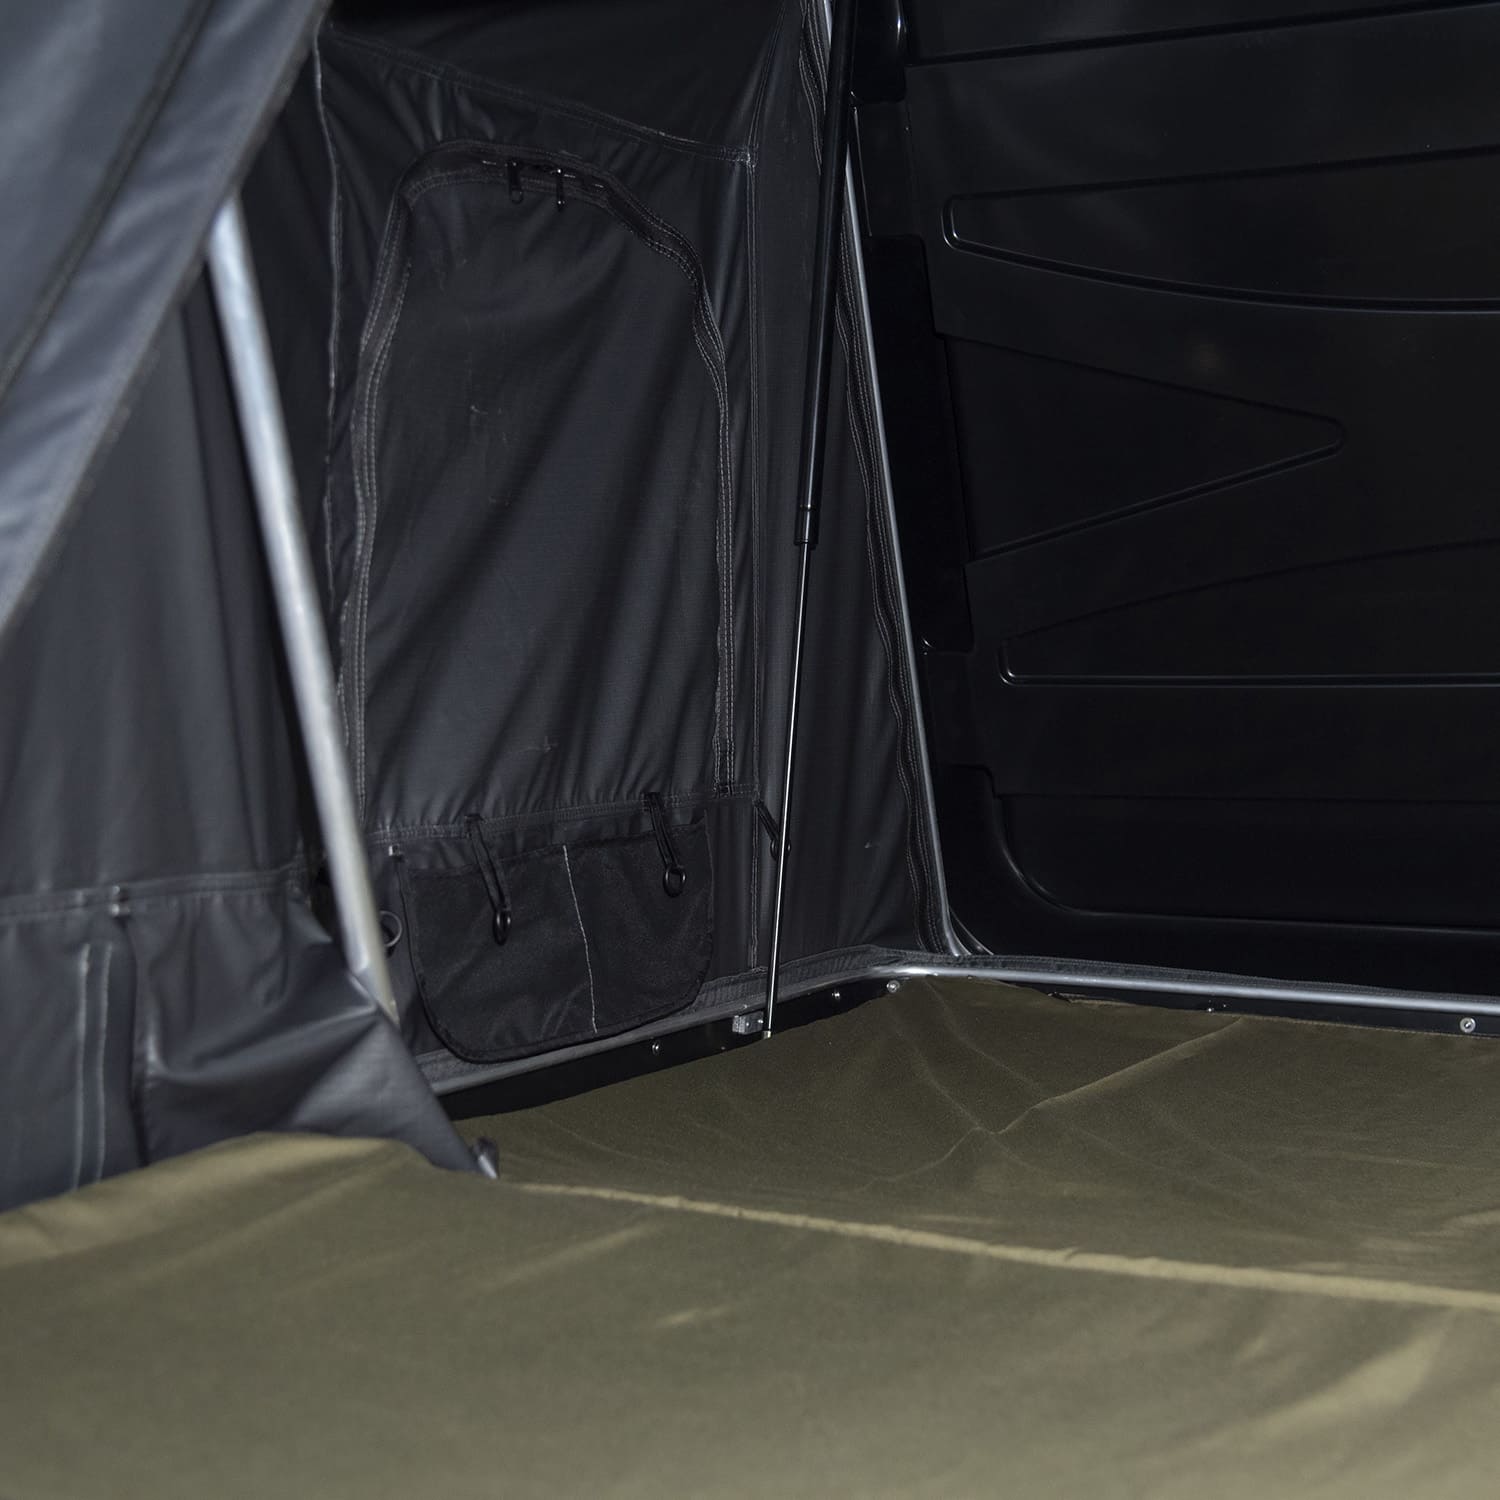
When it comes to set up the tent, remember to set up in a level, stable location away from potential hazards like low-hanging tree limbs. It is a must to perform a thorough inspection of the roof rack, tent, and all components before installation. Check for:
- Damage to roof rack bars, legs or mounts
- Cracks, tears or holes in the tent fabric
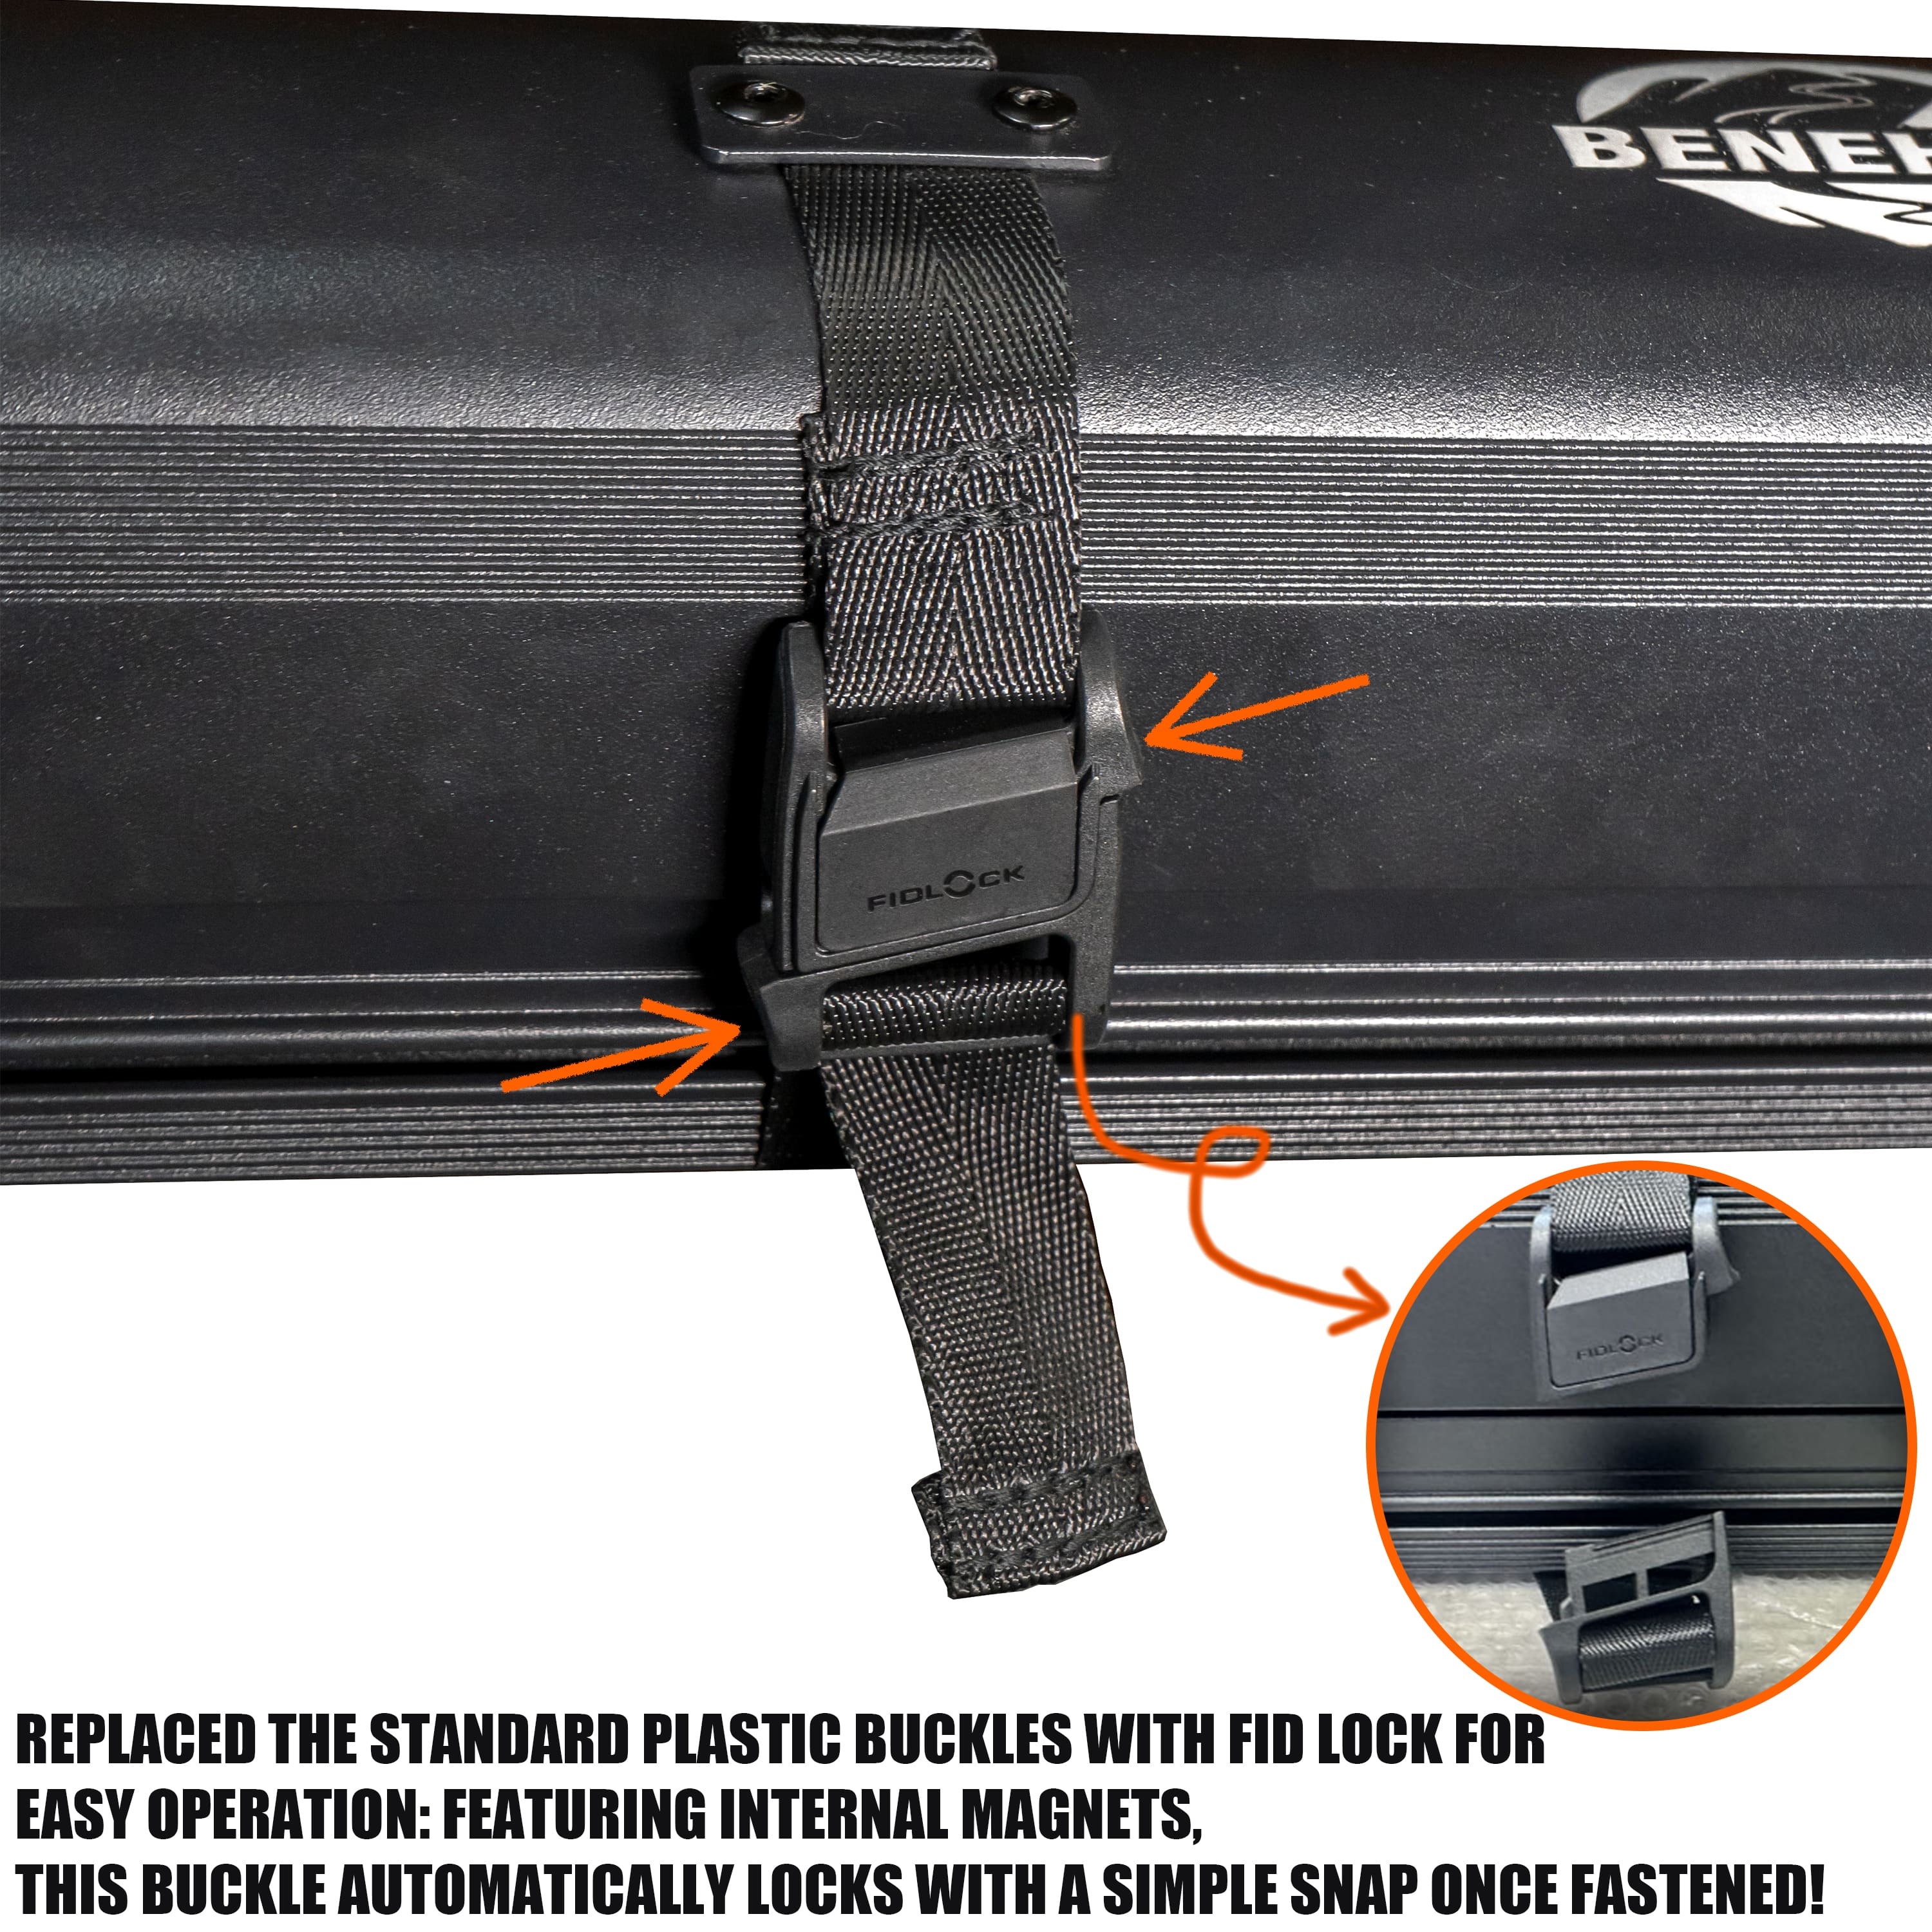
- Any missing, damaged or worn parts like buckles, straps or bolts
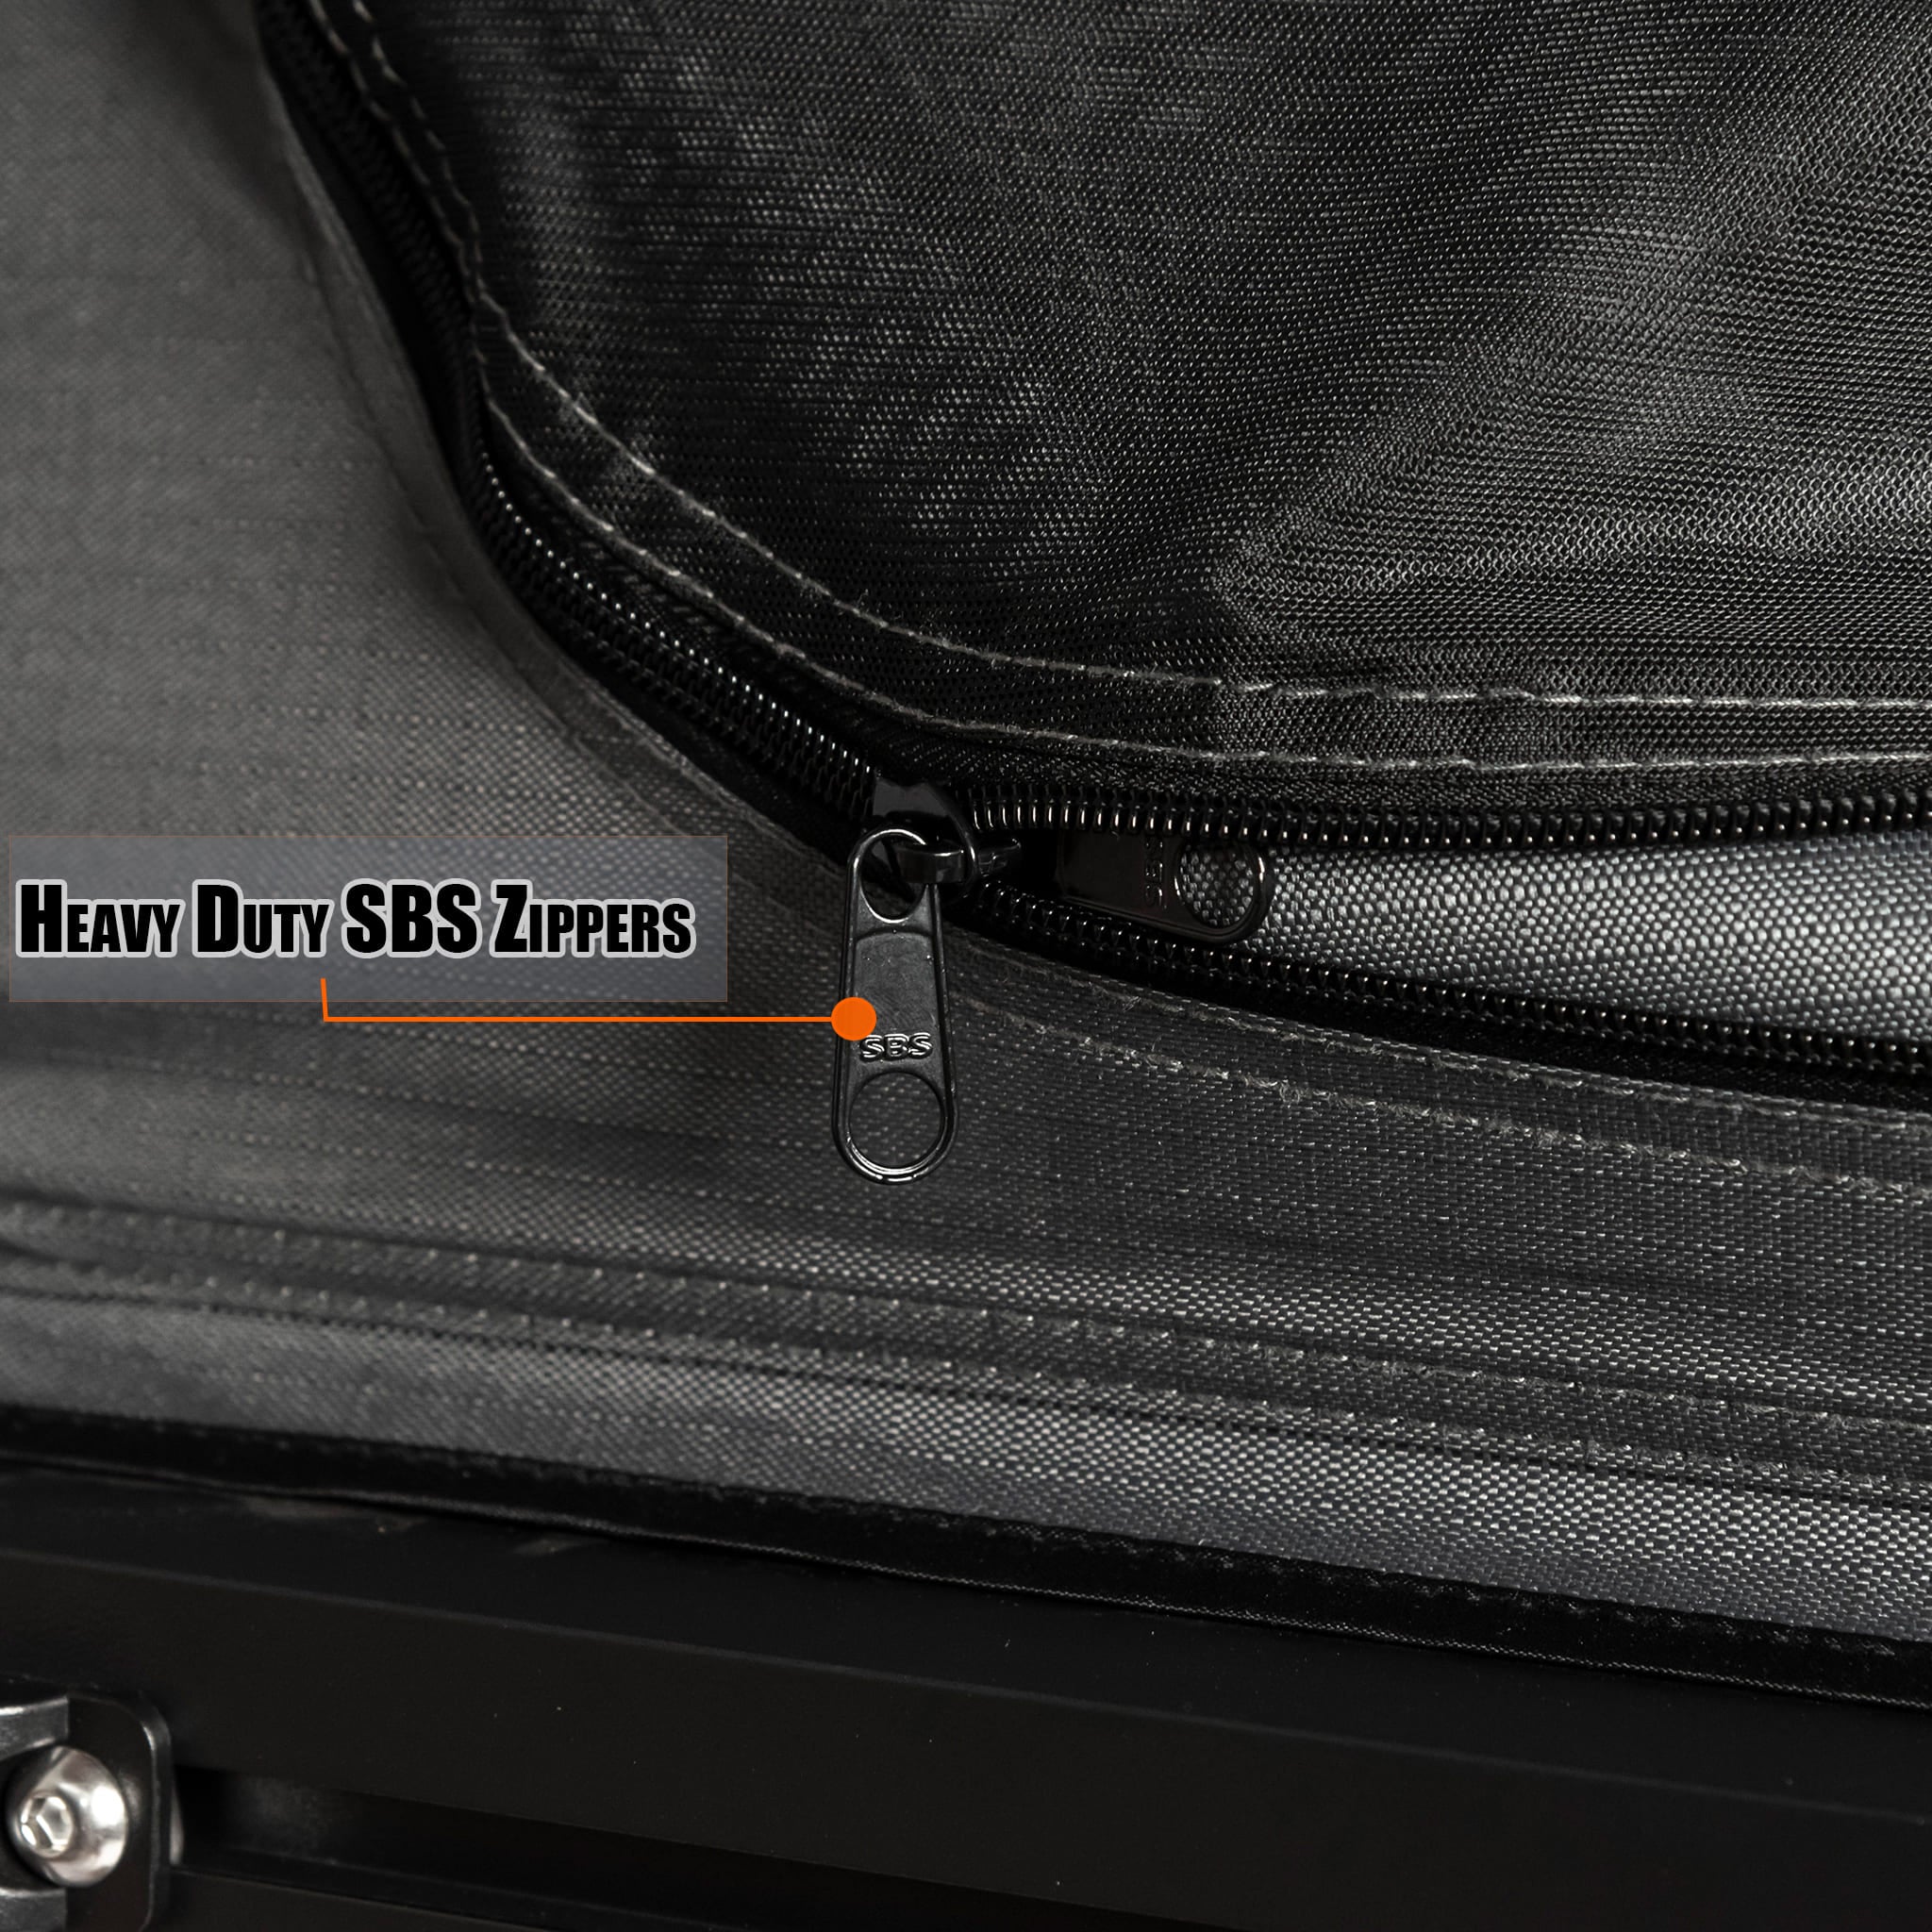
- Proper functioning of zippers, poles and hingesReplace or repair any faulty components before proceeding with installation.
The major safety concerns during setup involve falling from height and using tools correctly. Take your time, use caution with ladders and power tools, and have a partner present for safety. Always prioritize safe and proper tent installation over speed.
The most important precautions begin before you even reach for your tools - by educating yourself on the proper setup process through research and the manual, and inspecting your gear to catch any potential issues beforehand. Starting safely will set the stage for many happy adventures to come.
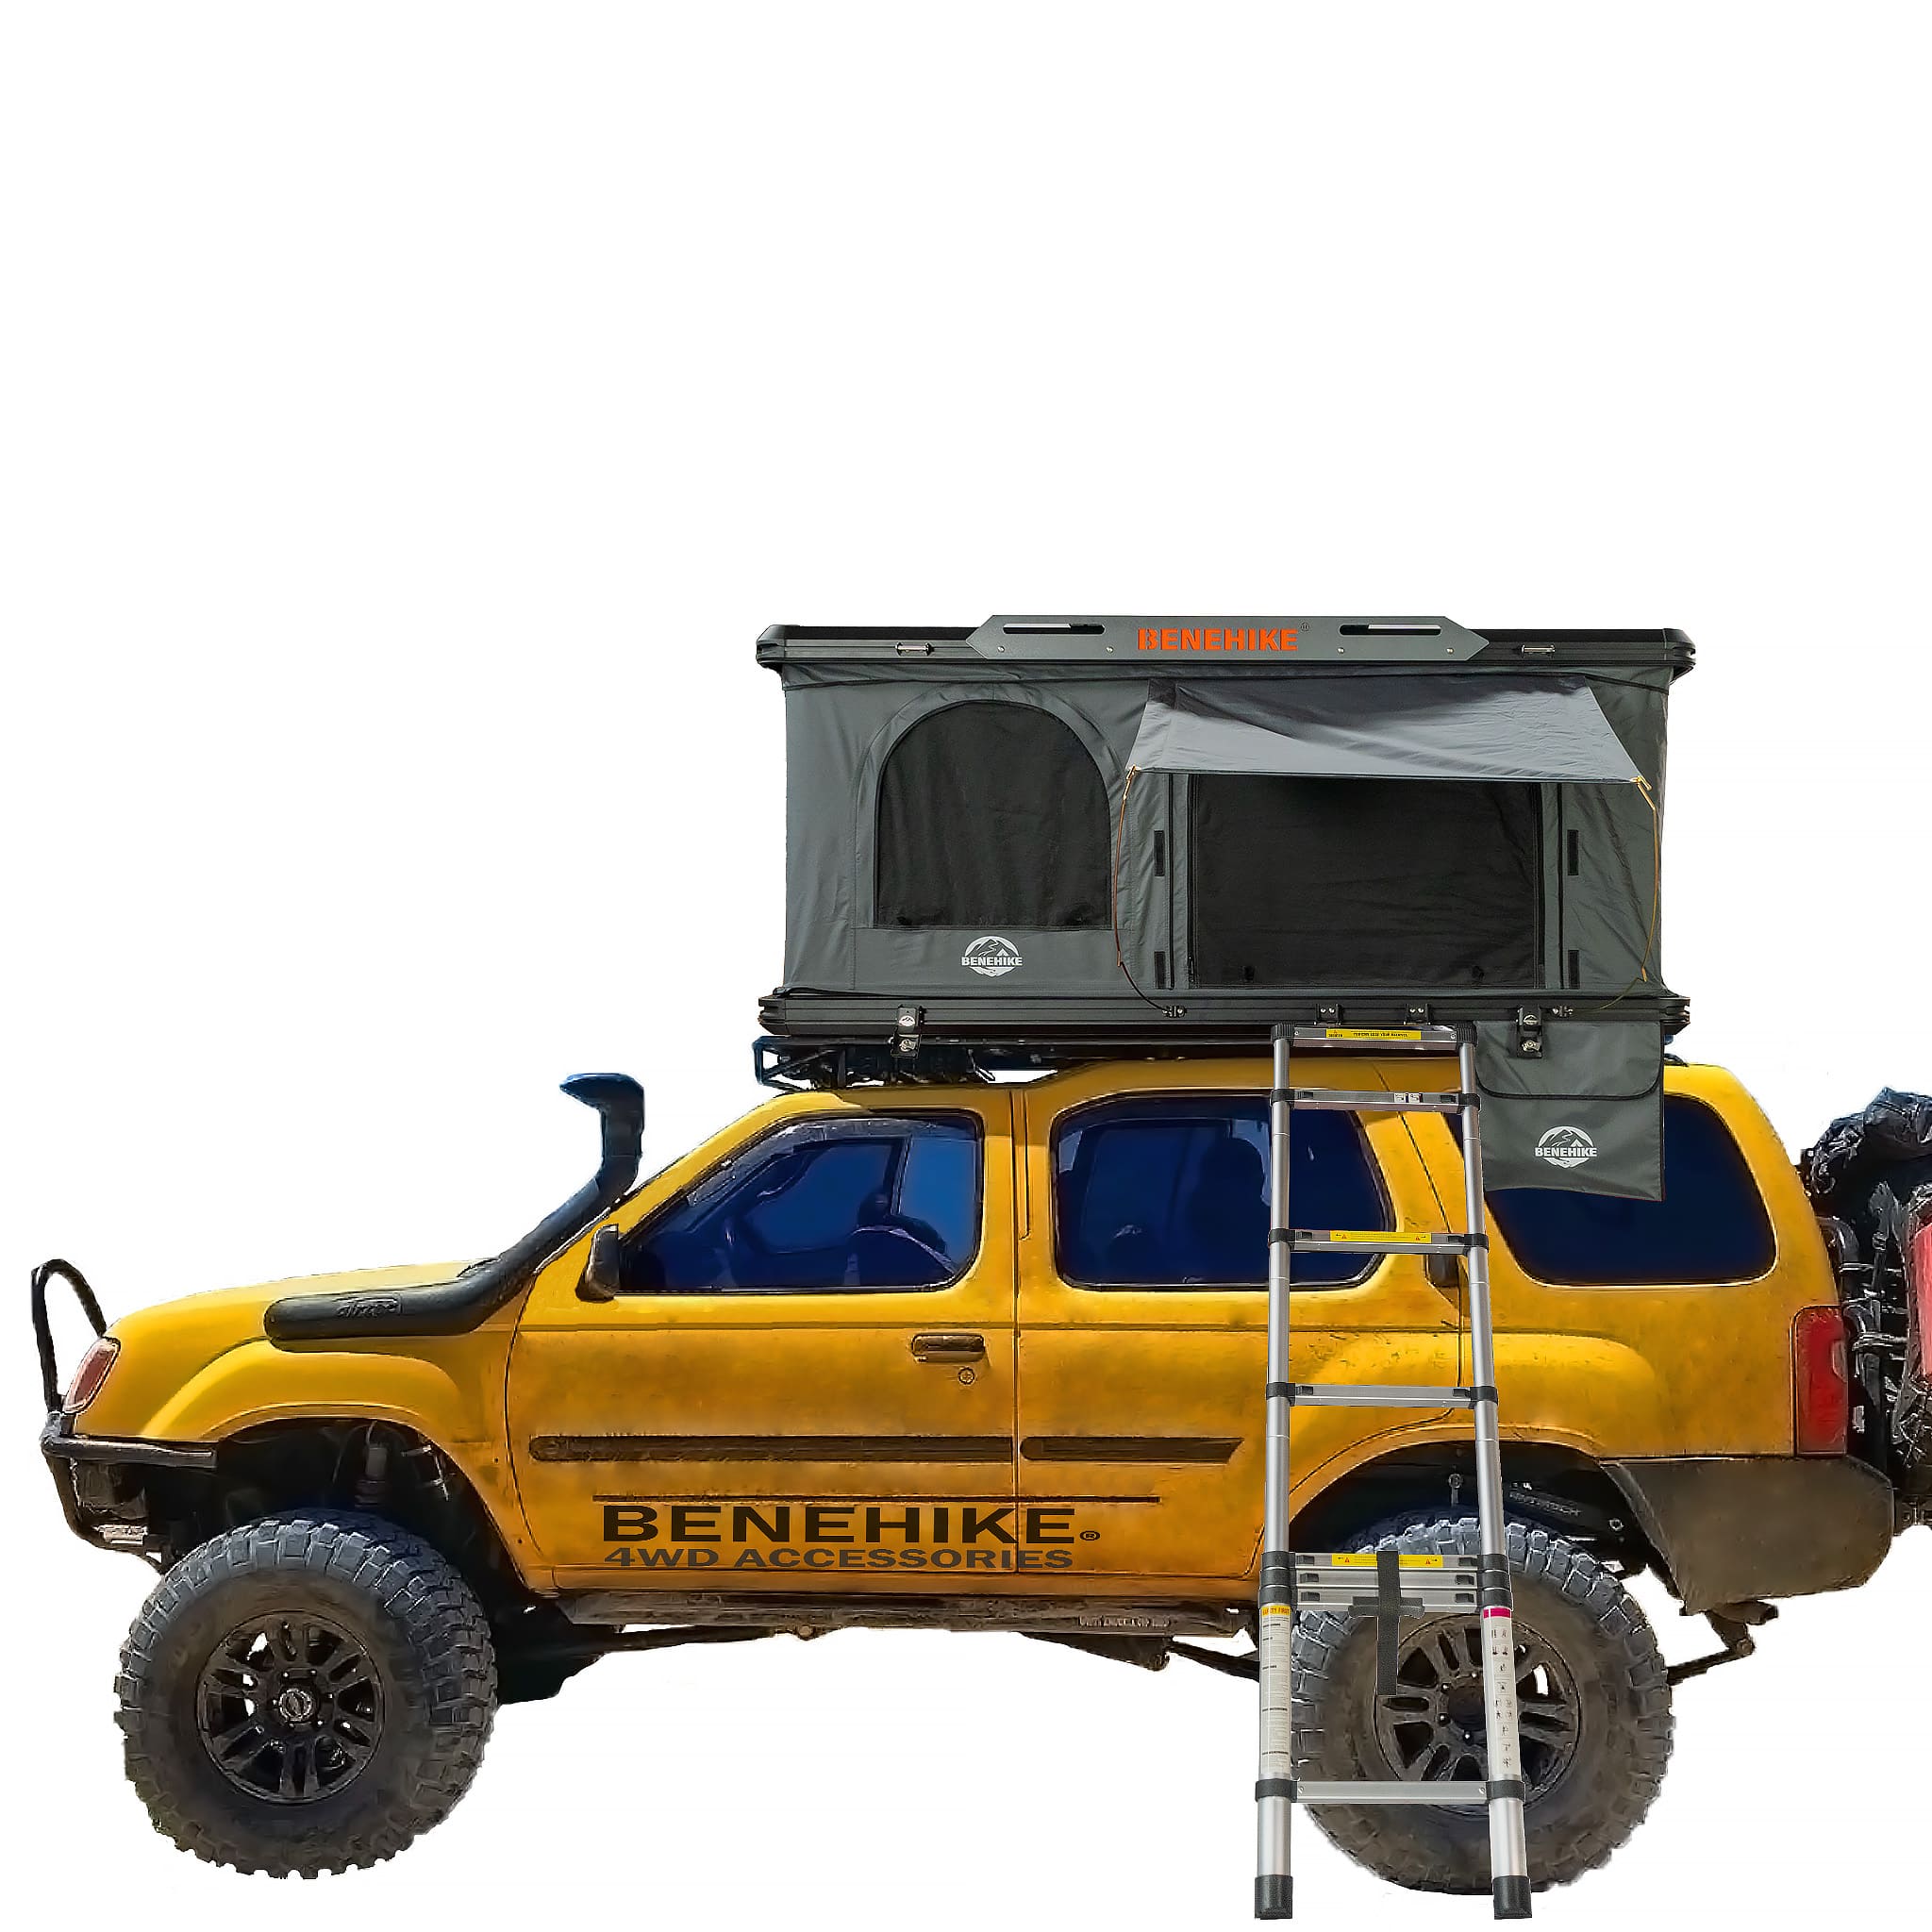
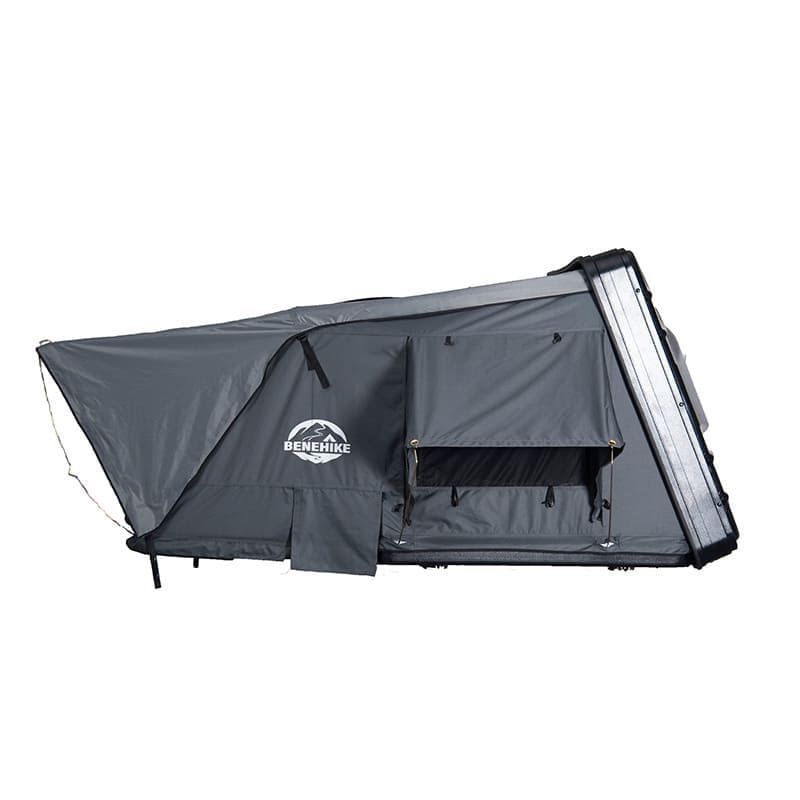
Step-by-Step Guide to Setting Up a Roof Top Tent Solo
Here is a step by step guide for setting up a roof top tent solo:
- Remove all gear from your vehicle and lay down protective blankets or pads on your roof rack bars.
- Lift the tent out of its bag and place it roughly centered on top of your vehicle.

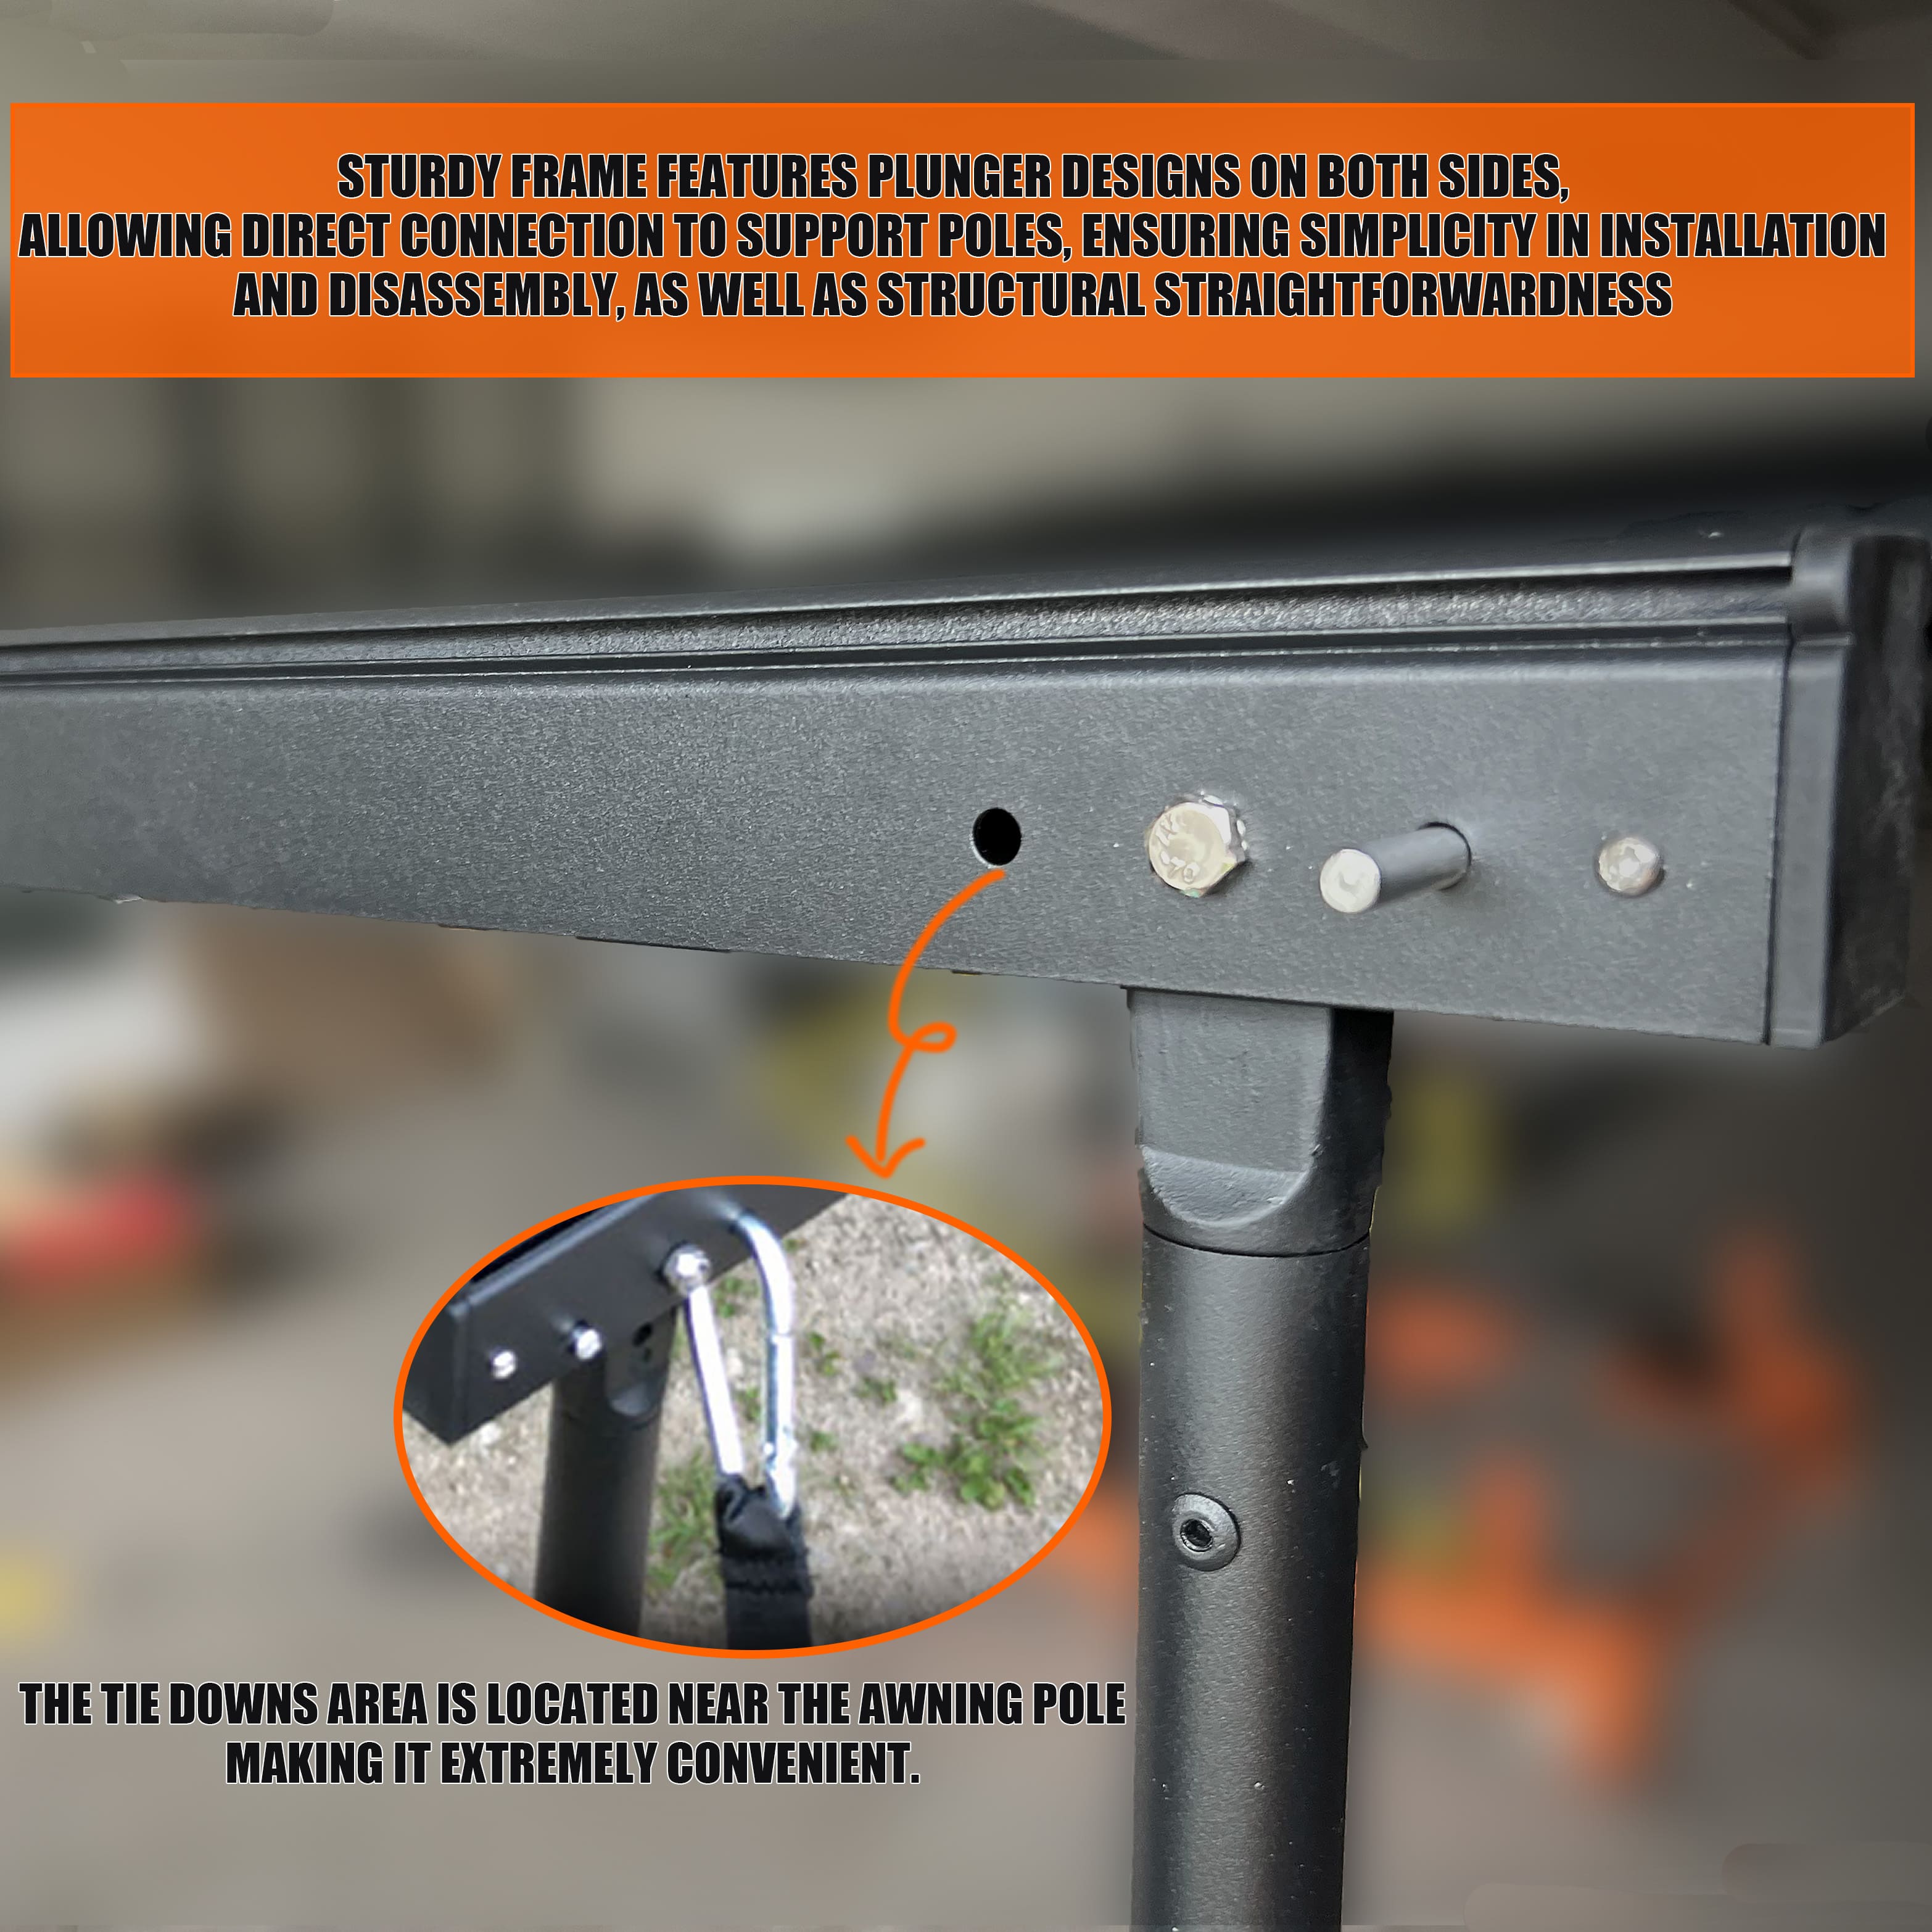
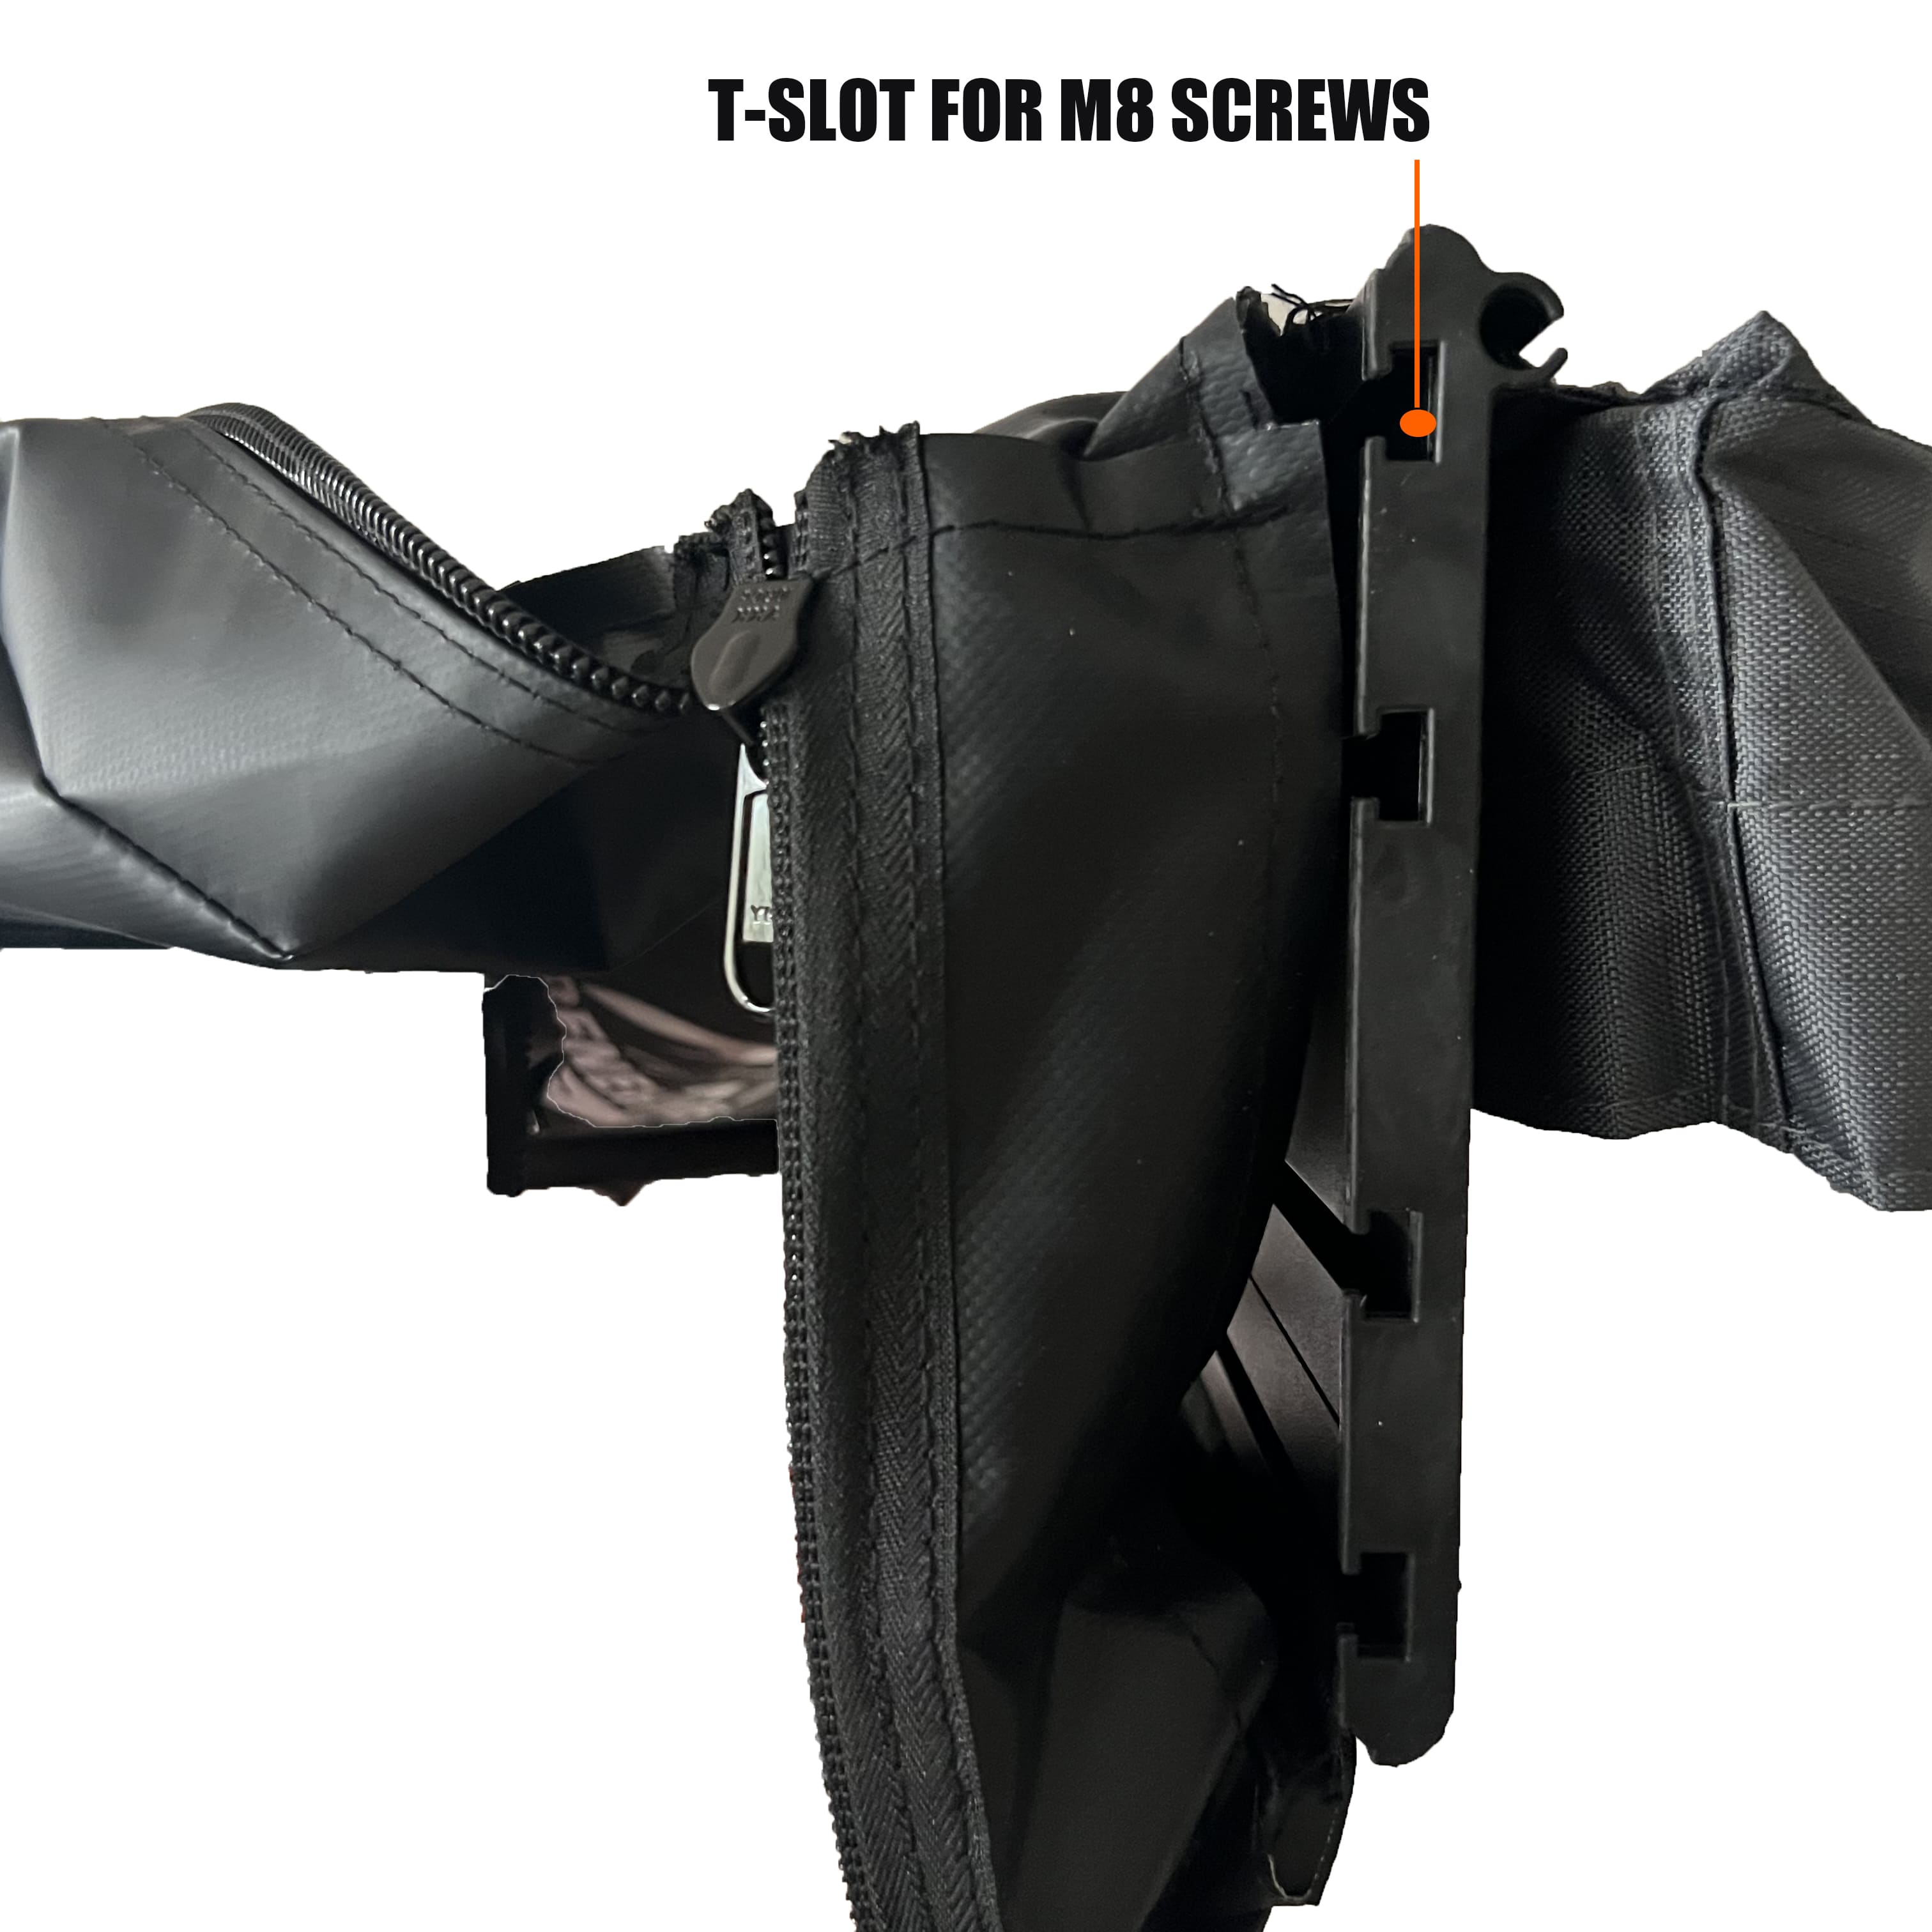
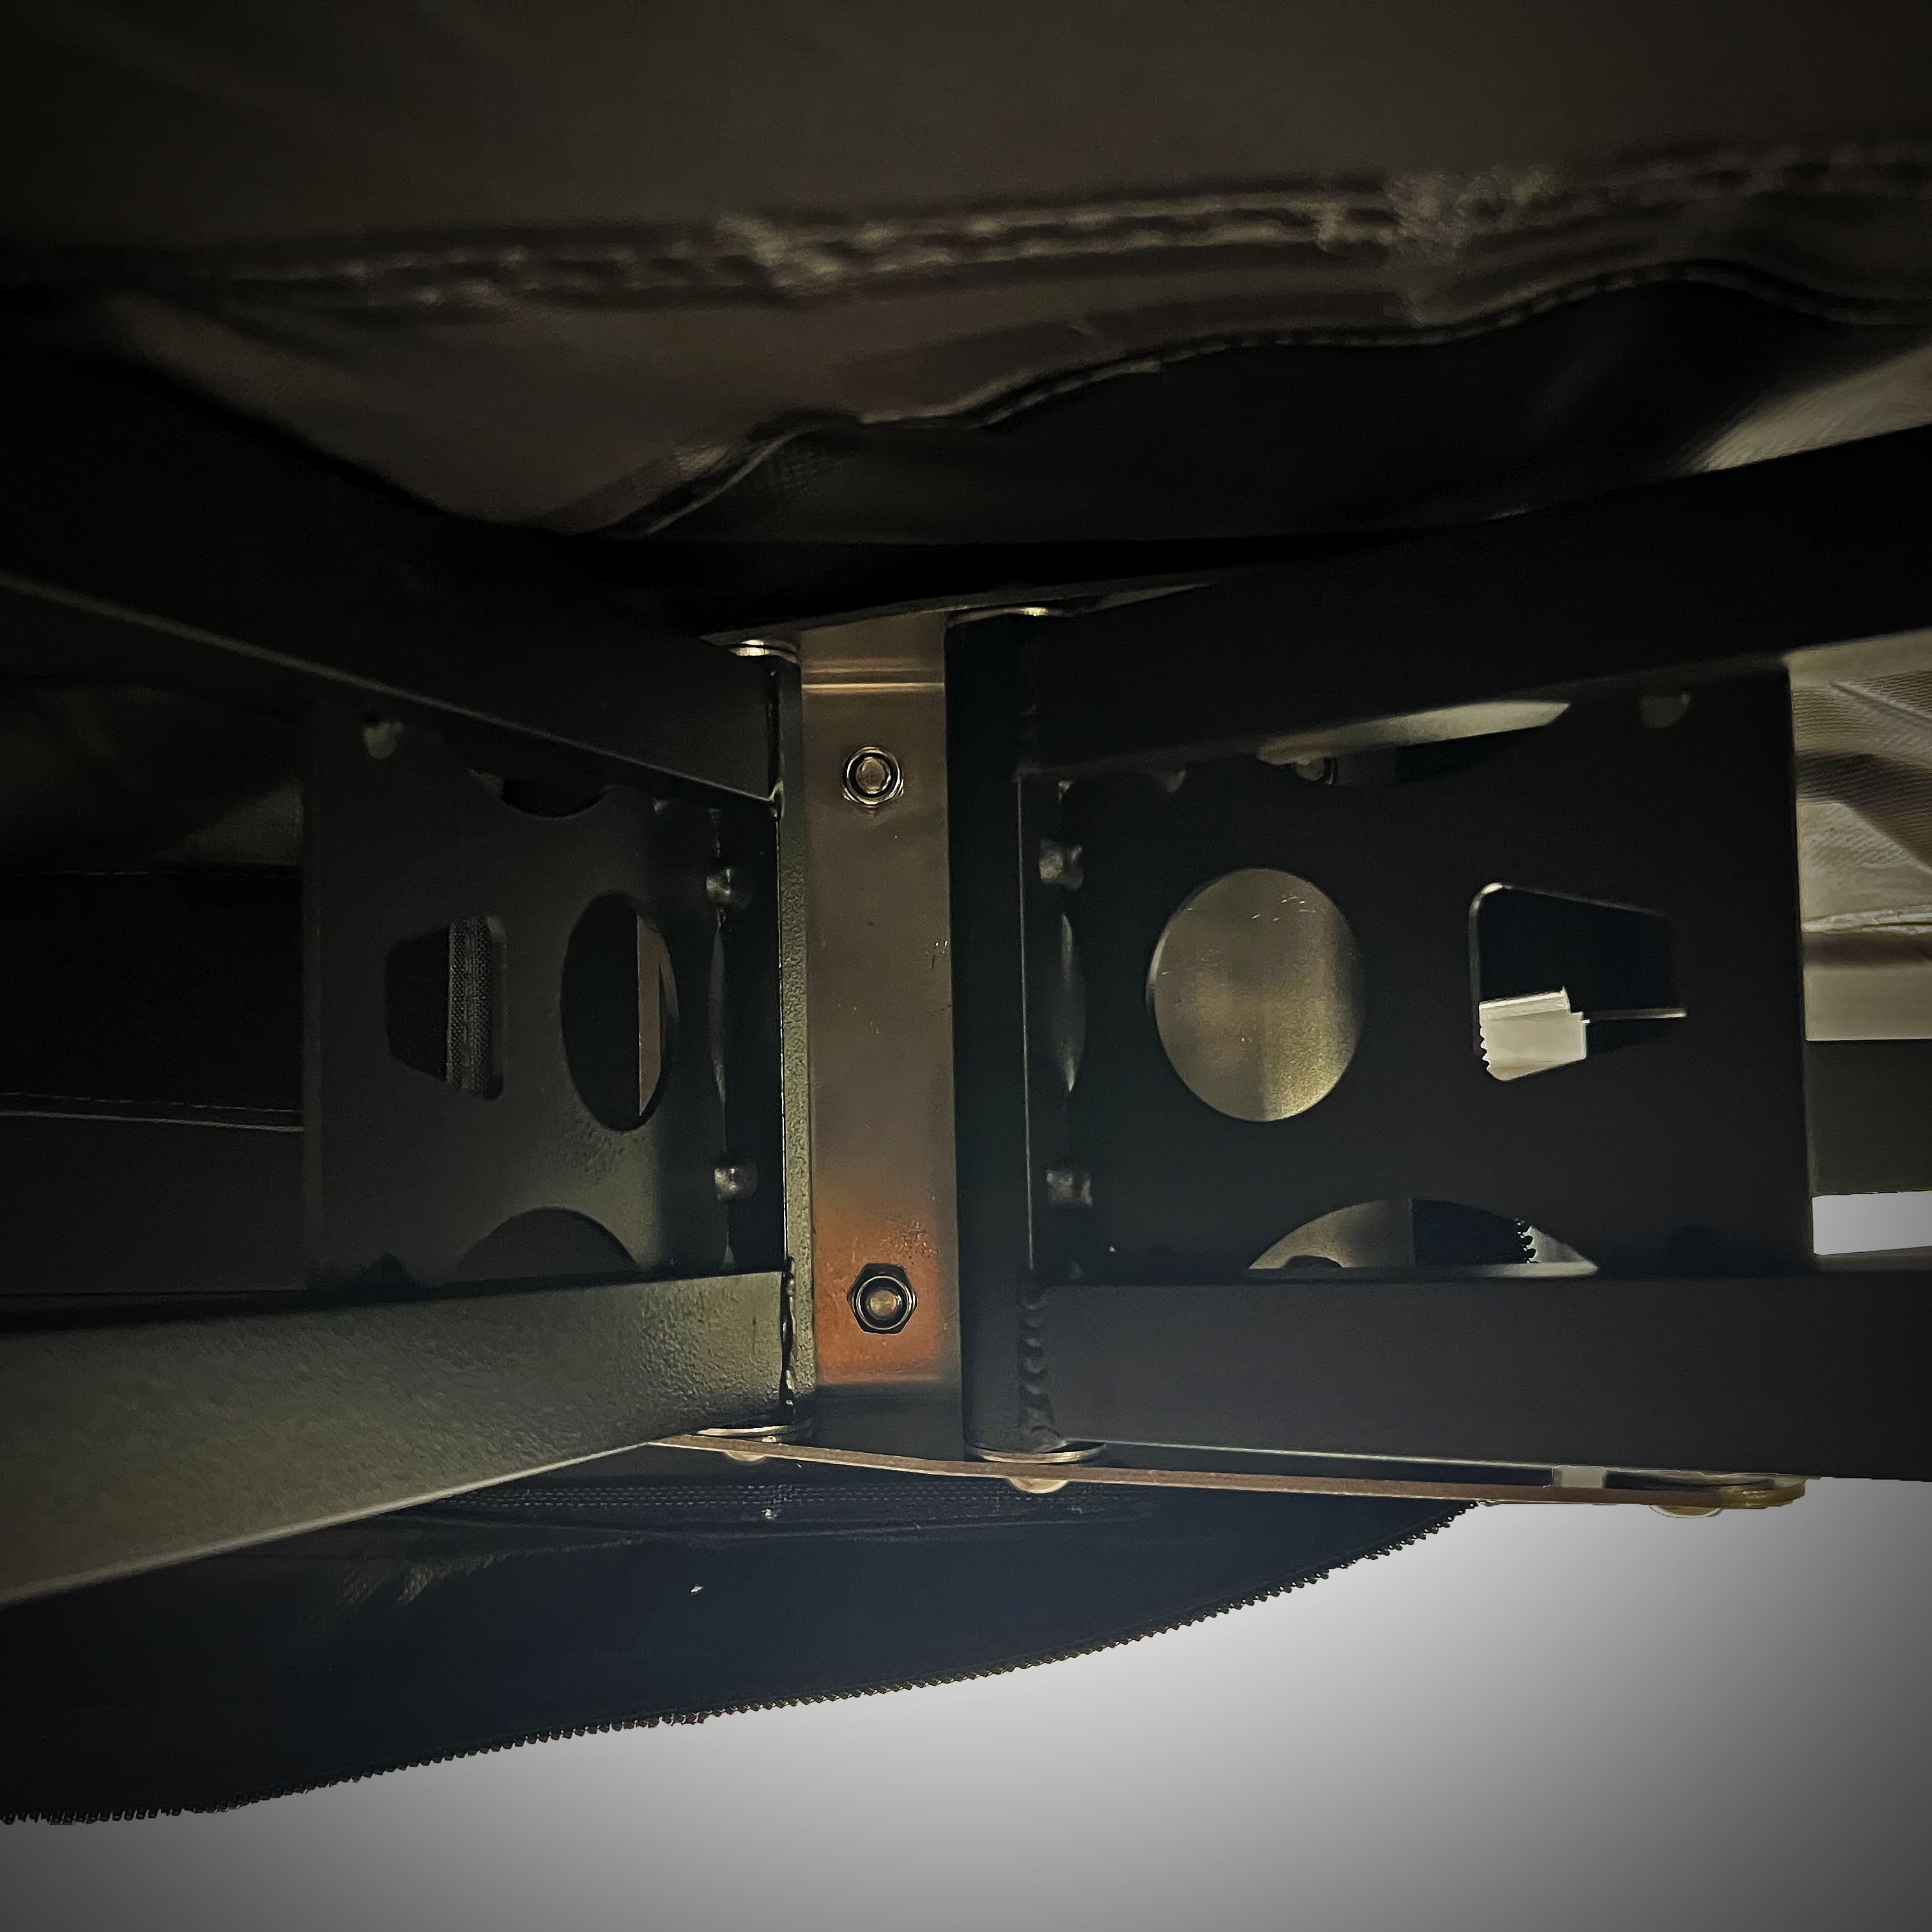
- Attach the mounting legs or feet to the bottom of the tent, securing them with bolts or clips.
- With the tent still on the roof, tighten the bolts or straps on the feet to attach them to the cross bars. Leave the bolts or straps a bit loose for now.

- Climb up and into the tent, lying down on your back with your head toward the front of the vehicle. Reach down and tighten the bolts or straps on the feet to secure the tent to the cross bars.
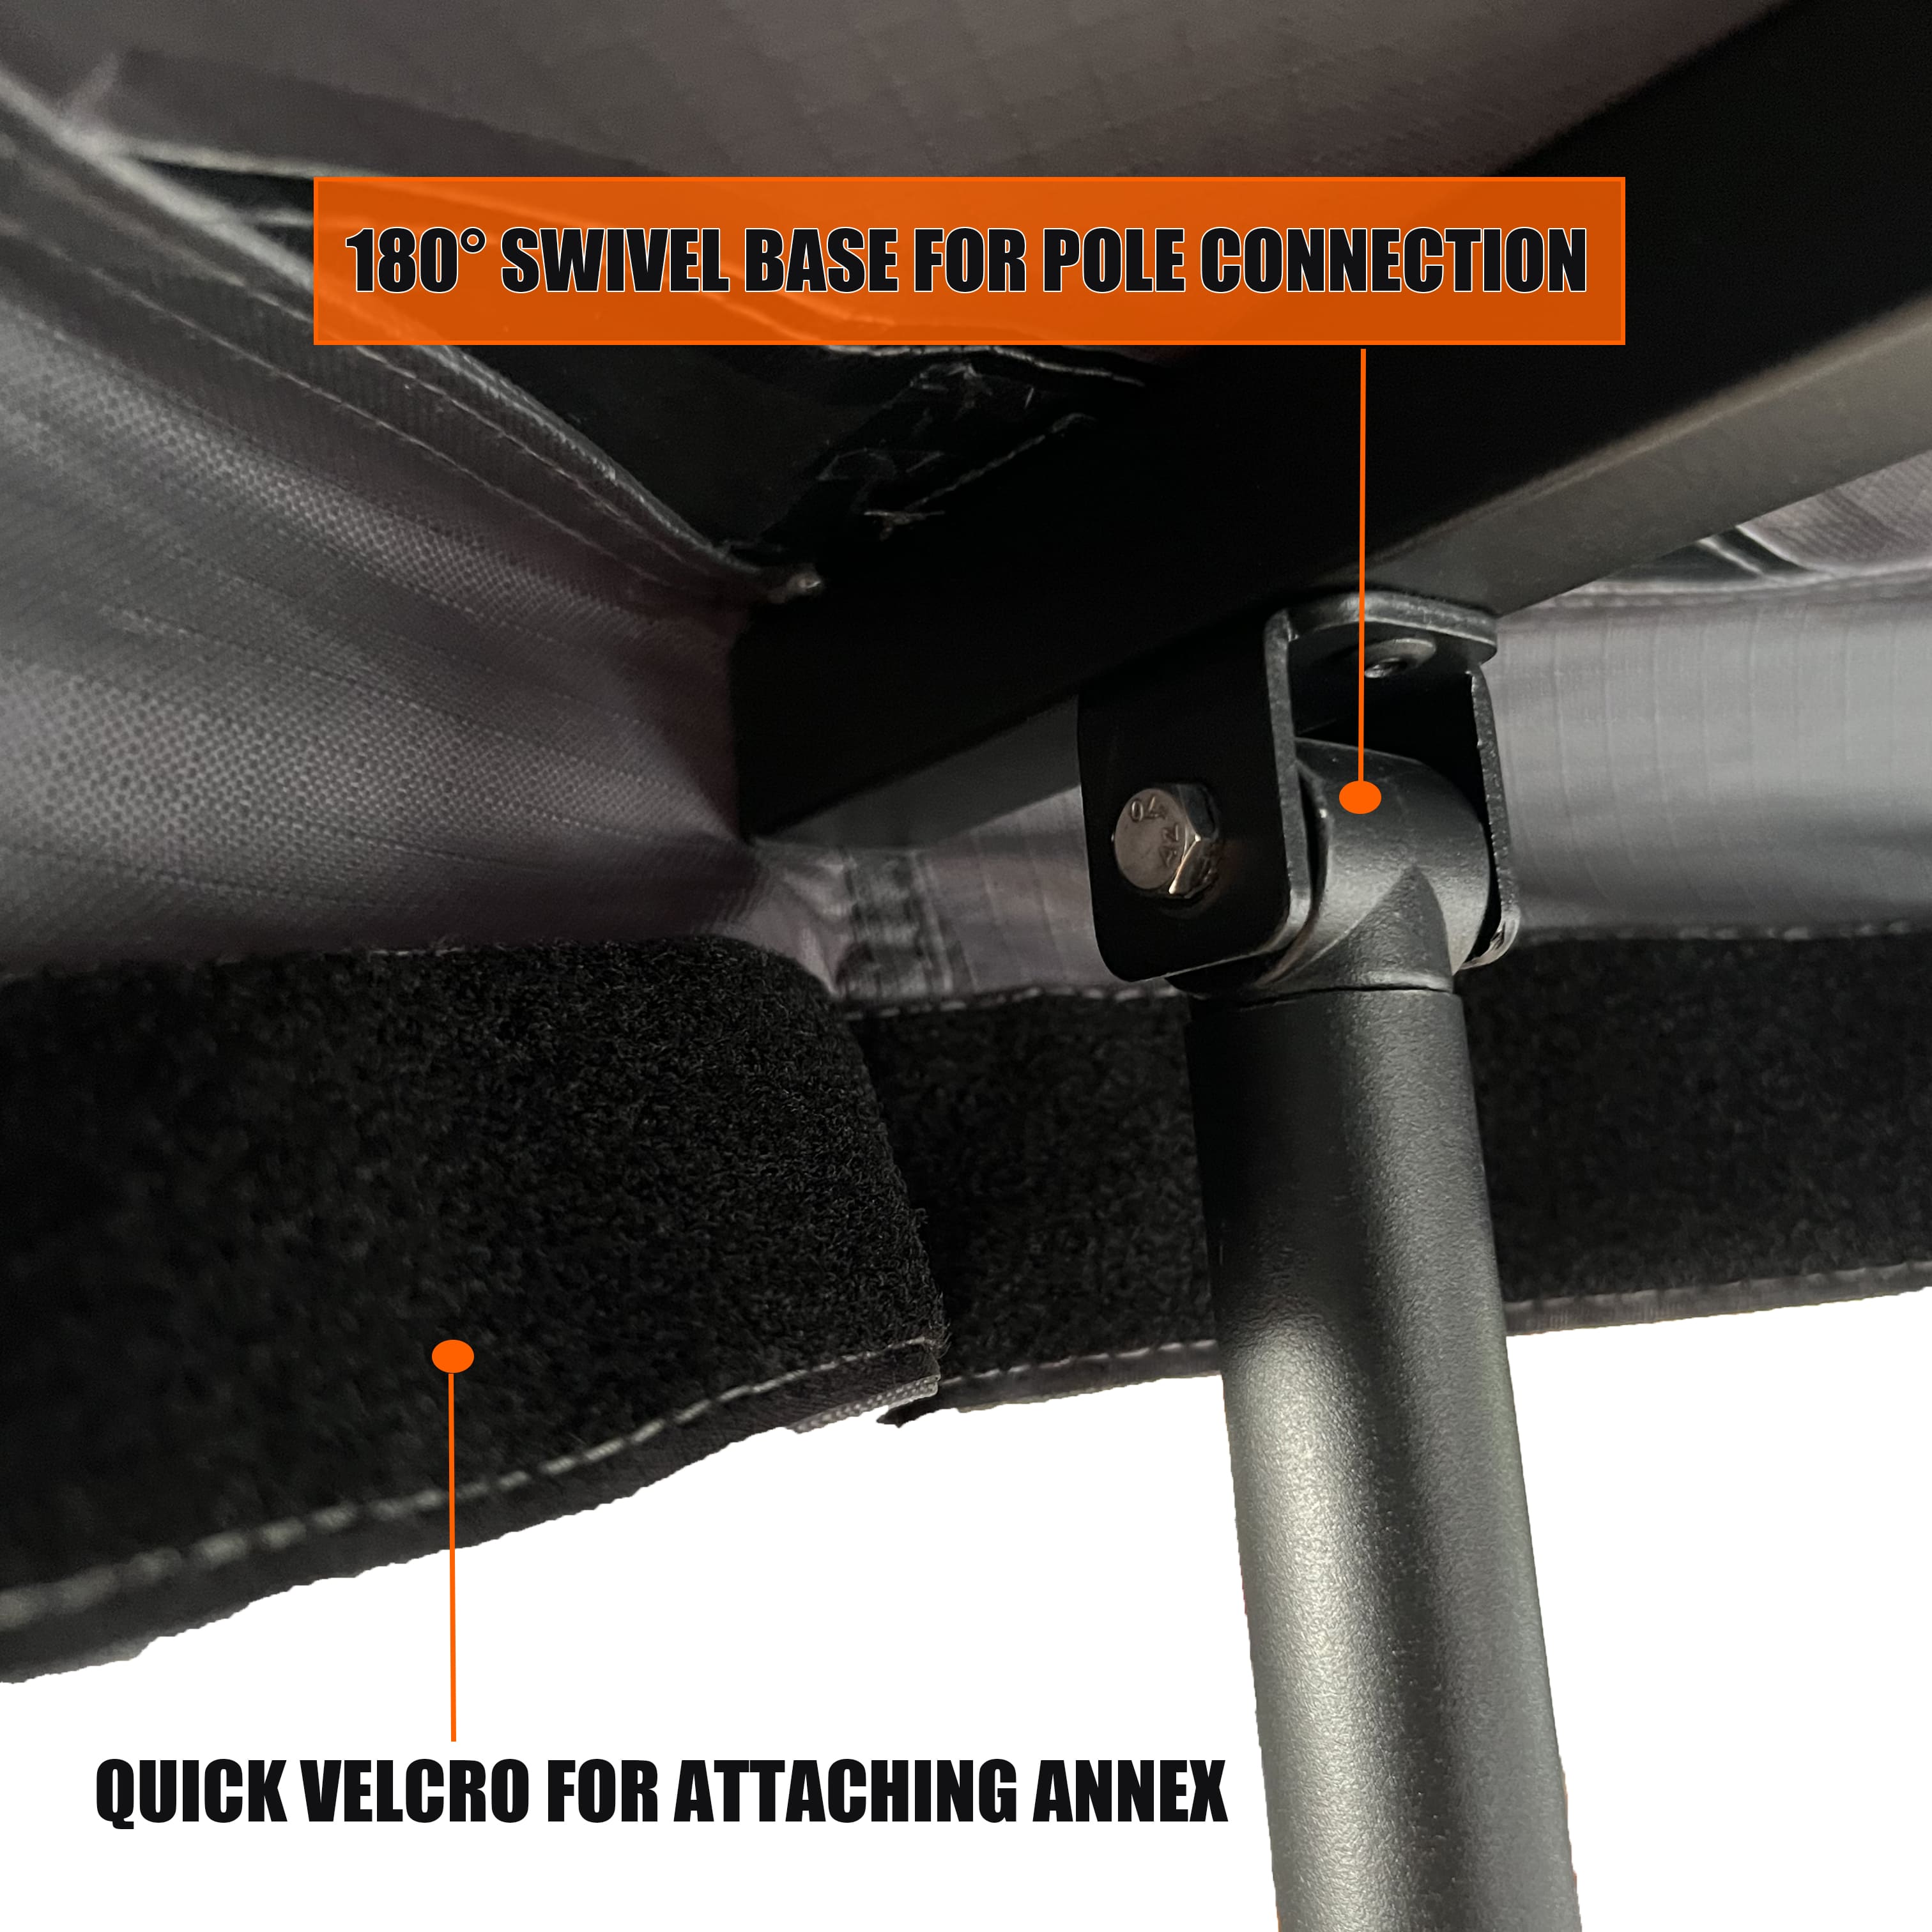
- Attach the remaining straps that secure the tent to the cross bars, tightening them from inside the tent while lying down.
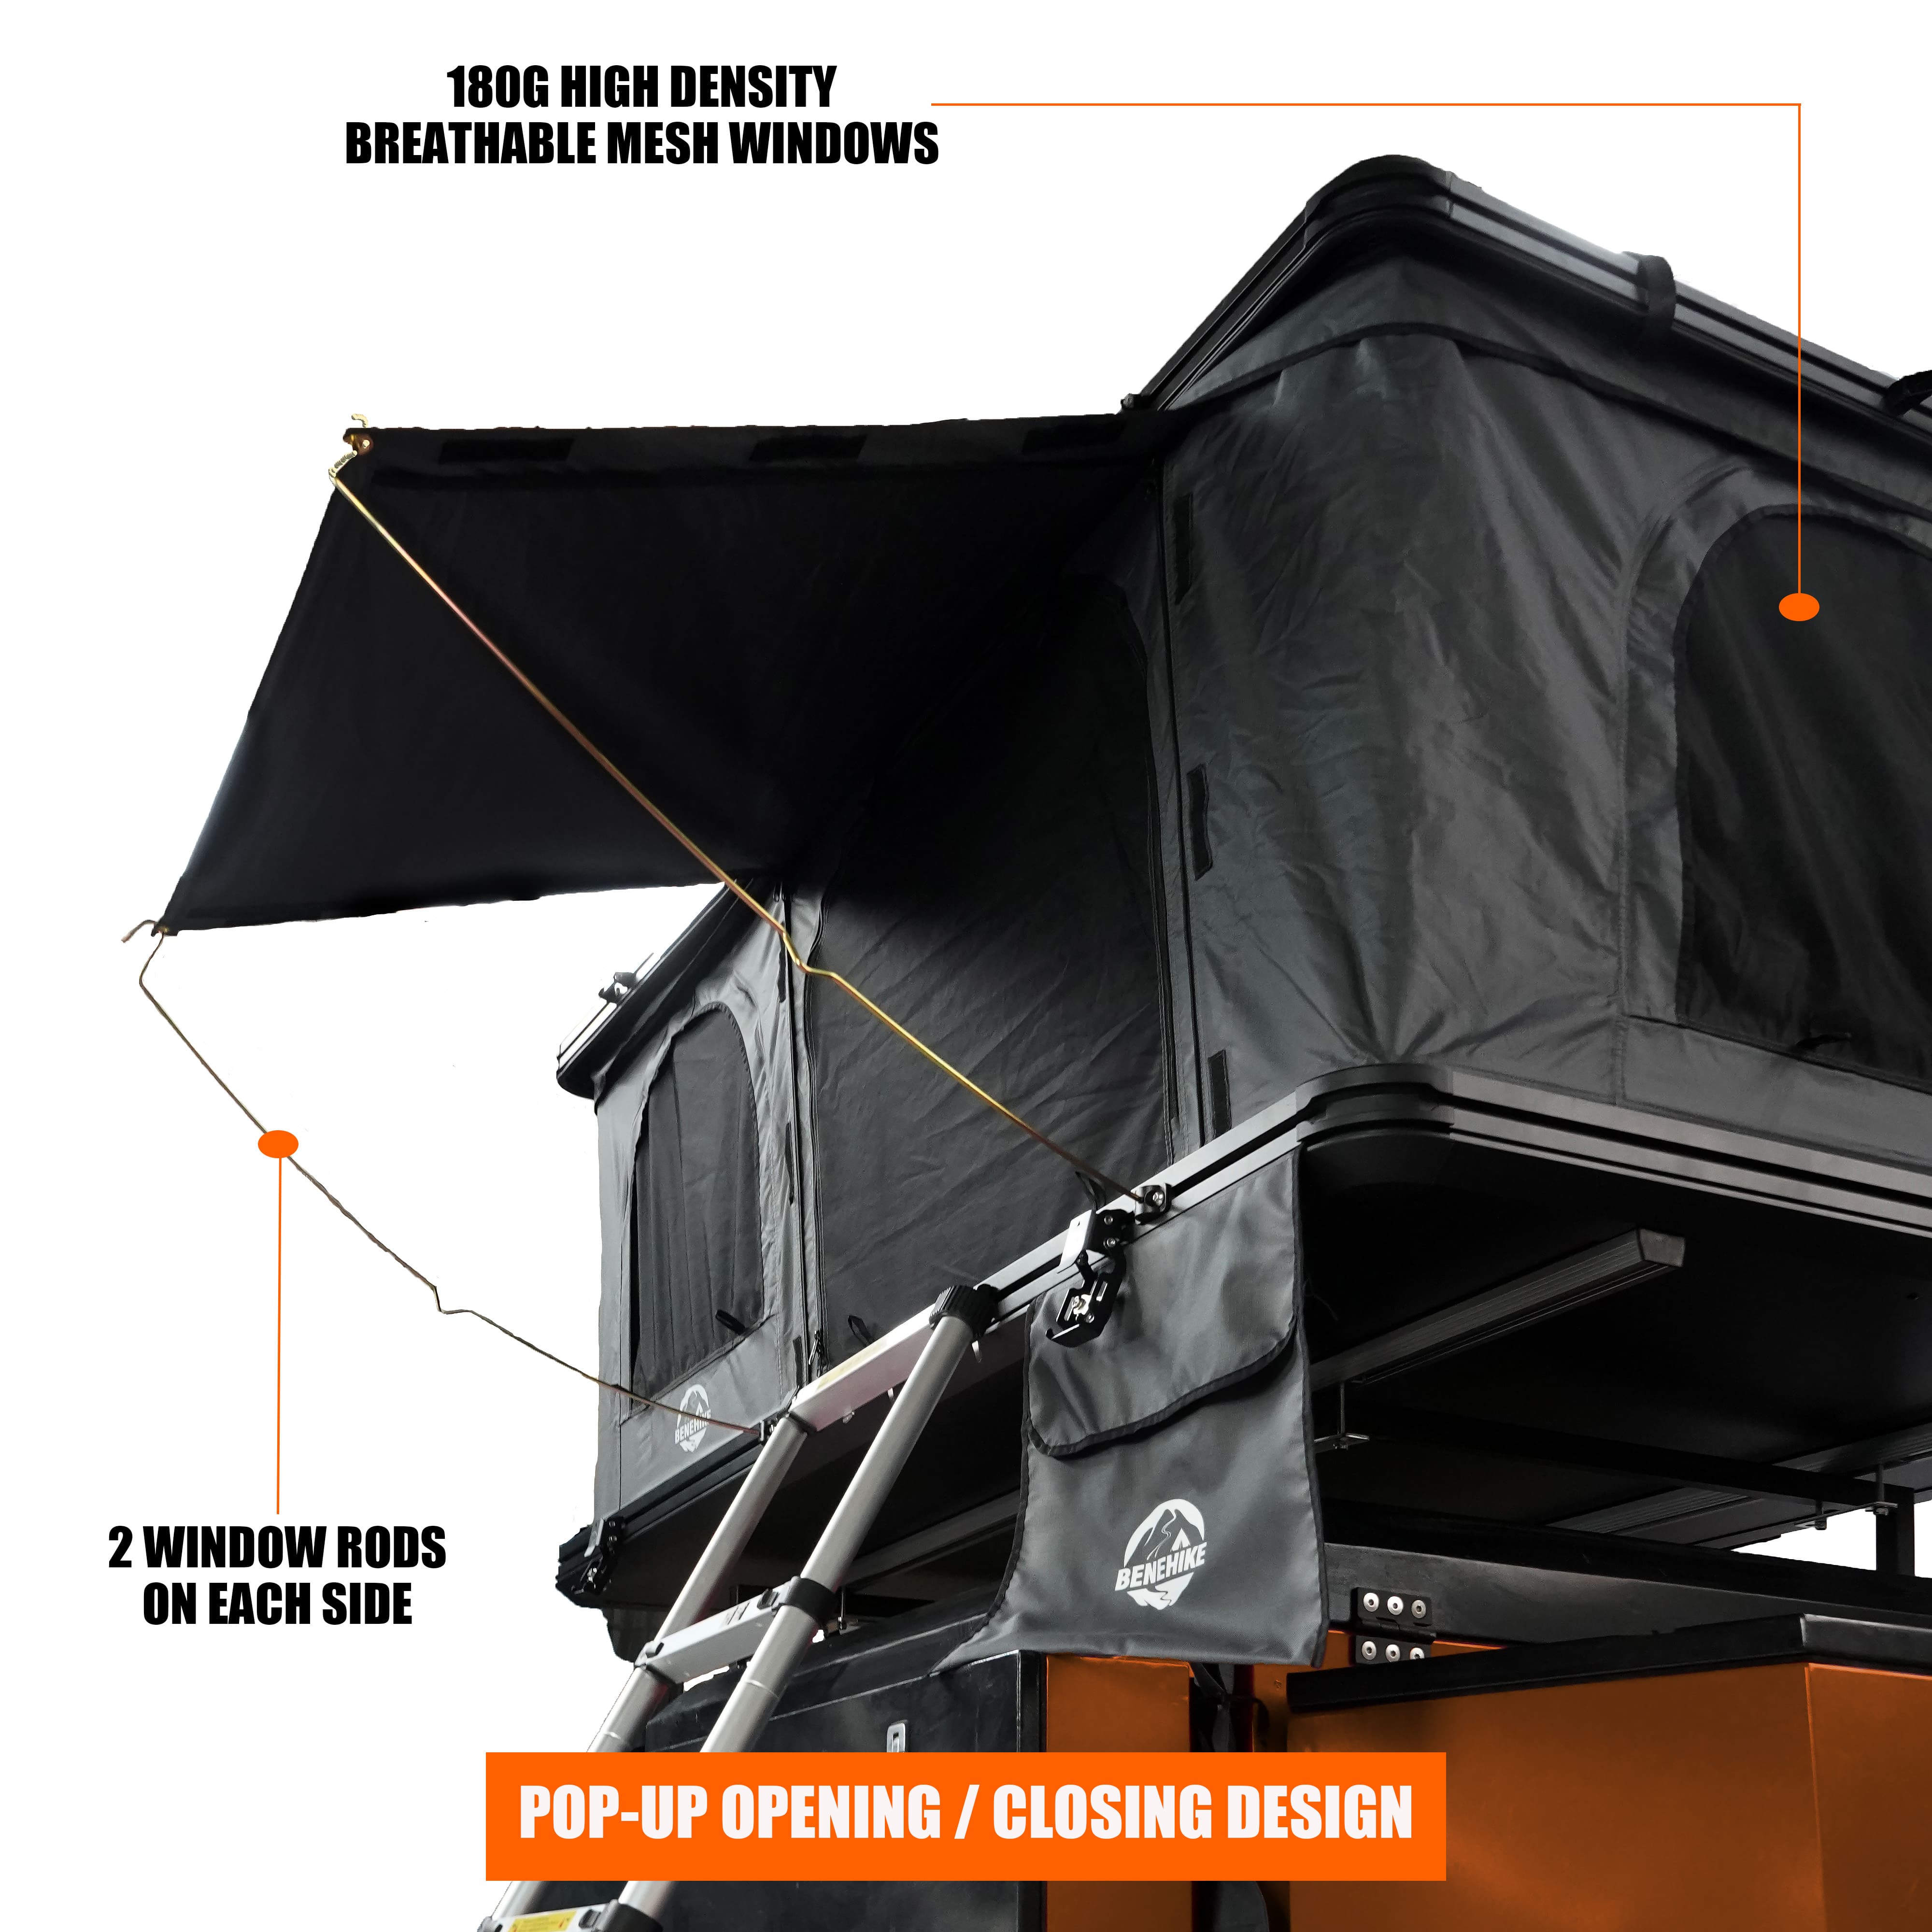
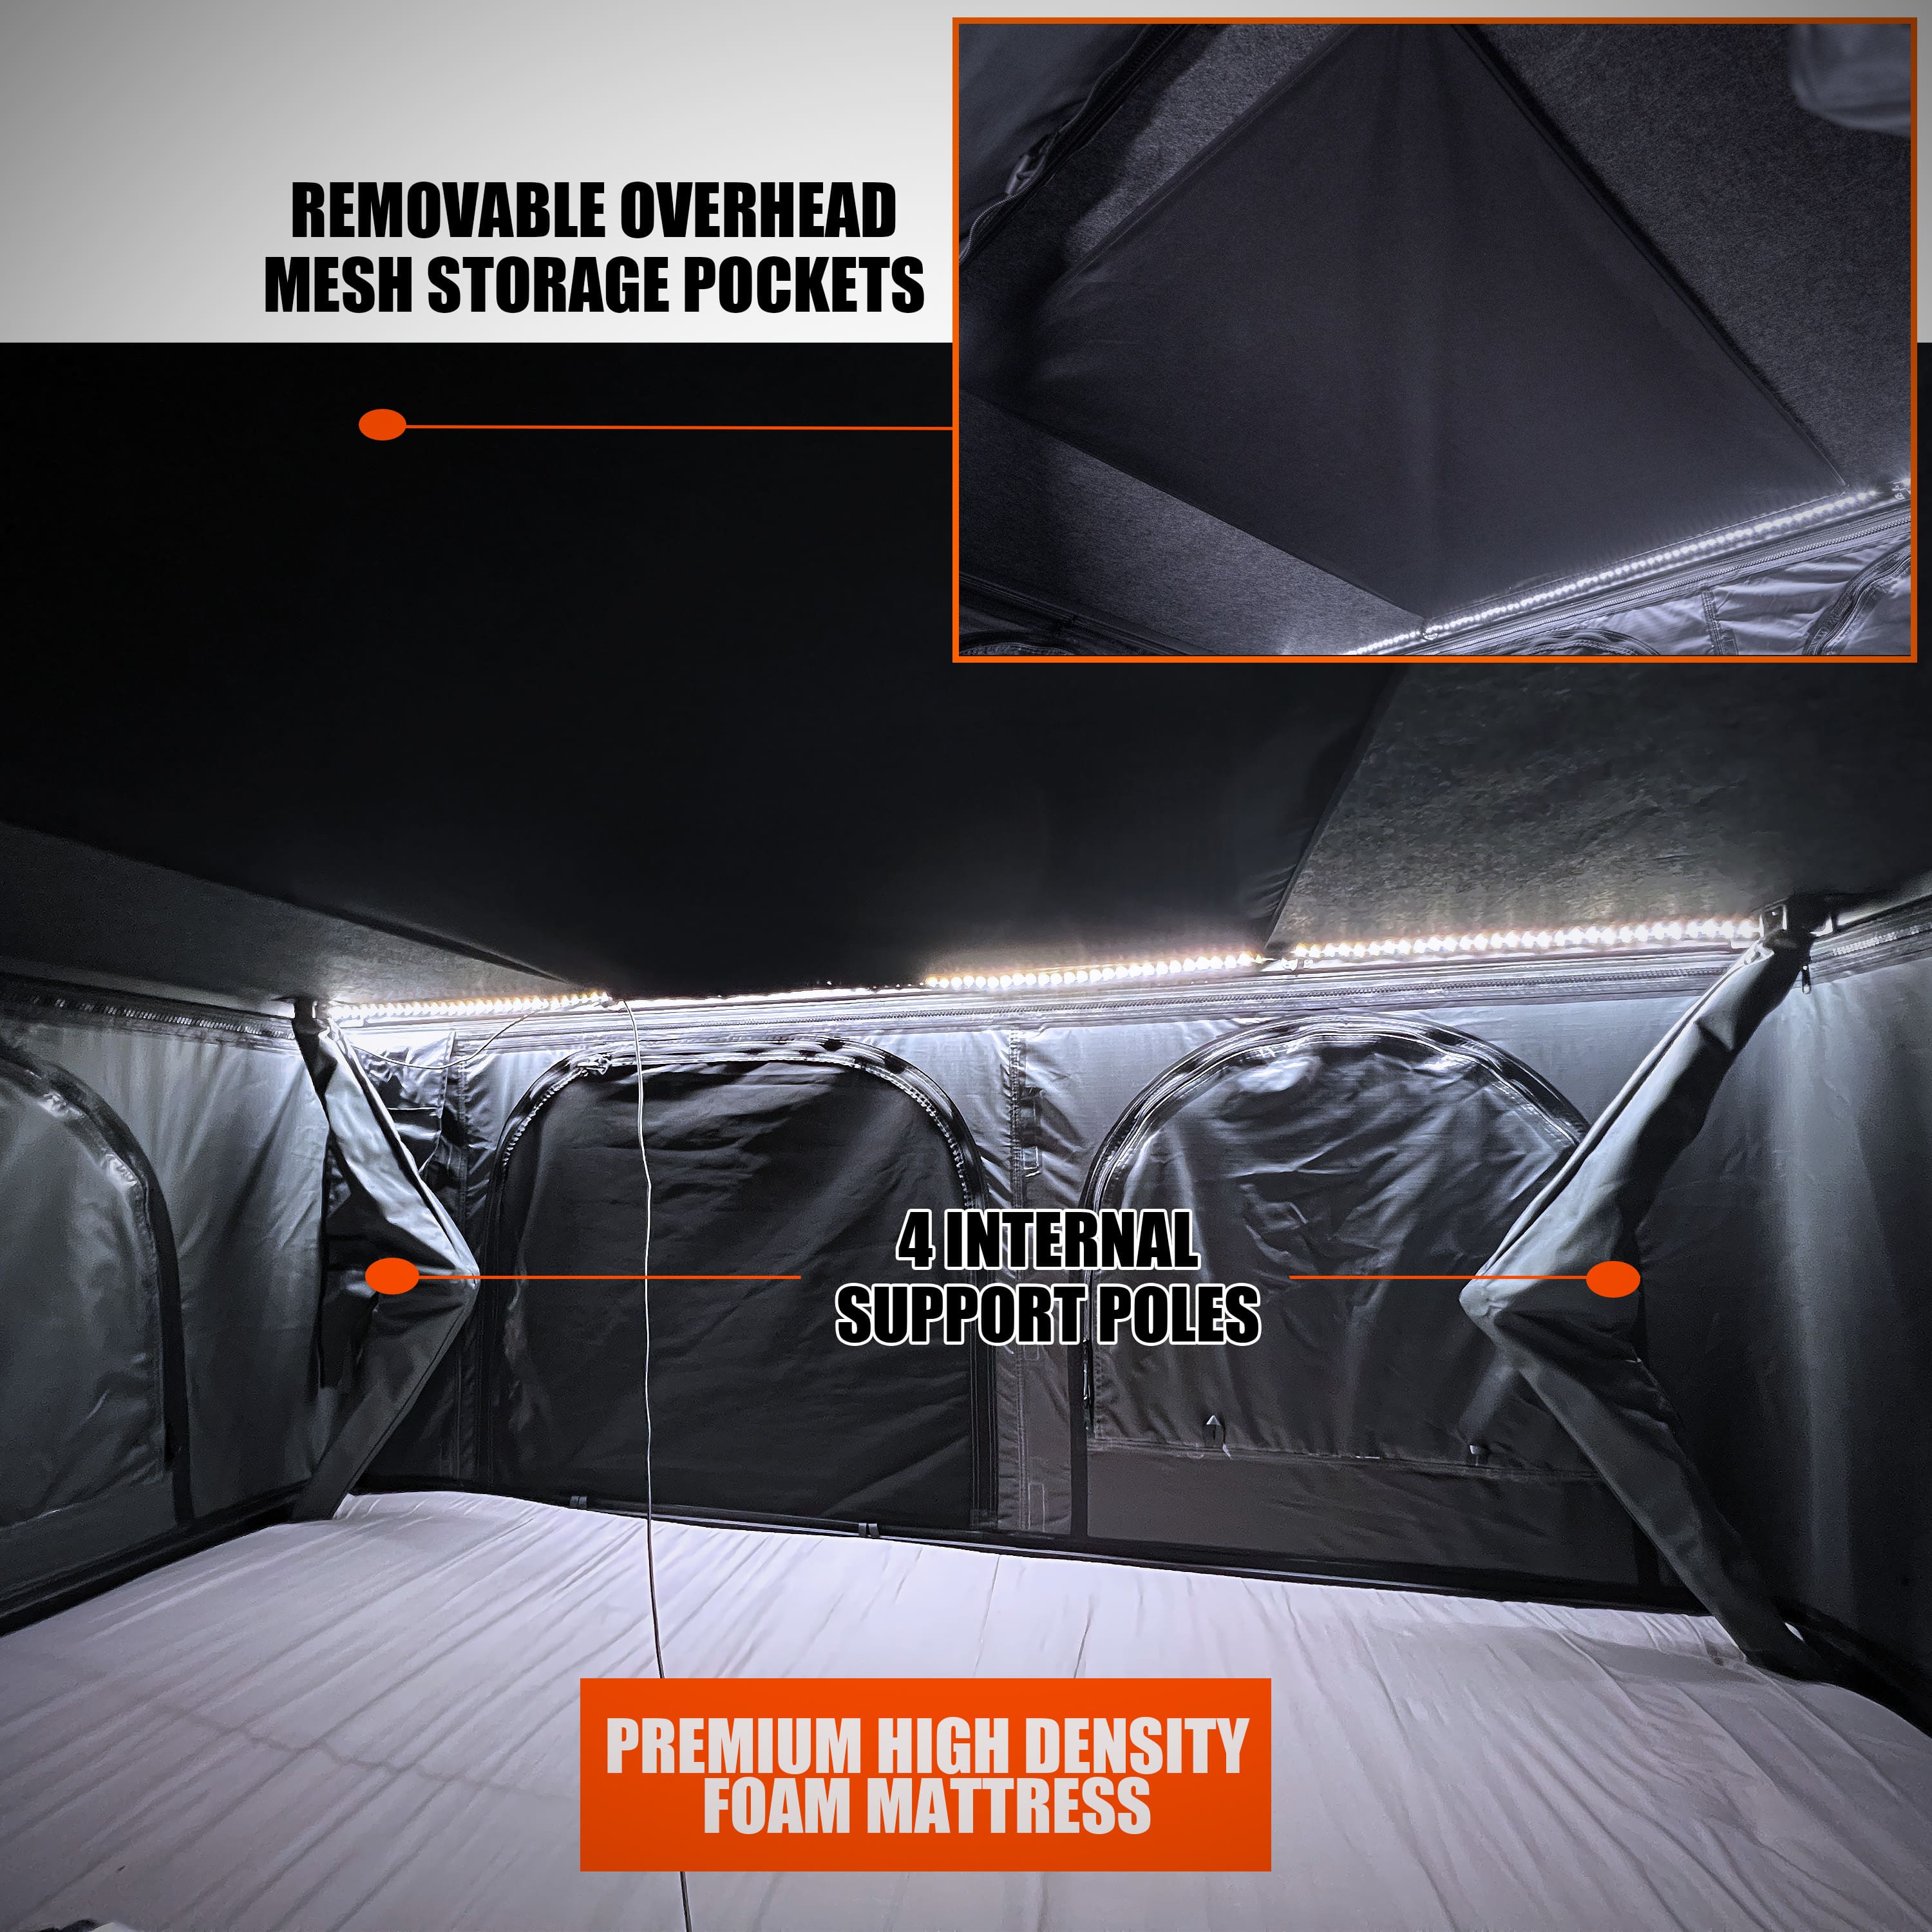
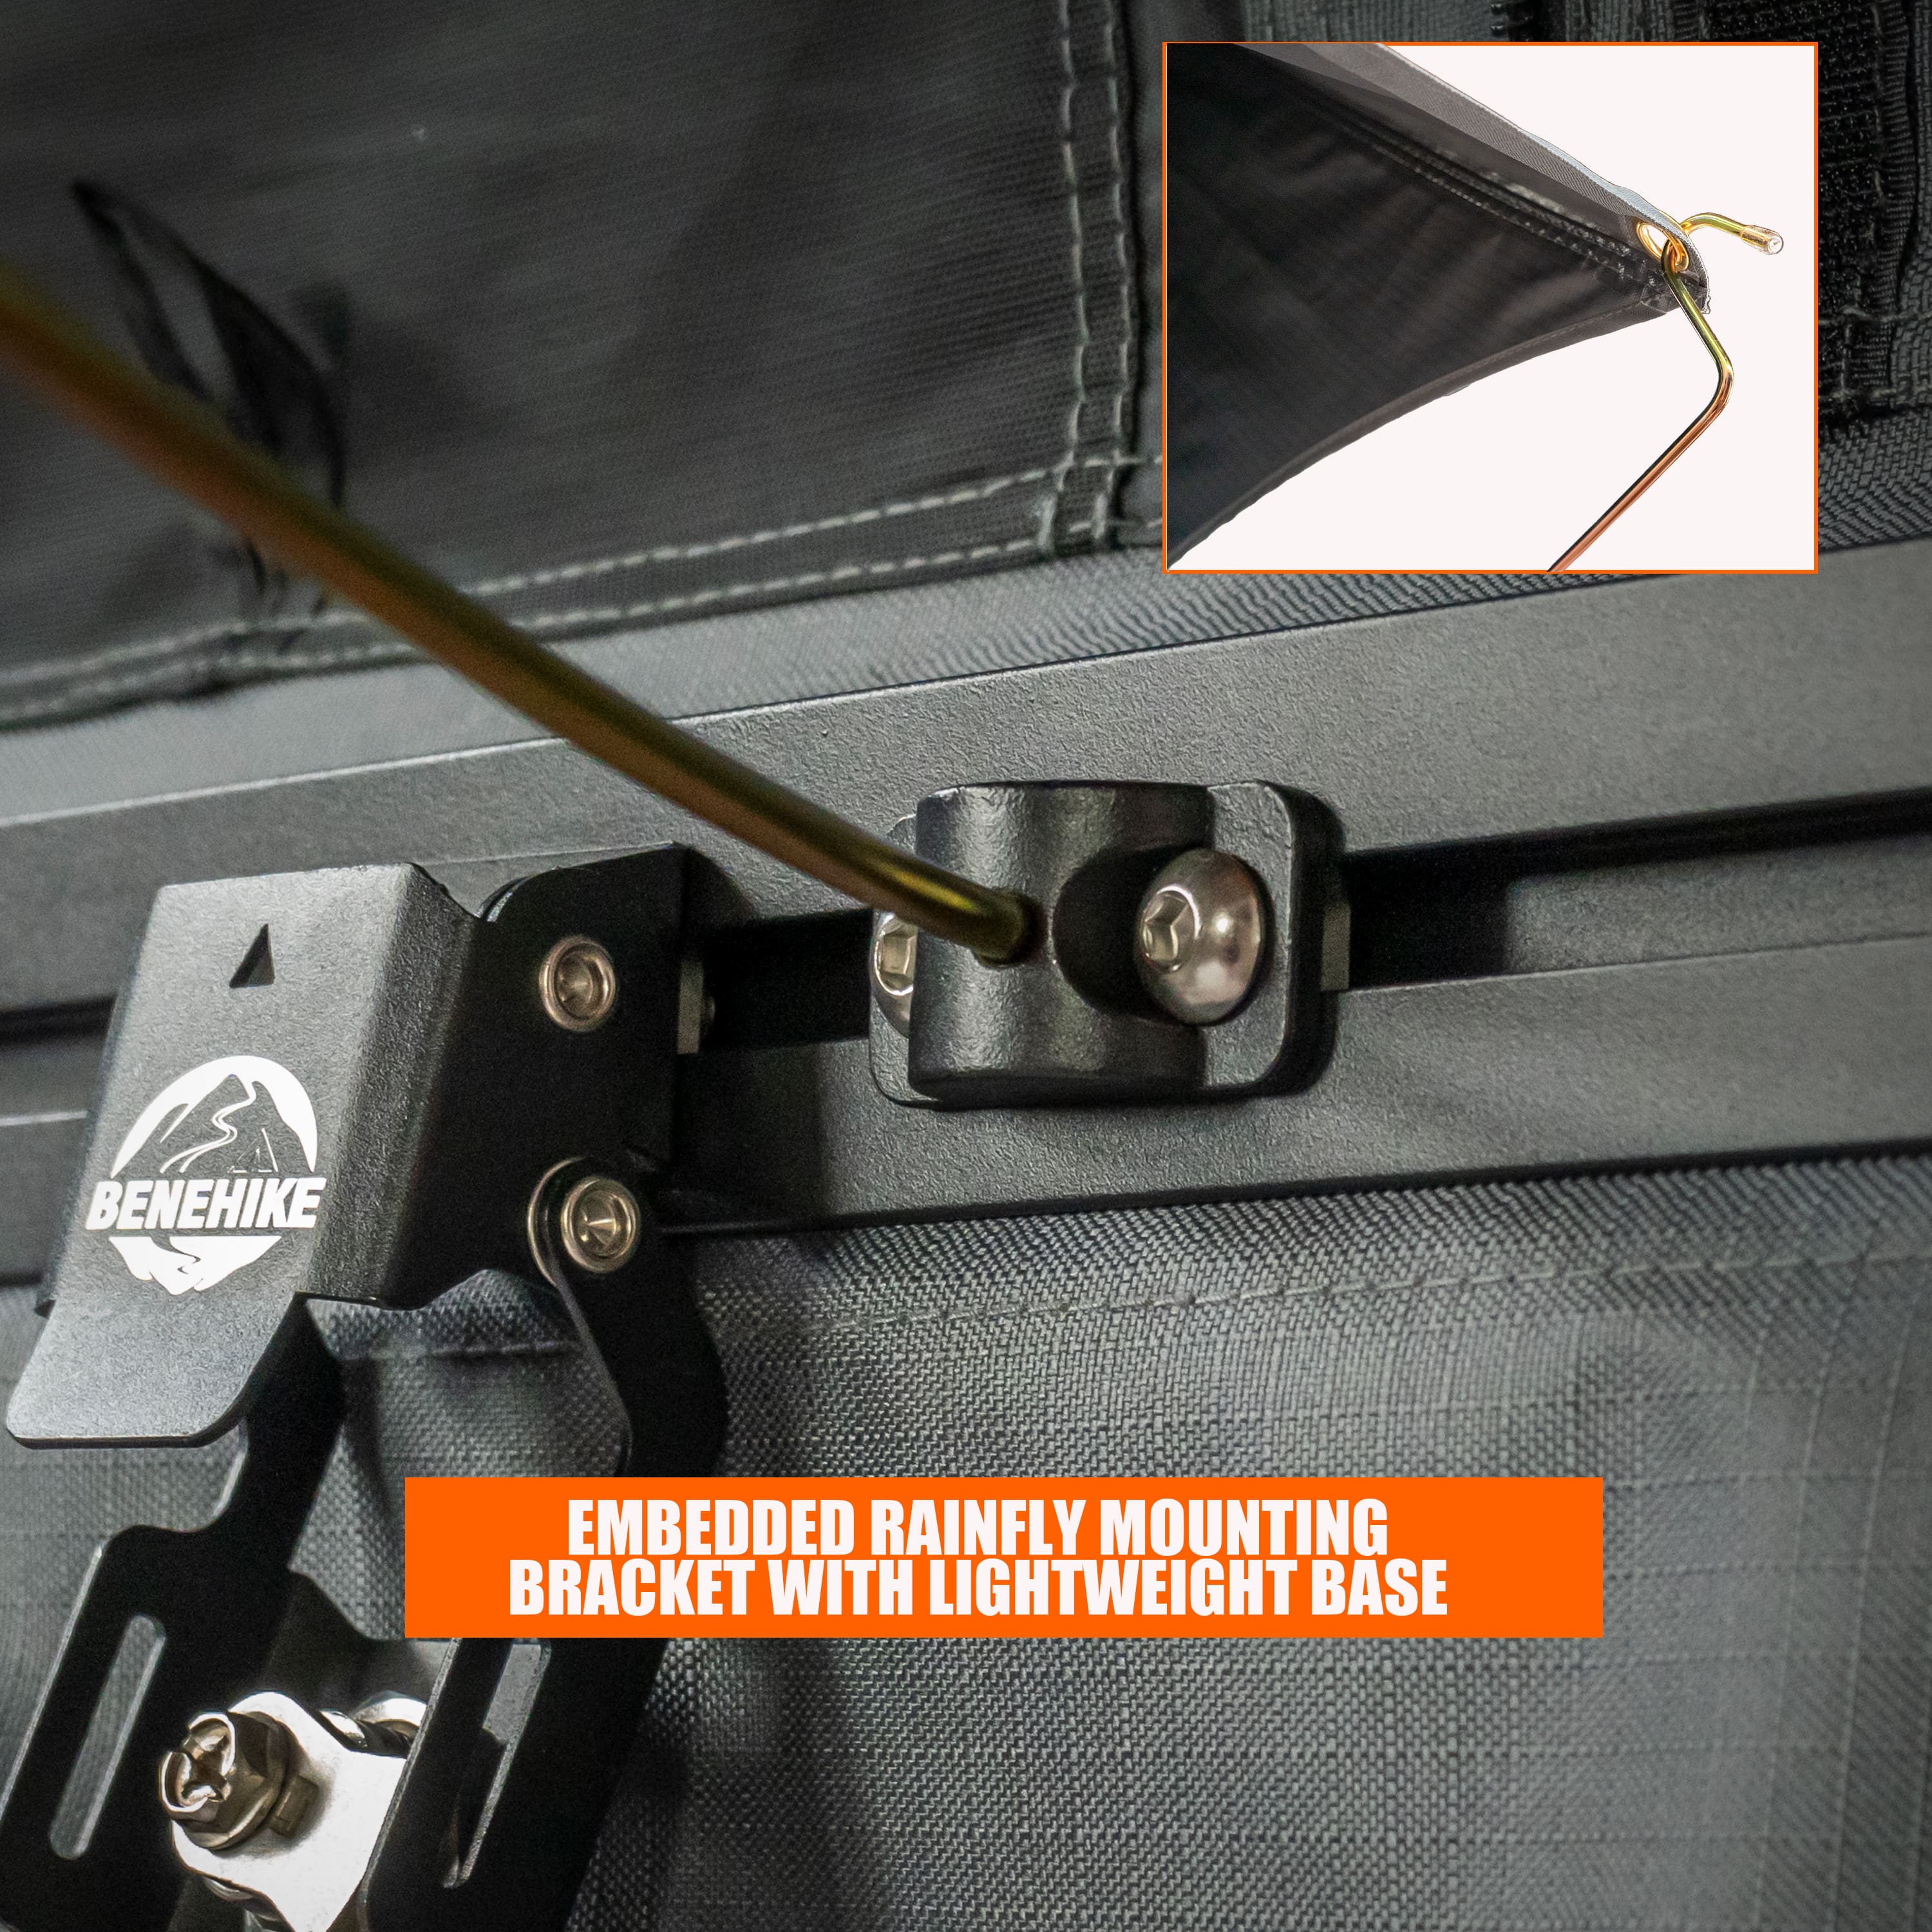
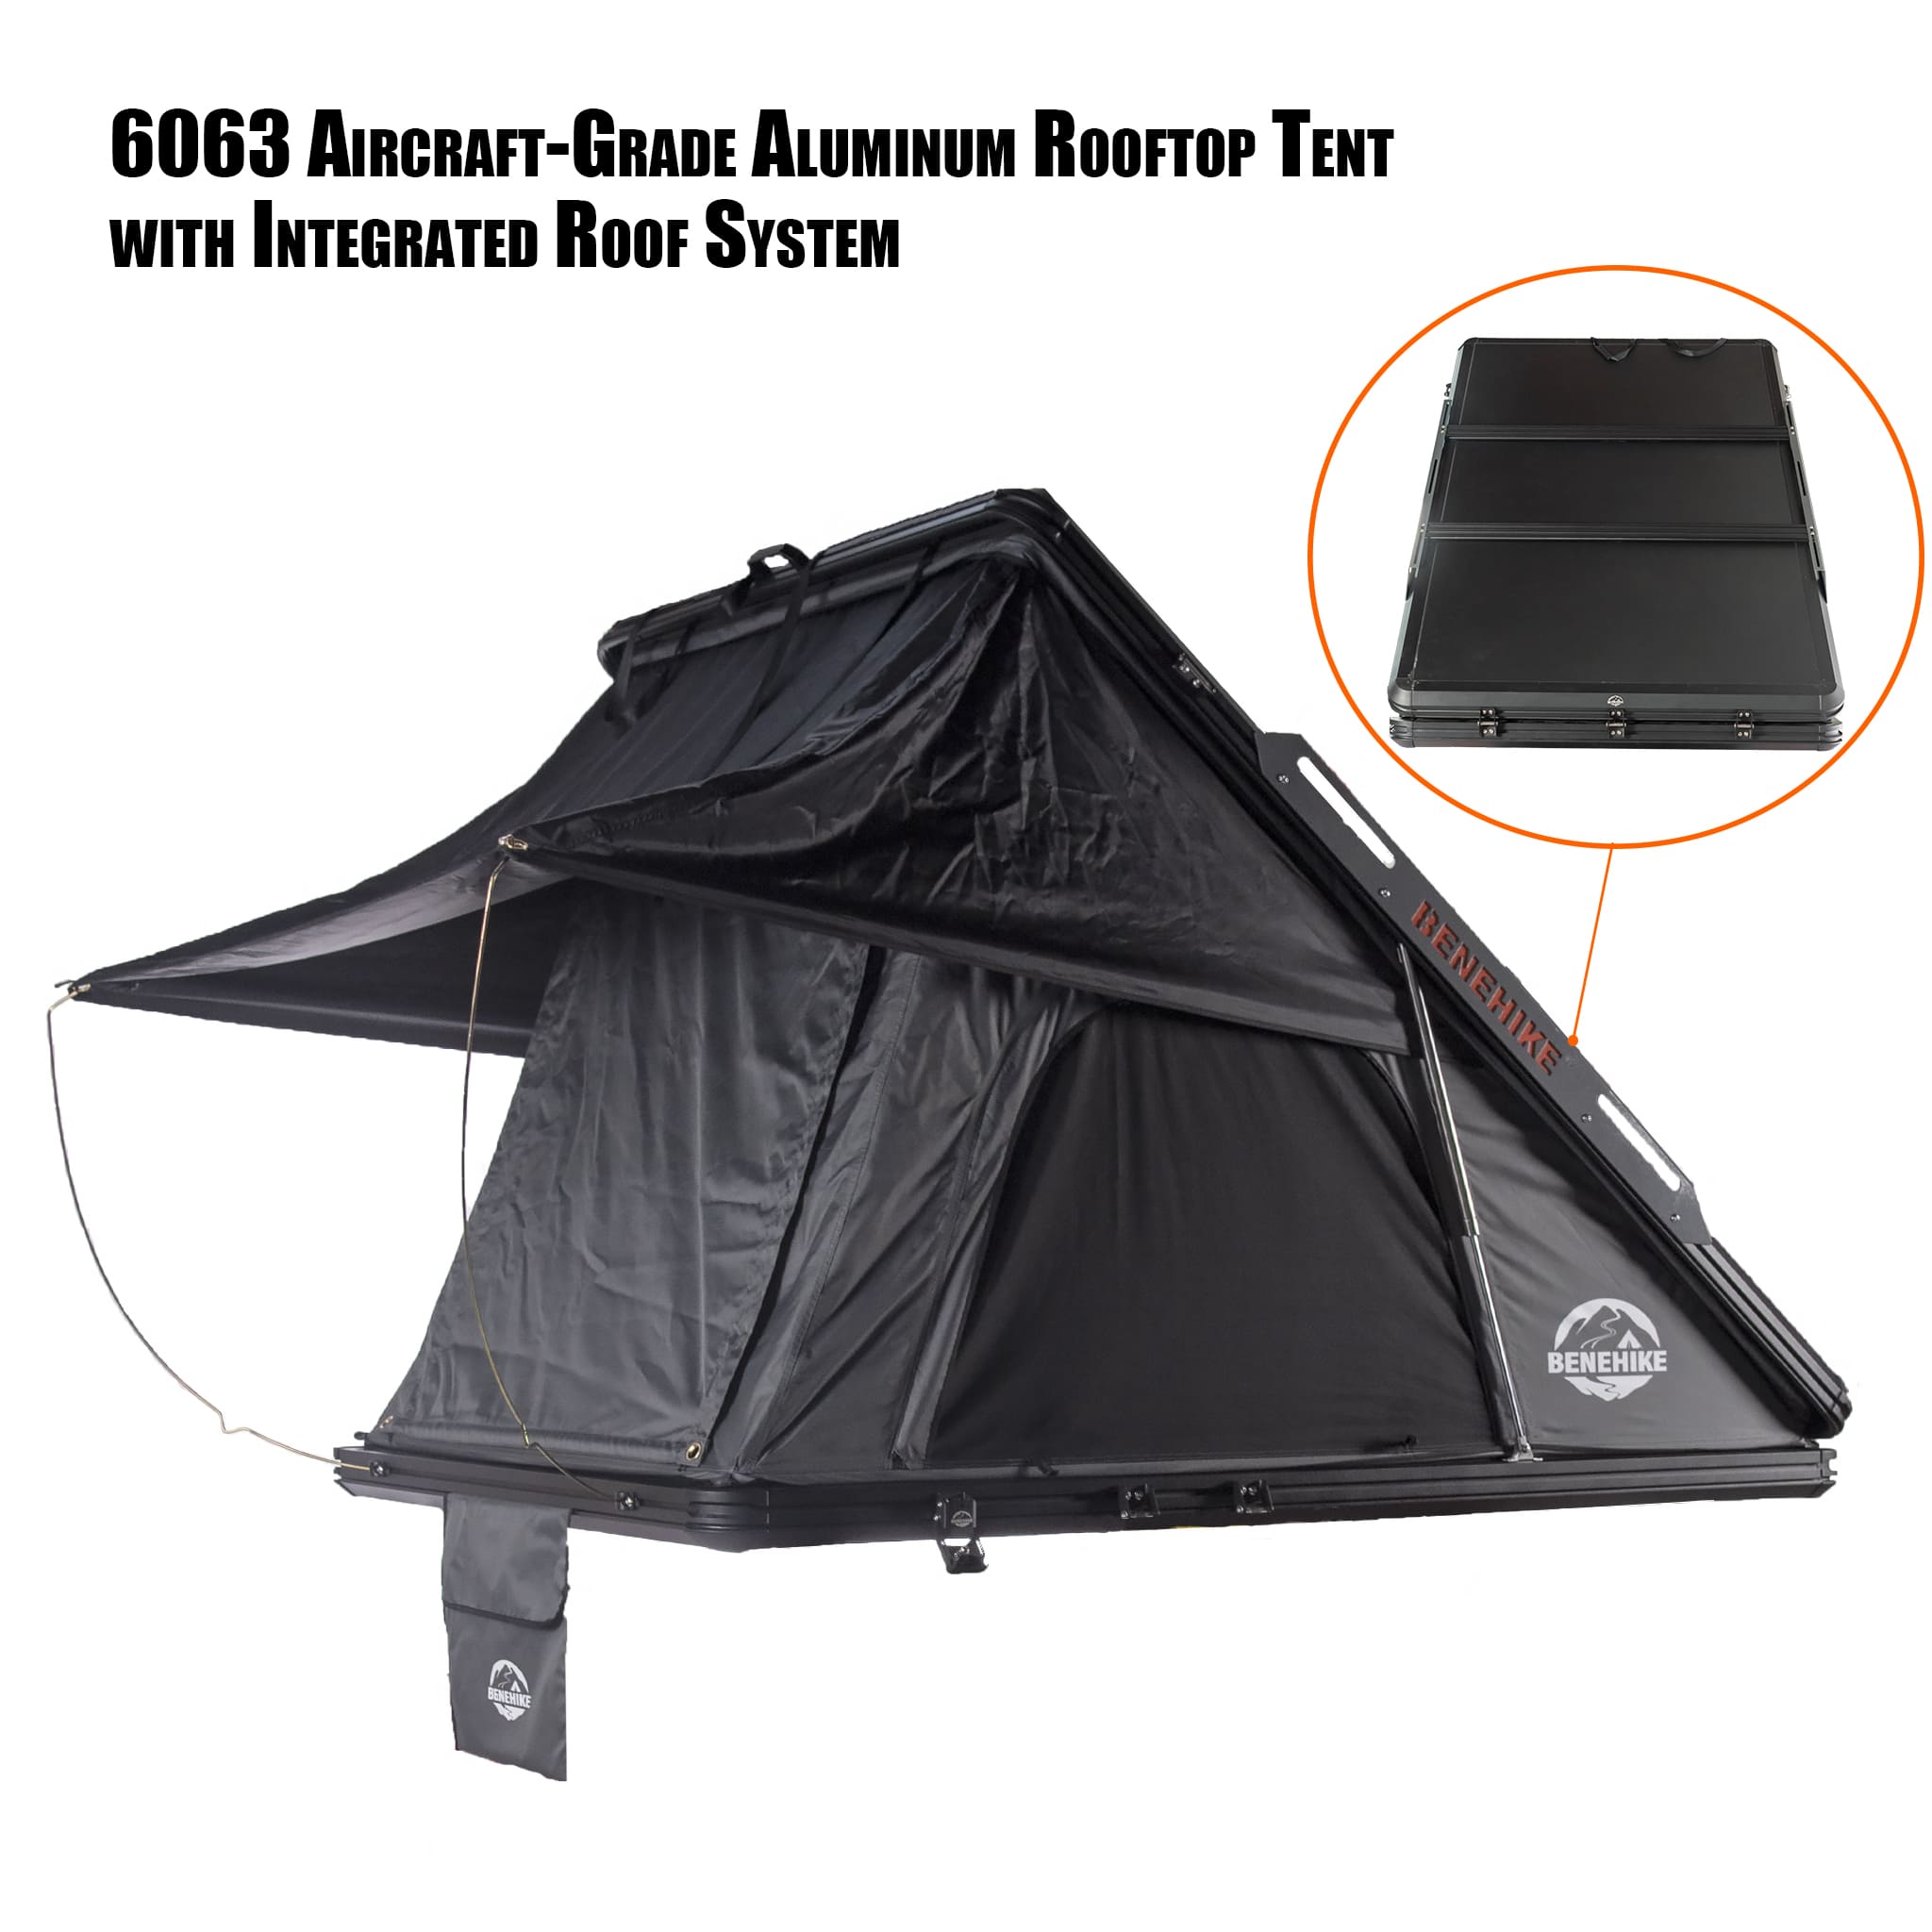
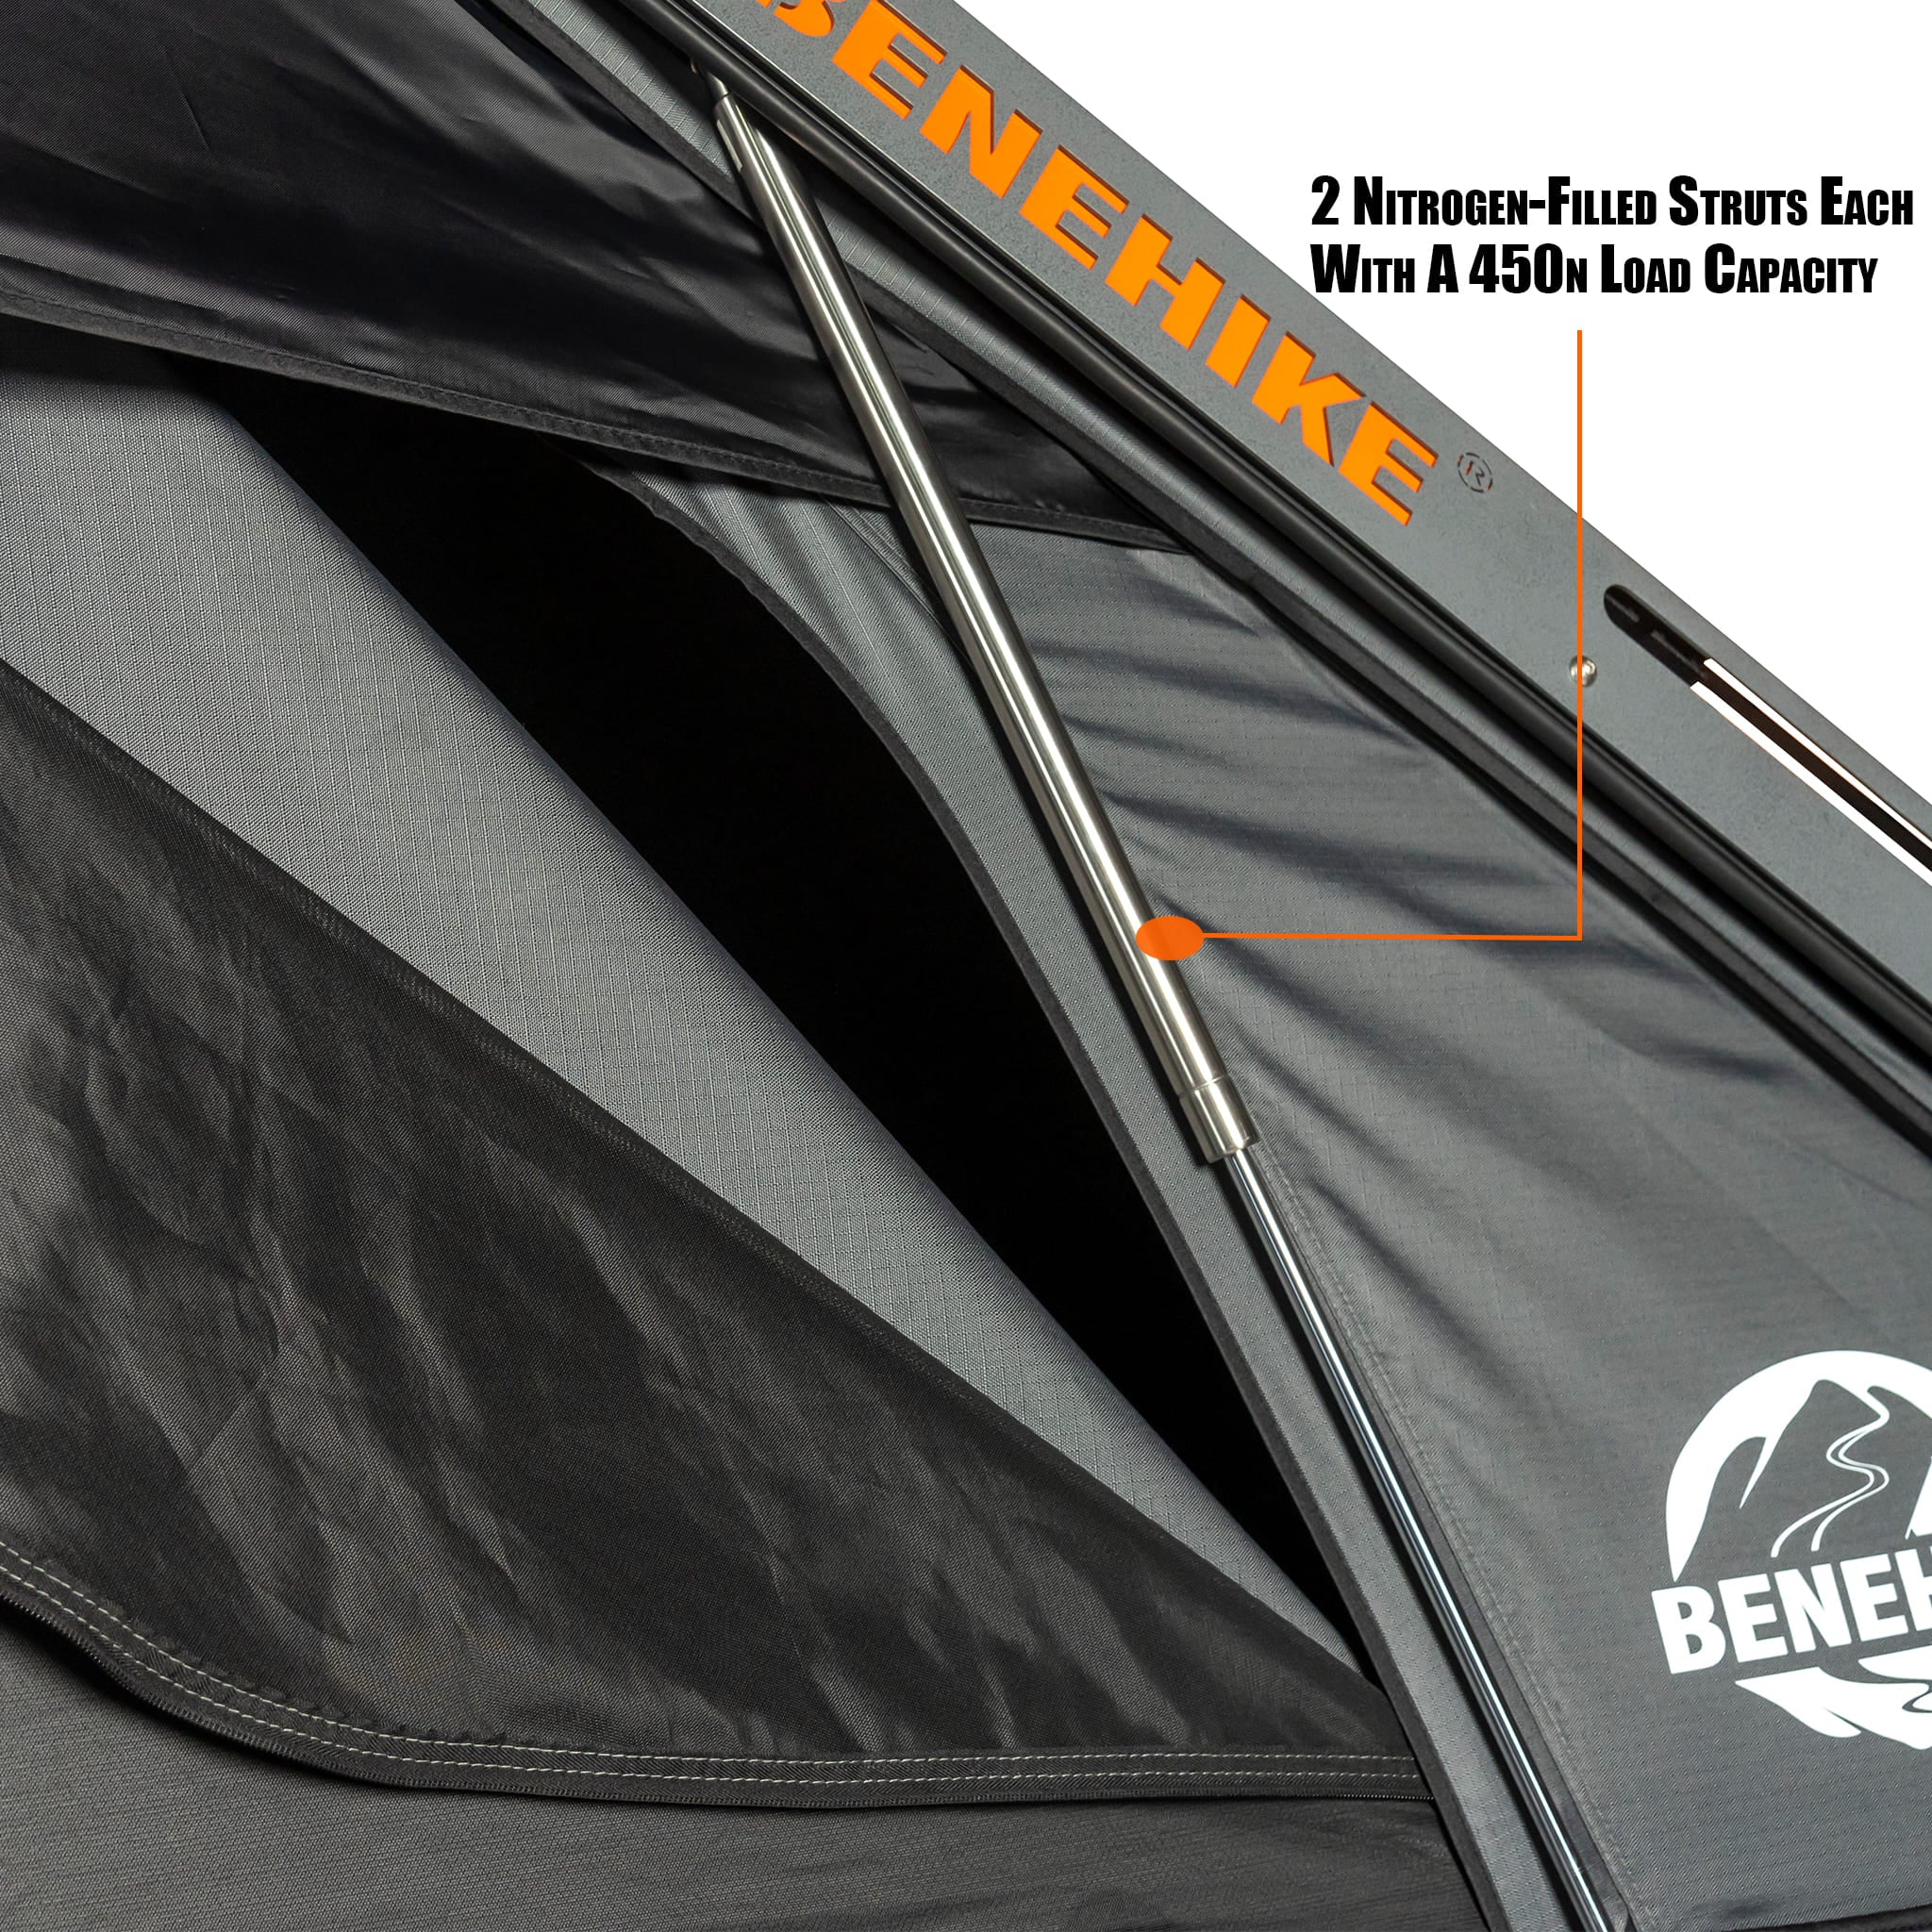
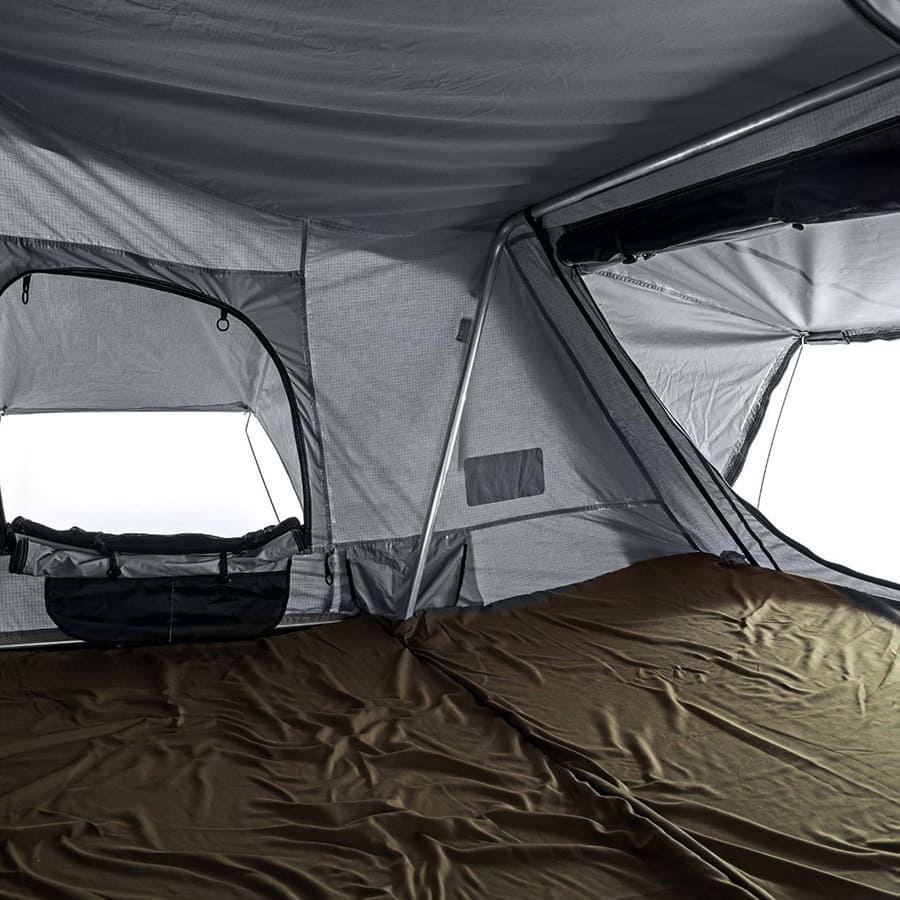
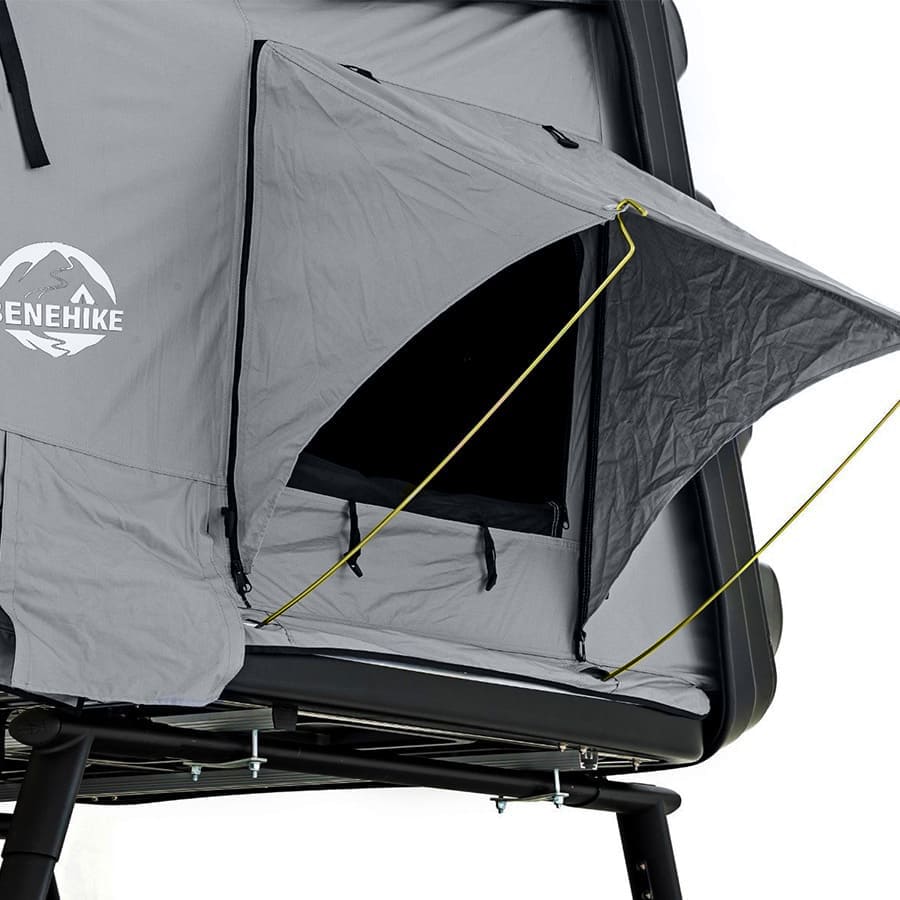
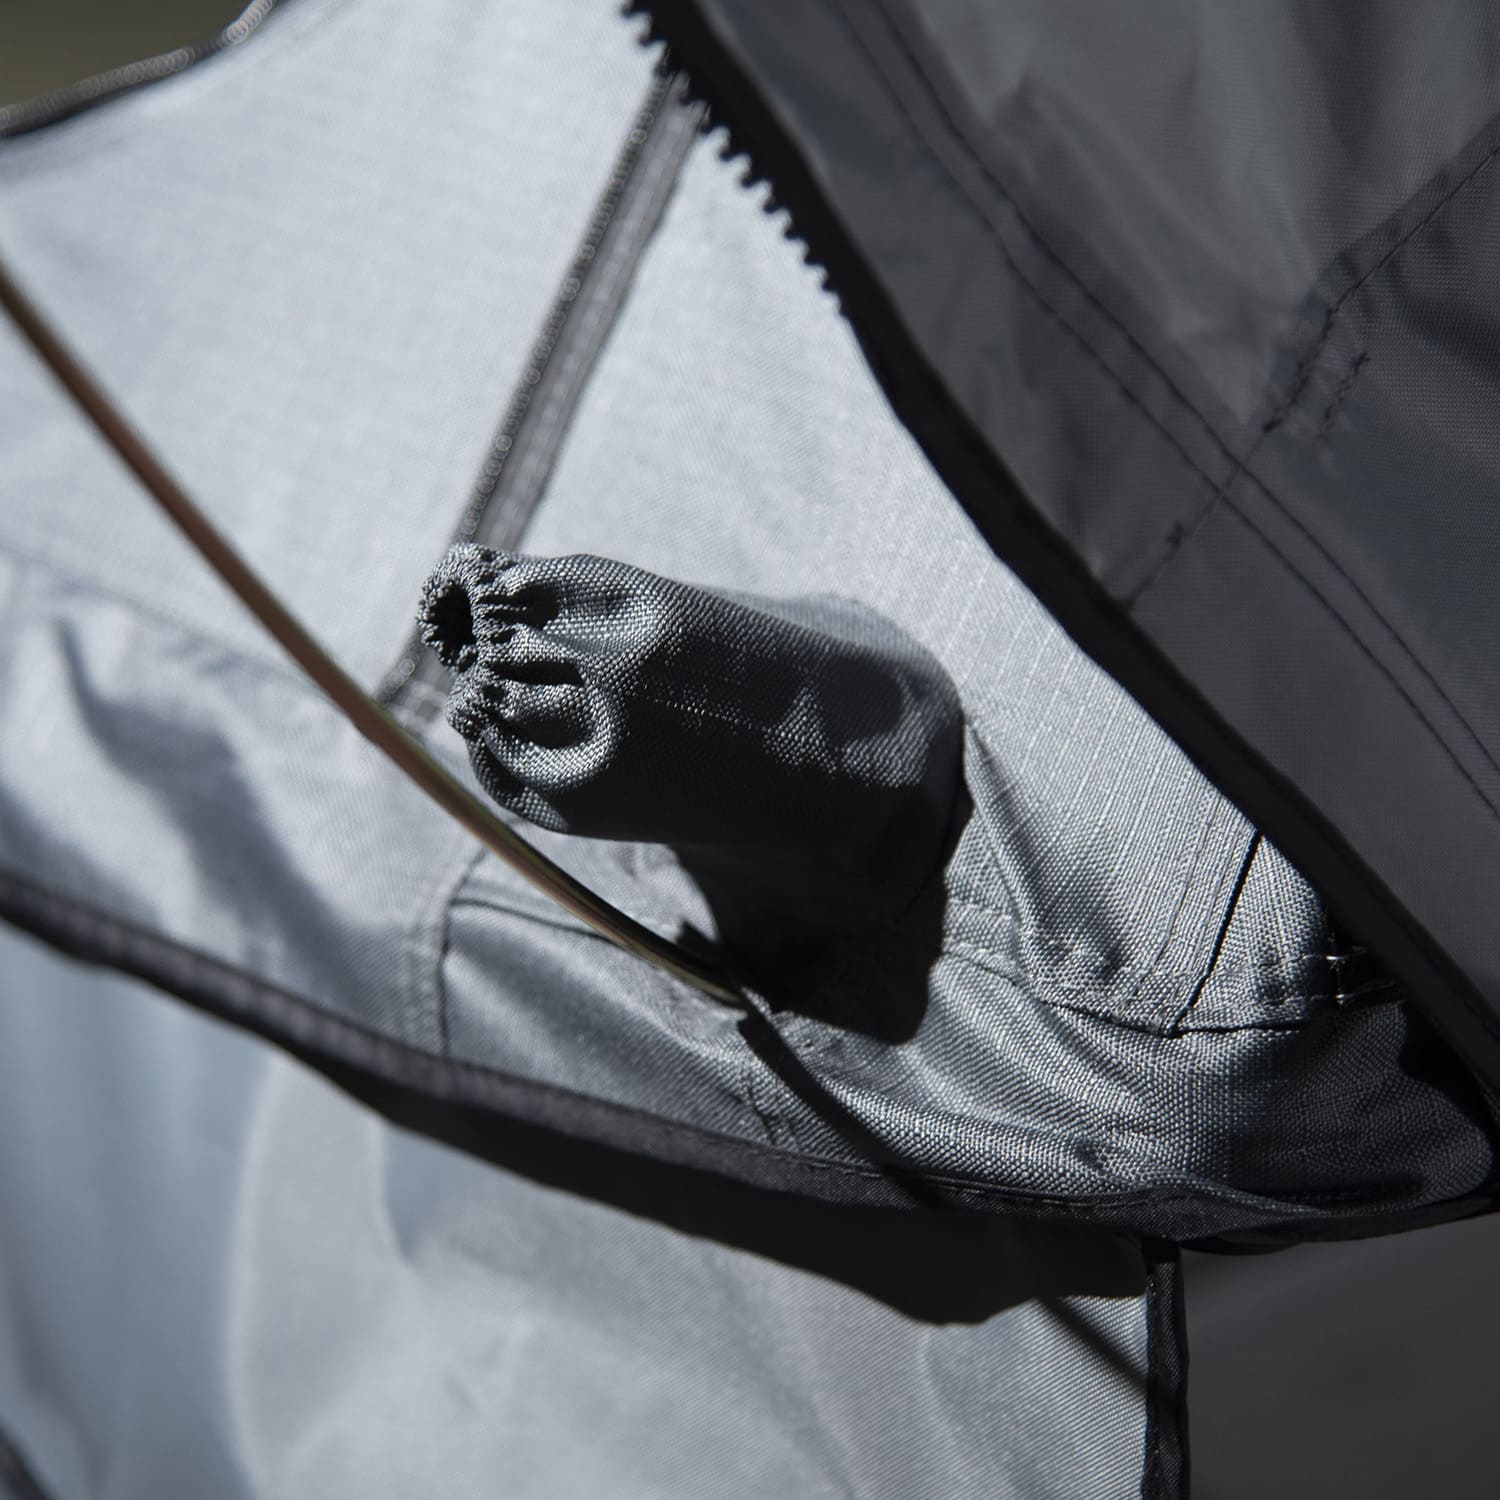
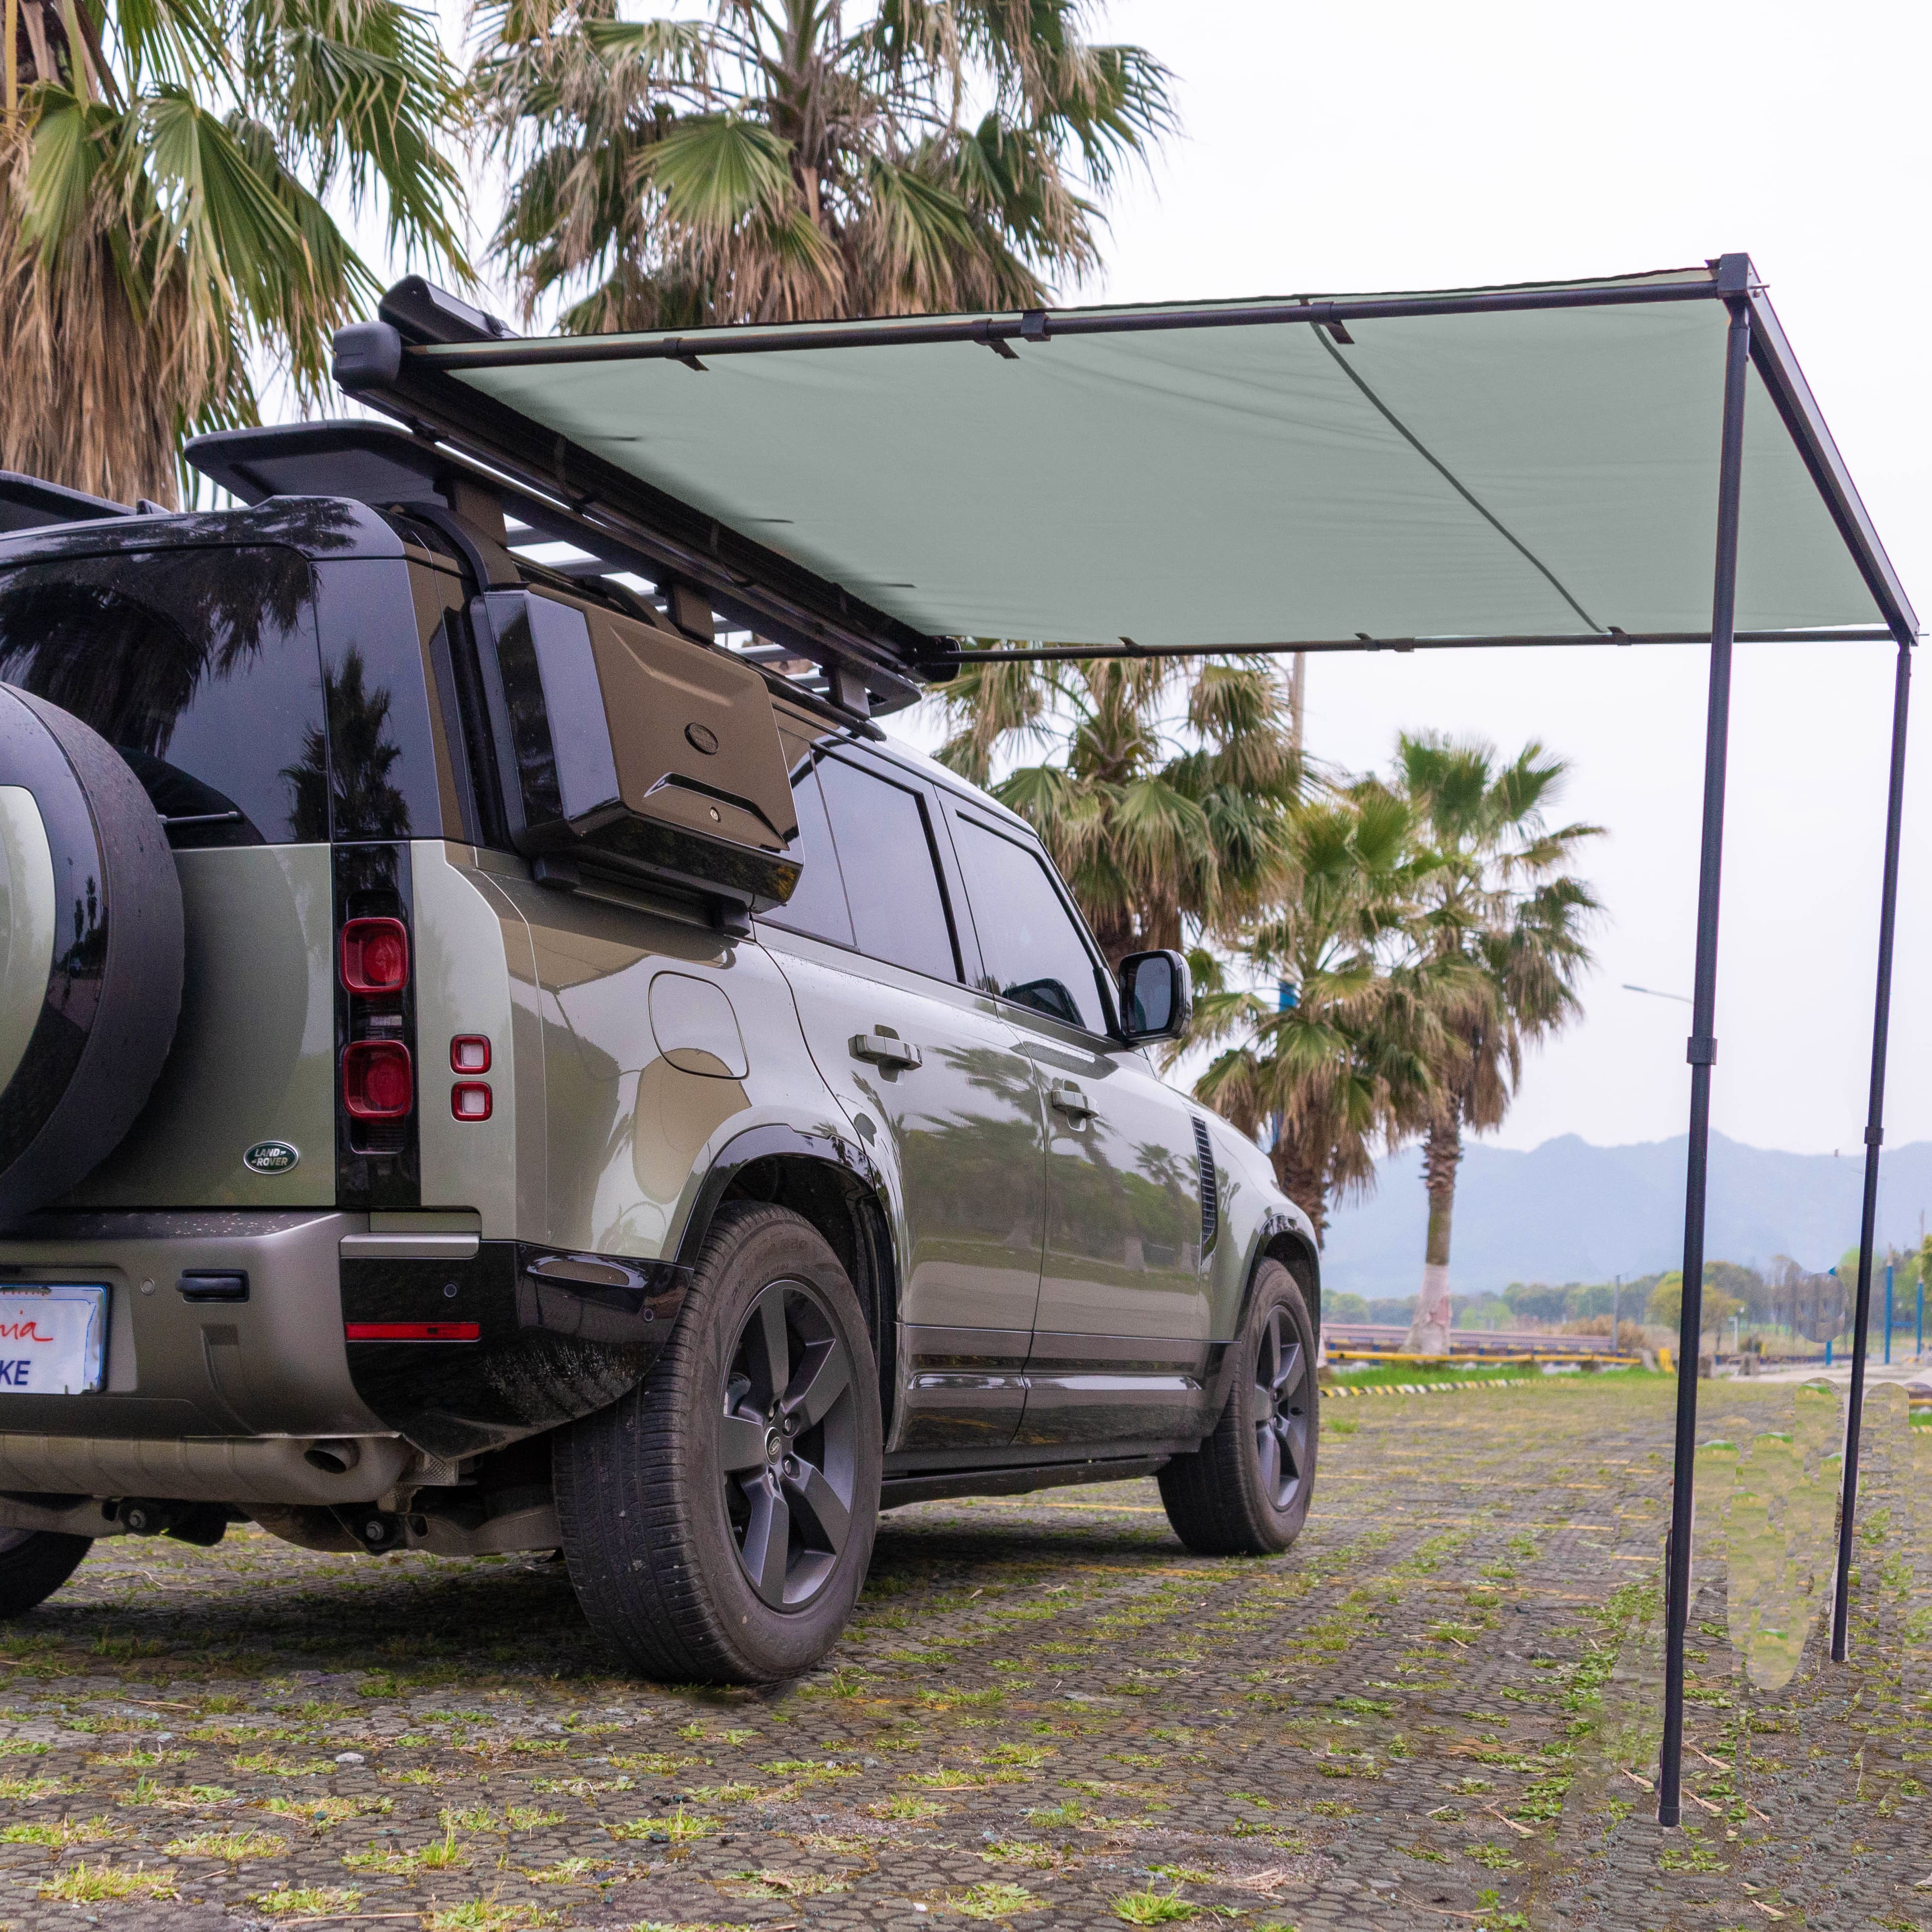
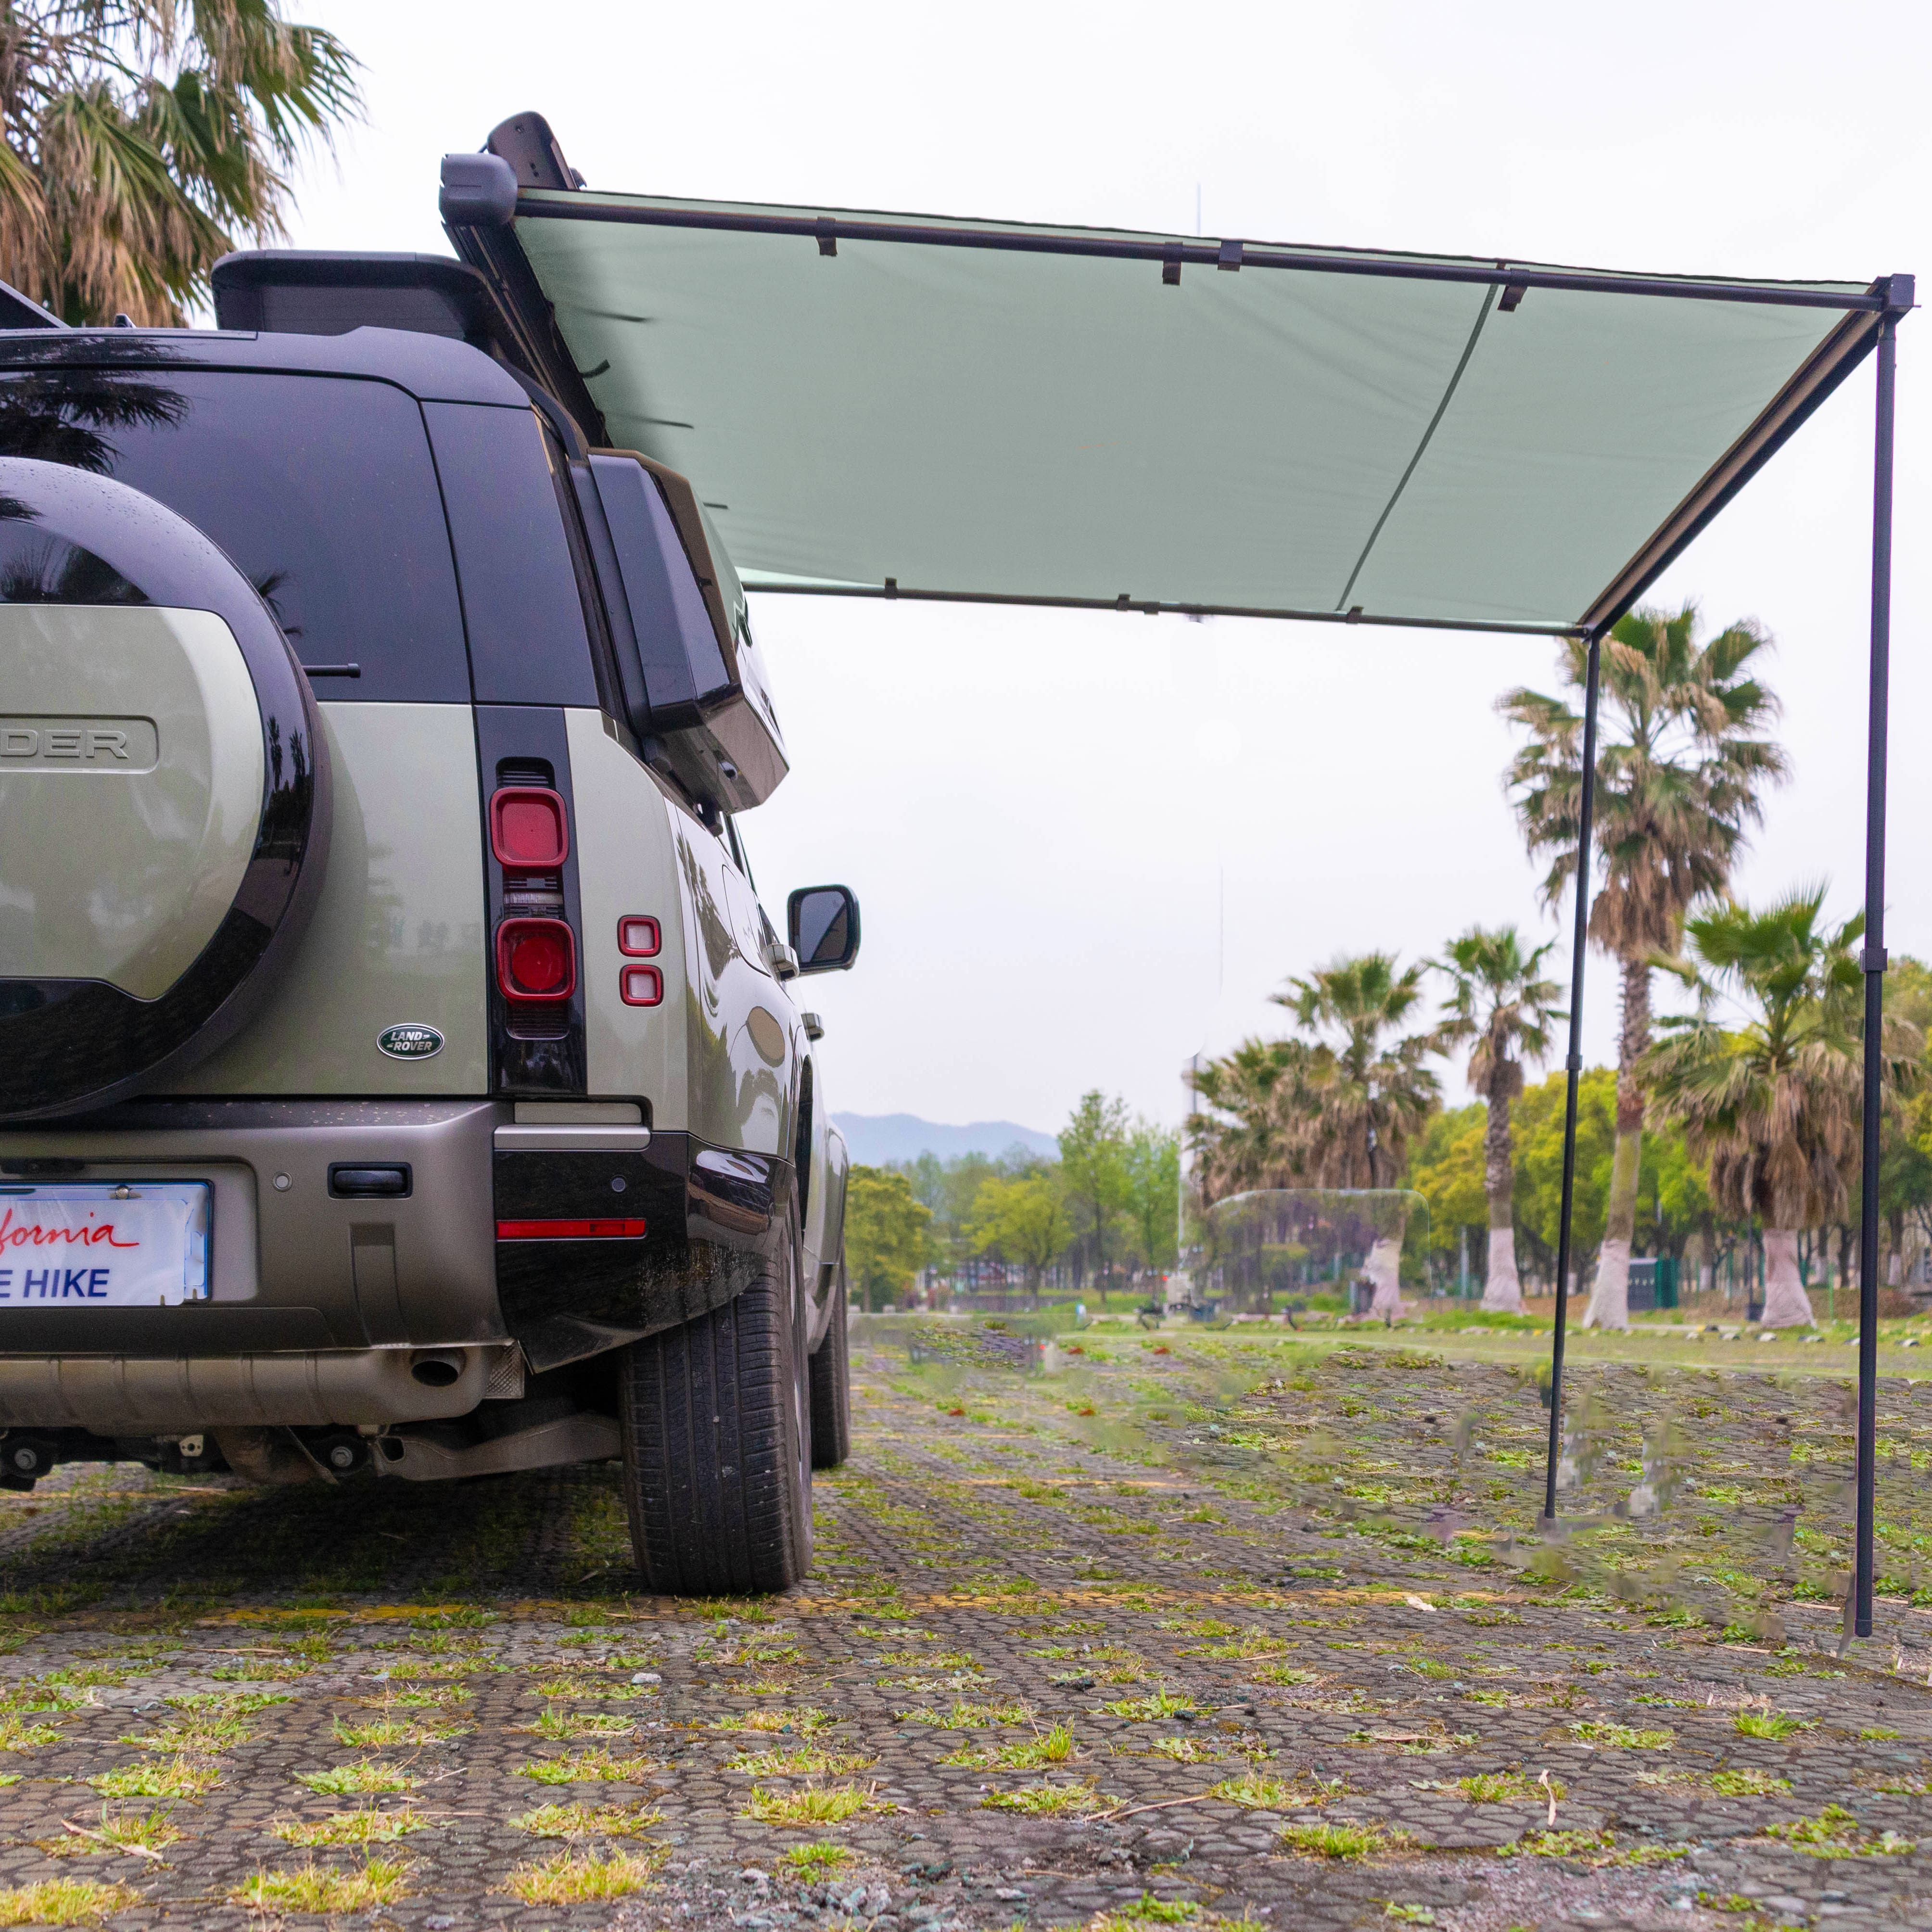
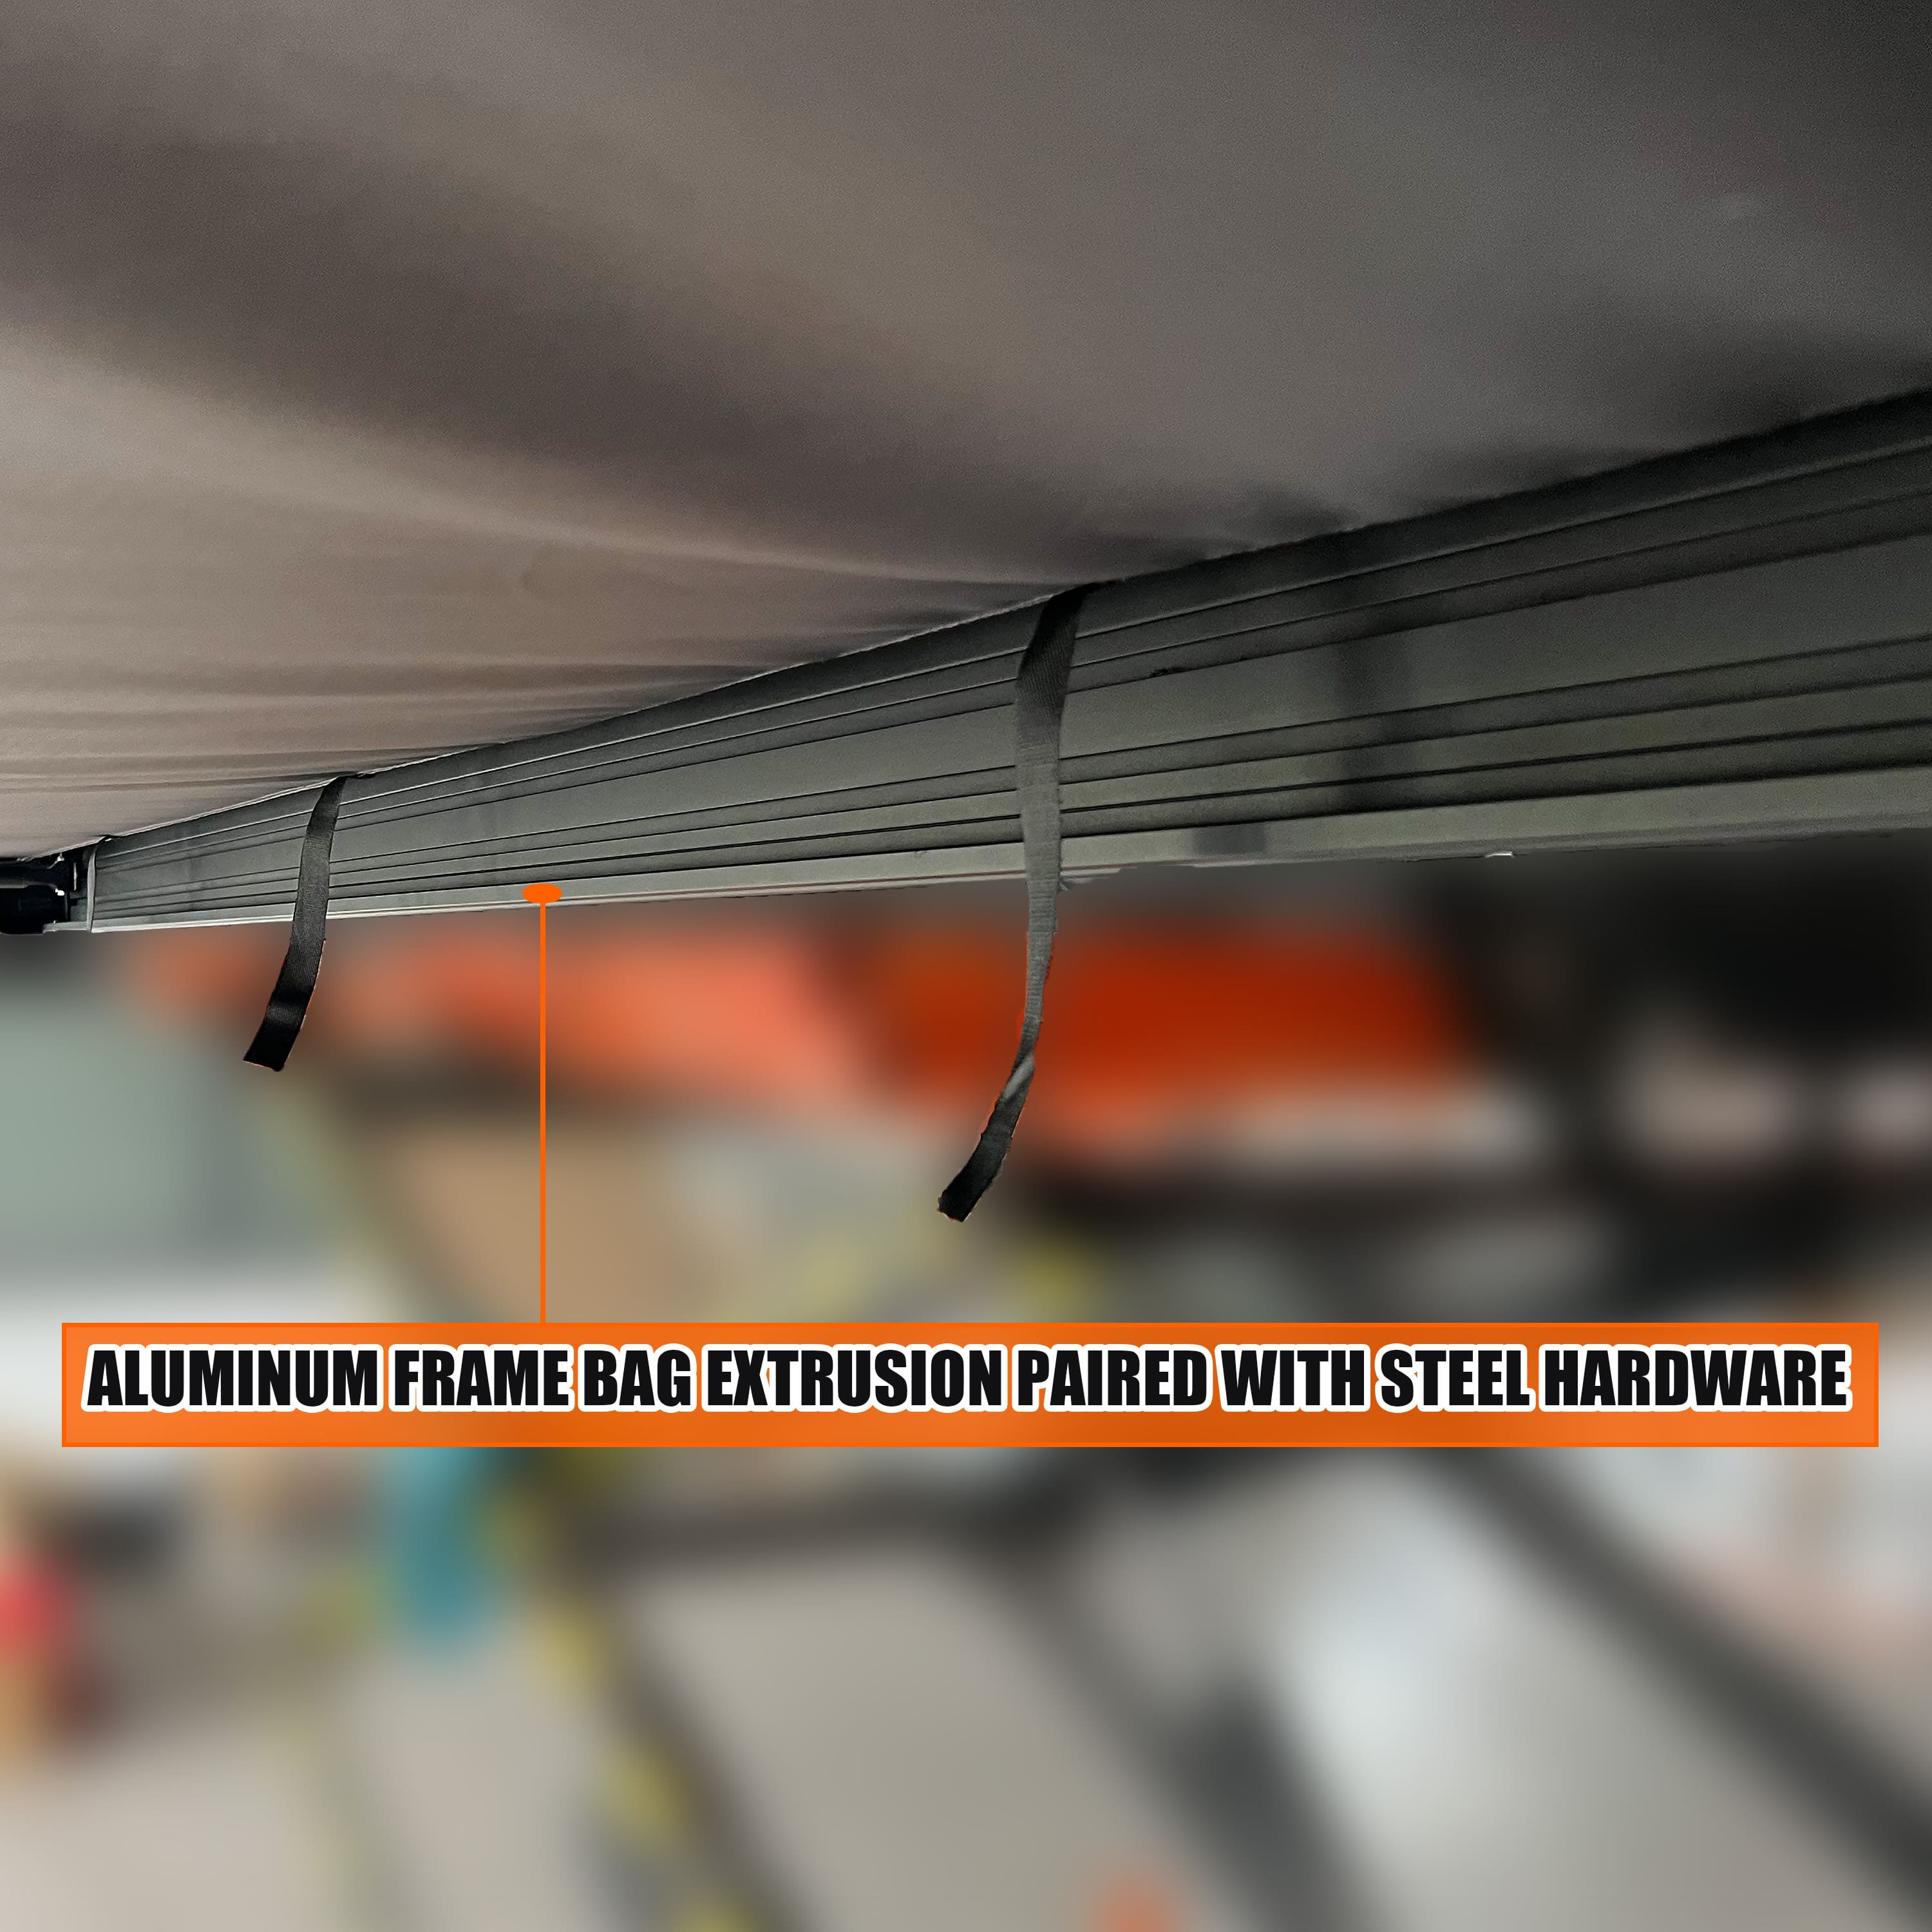
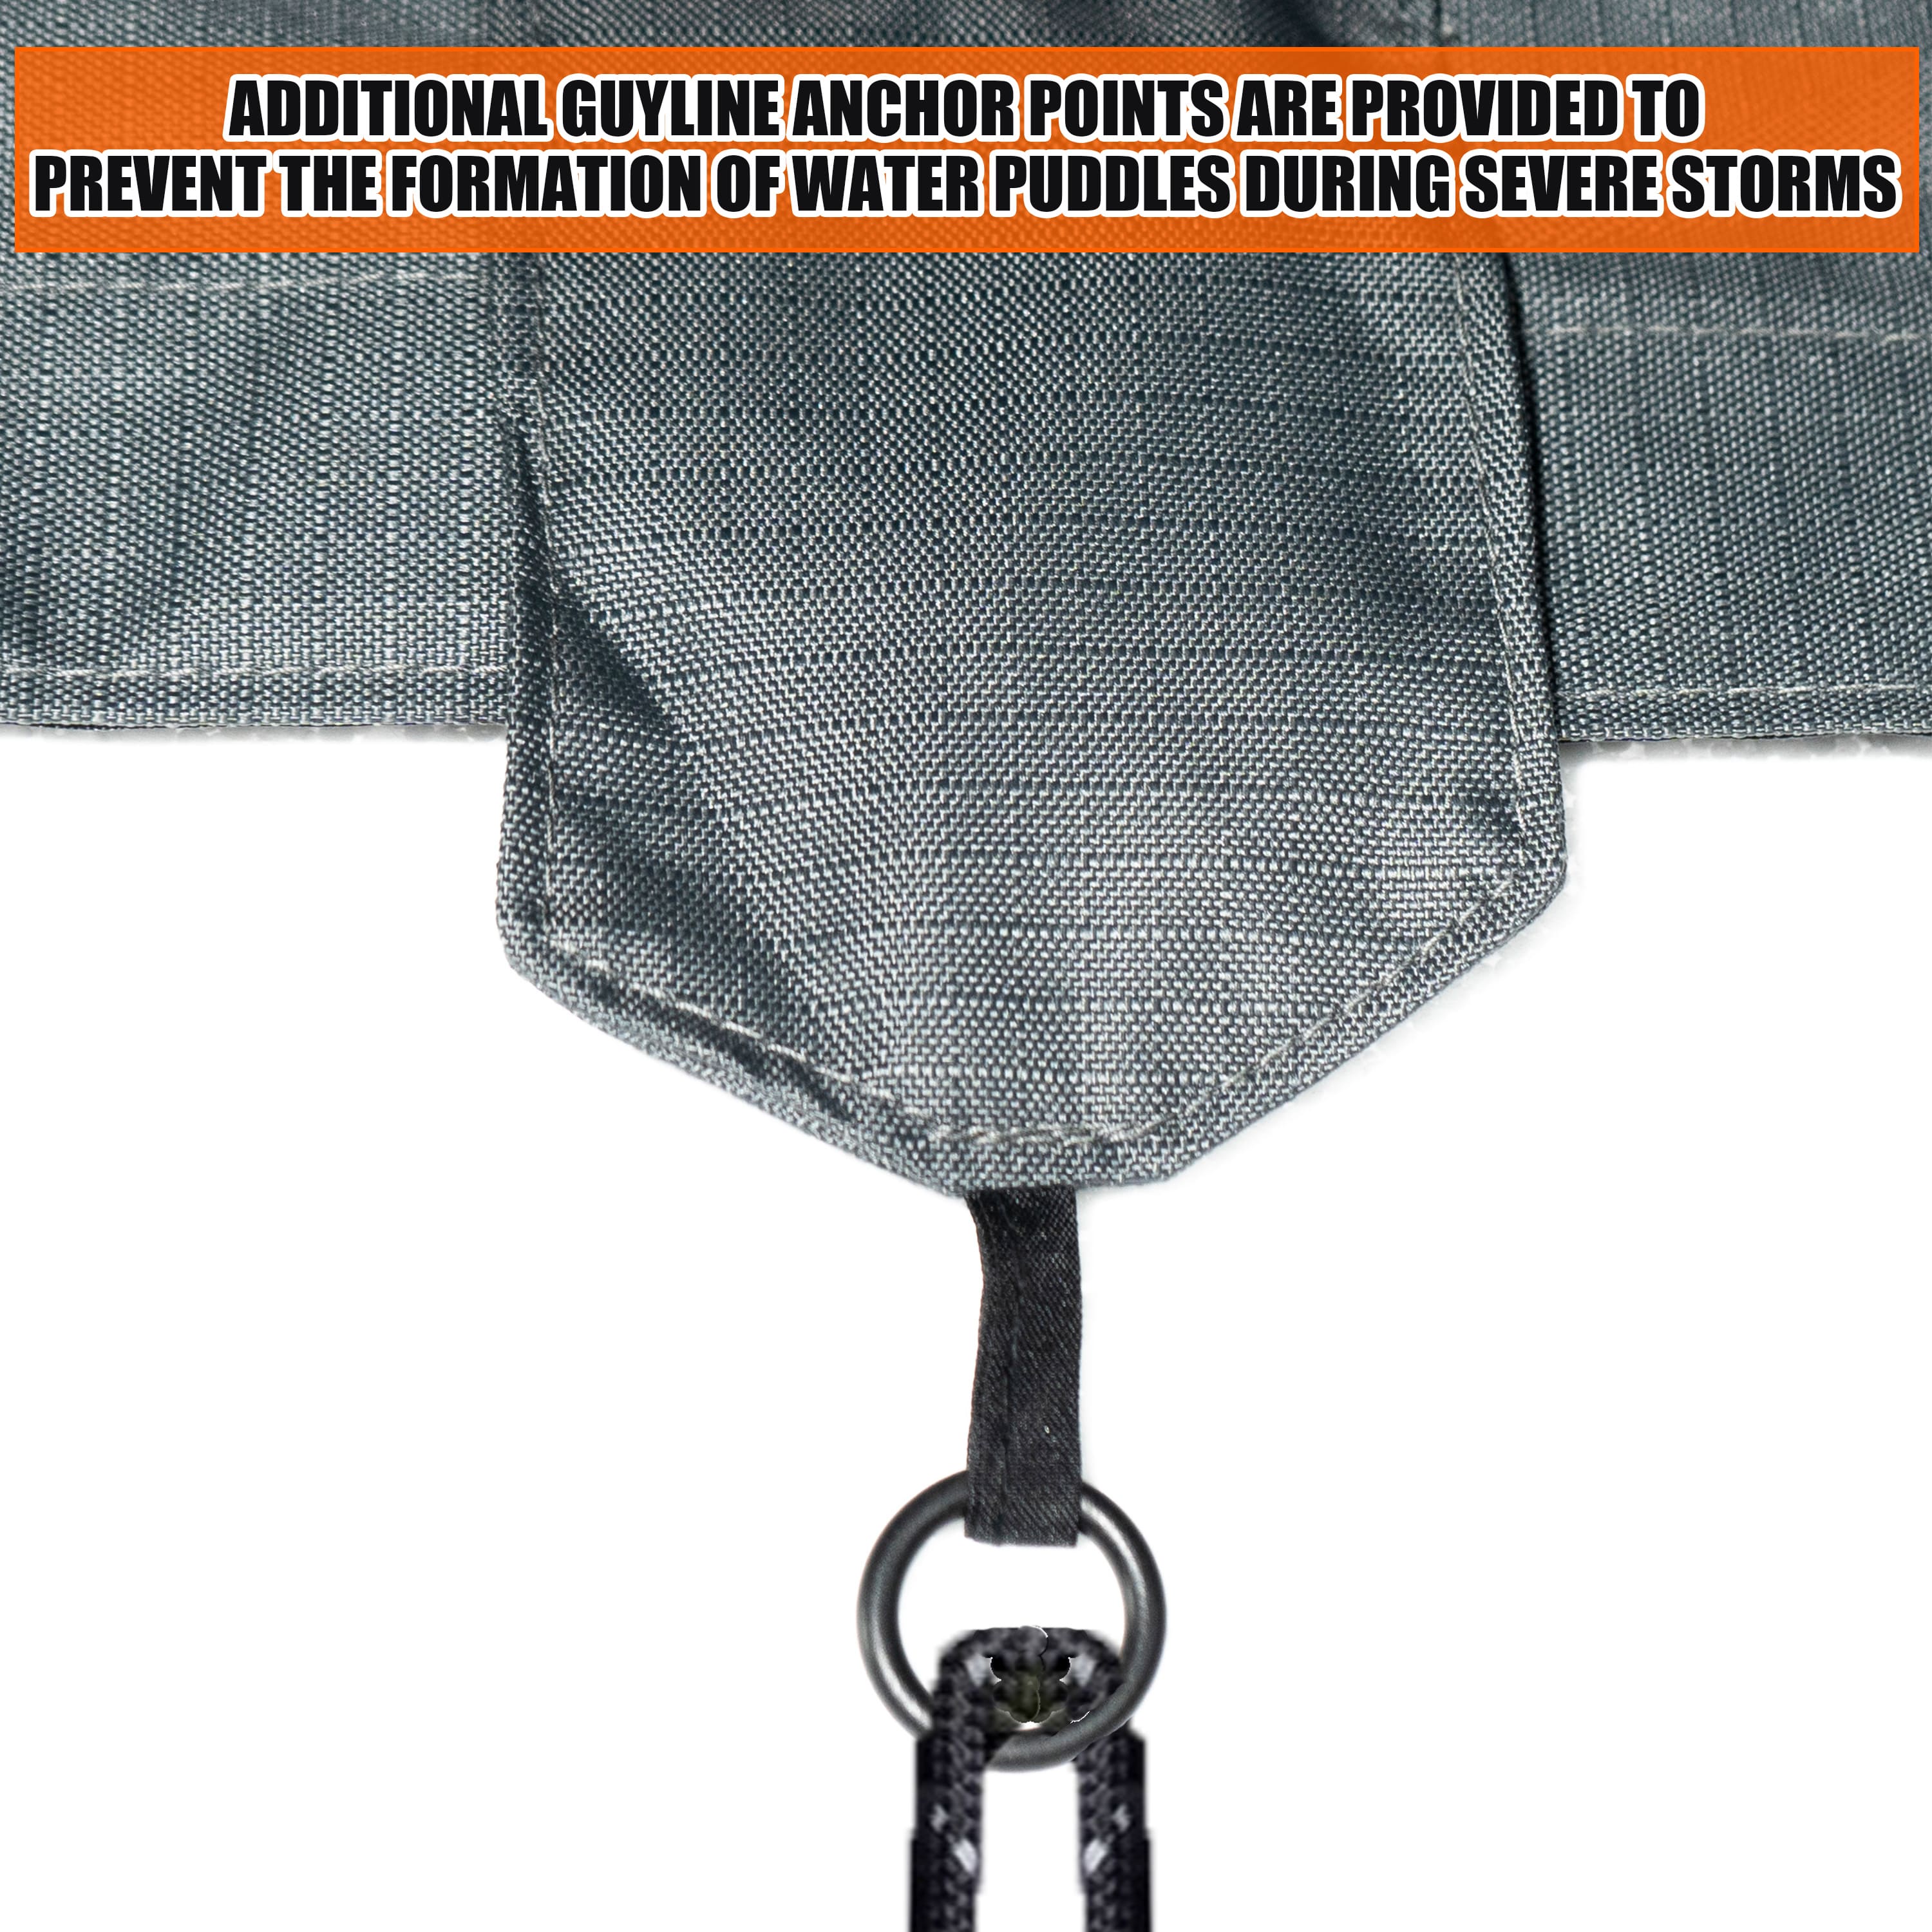
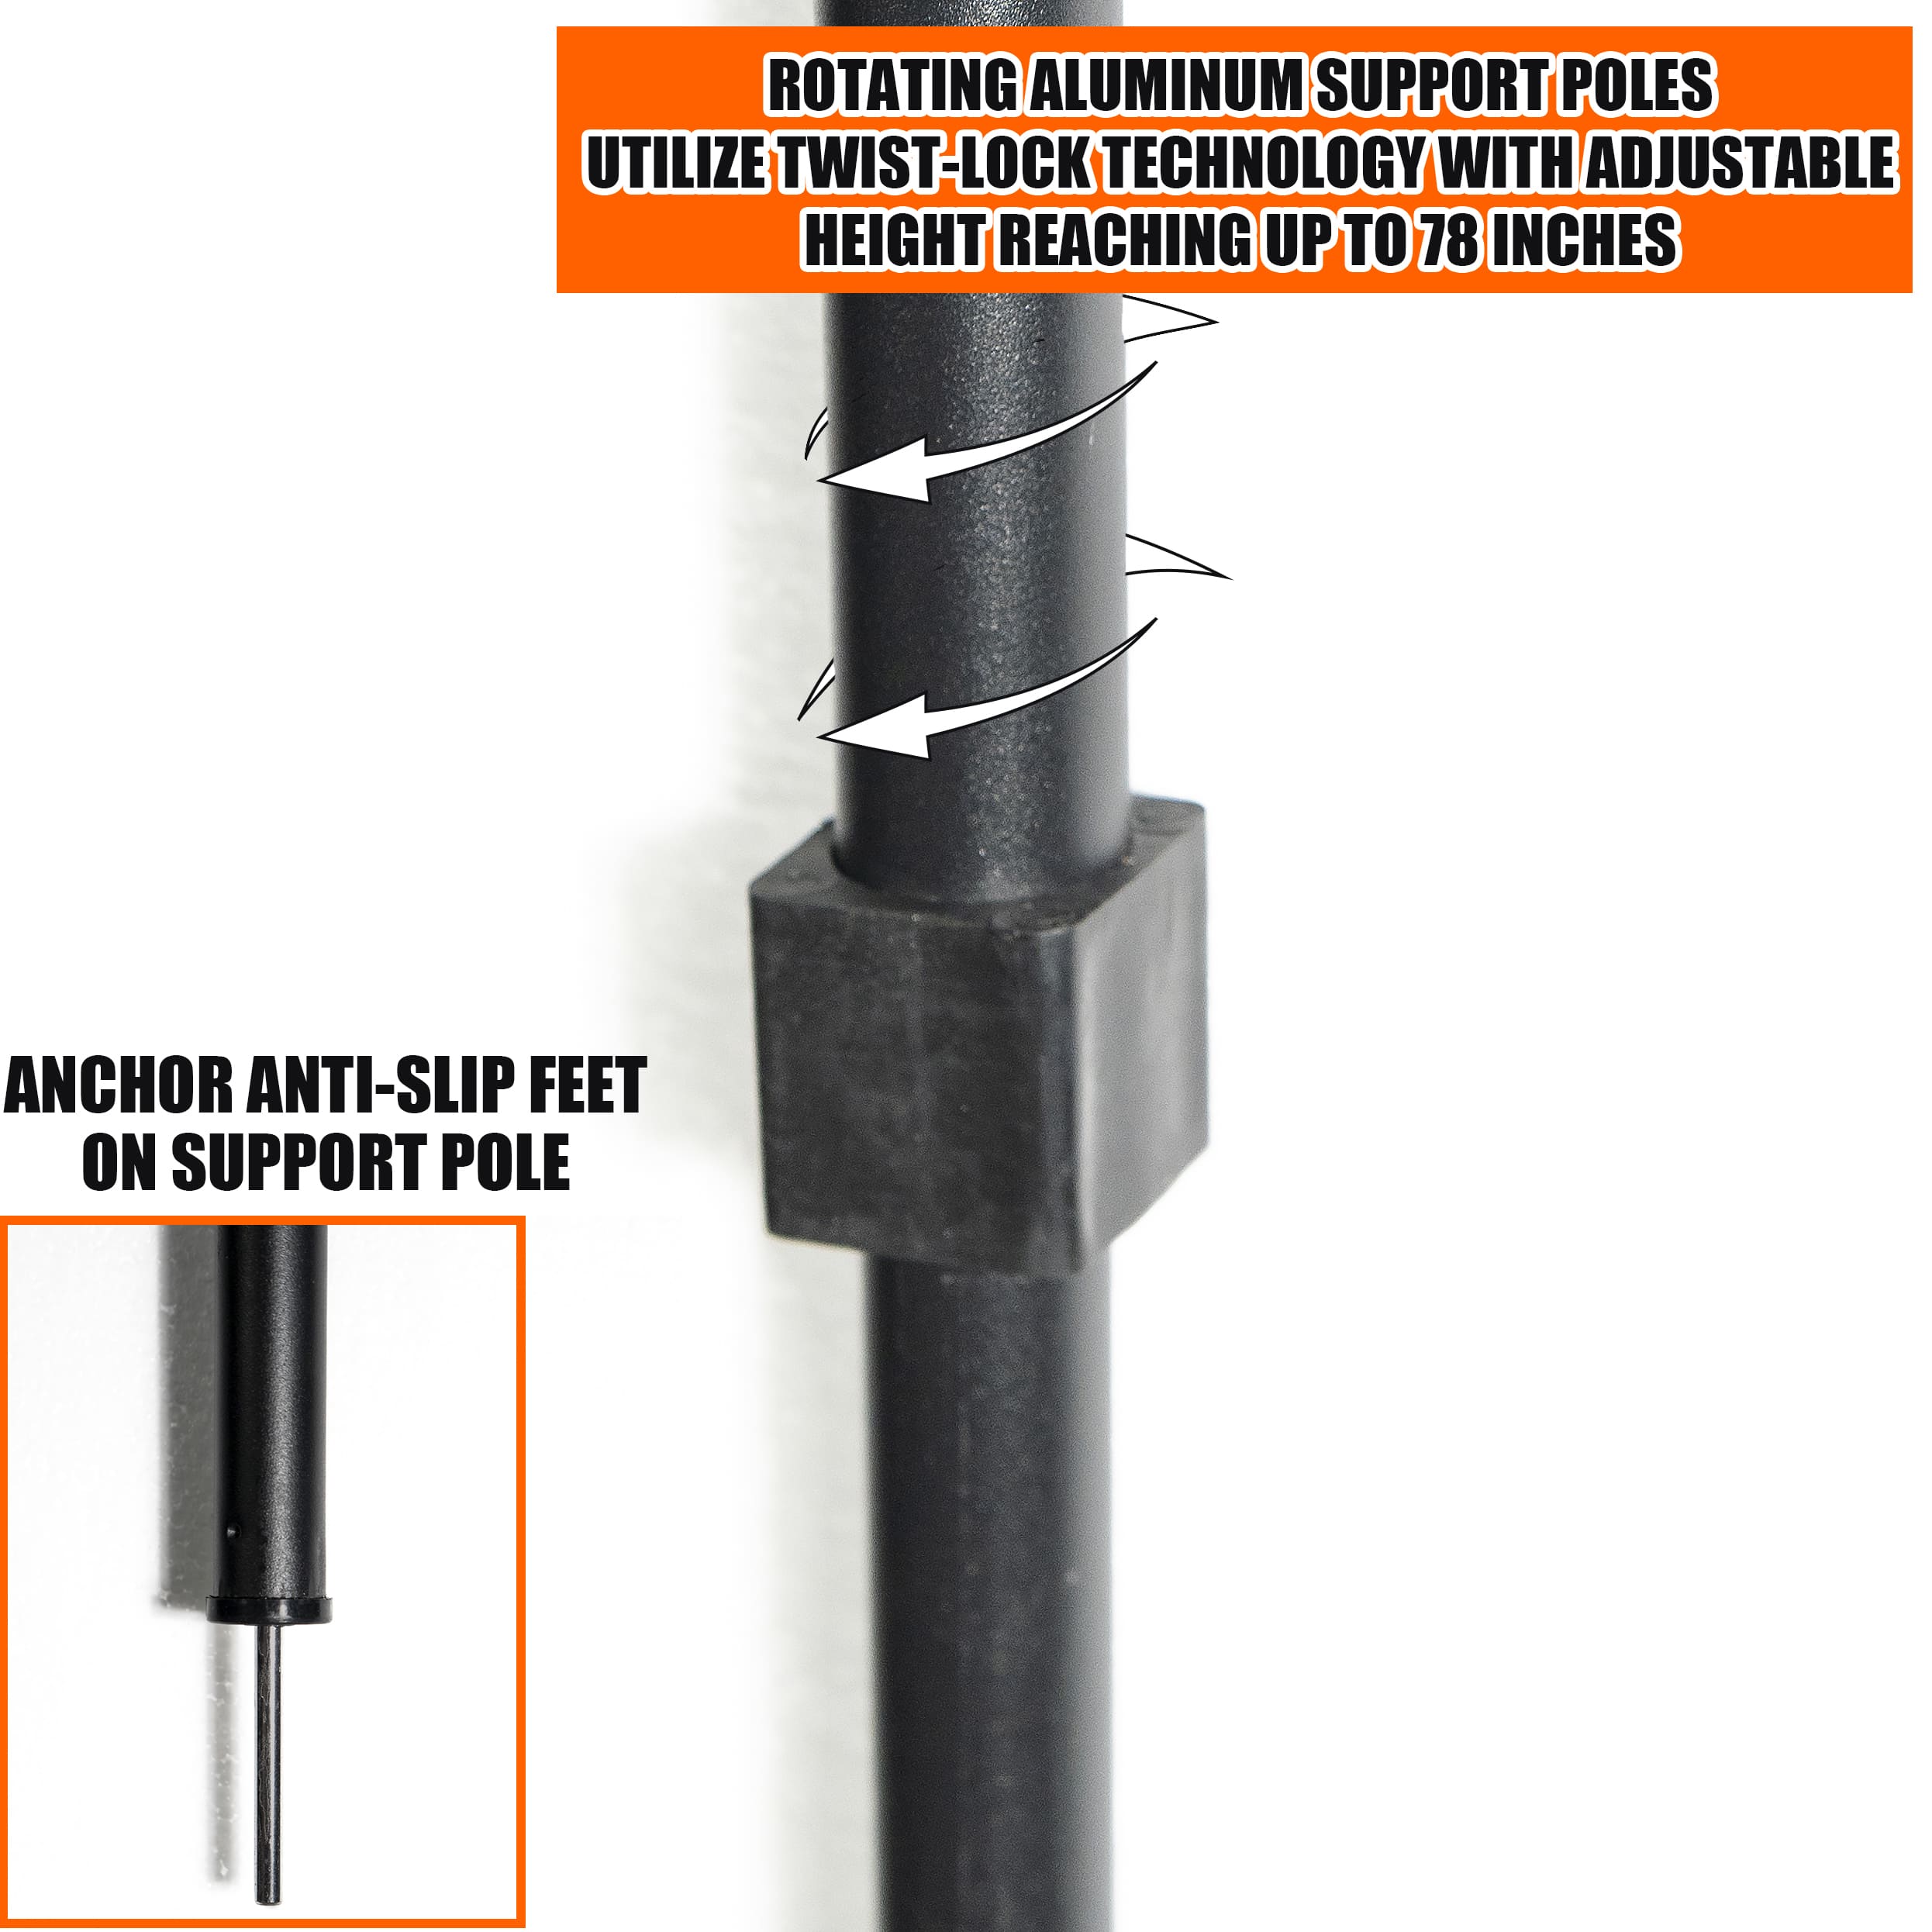
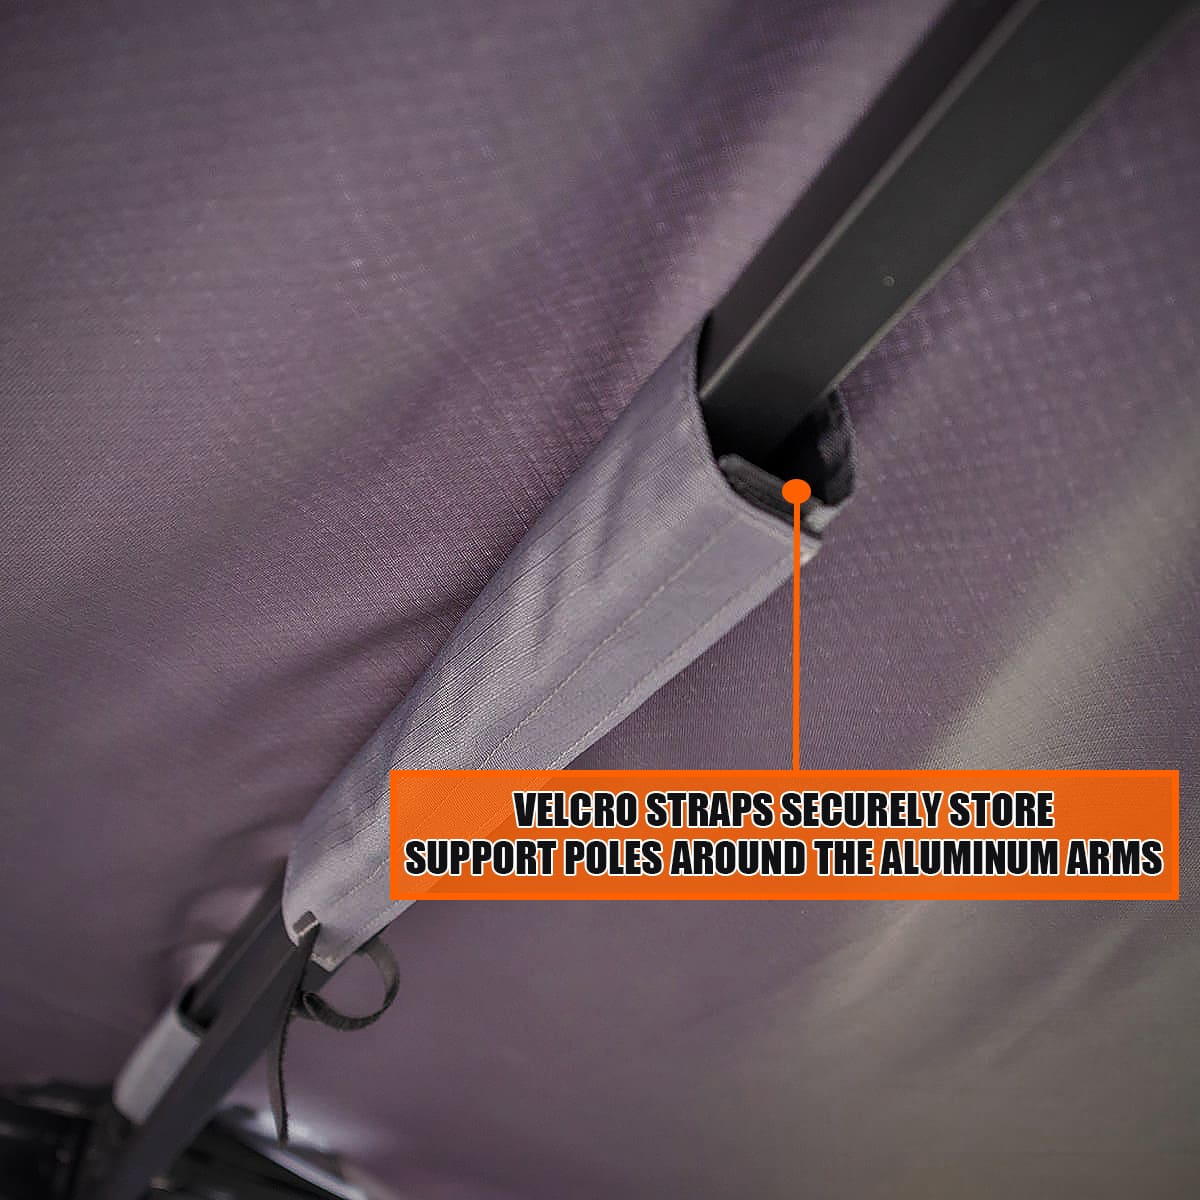
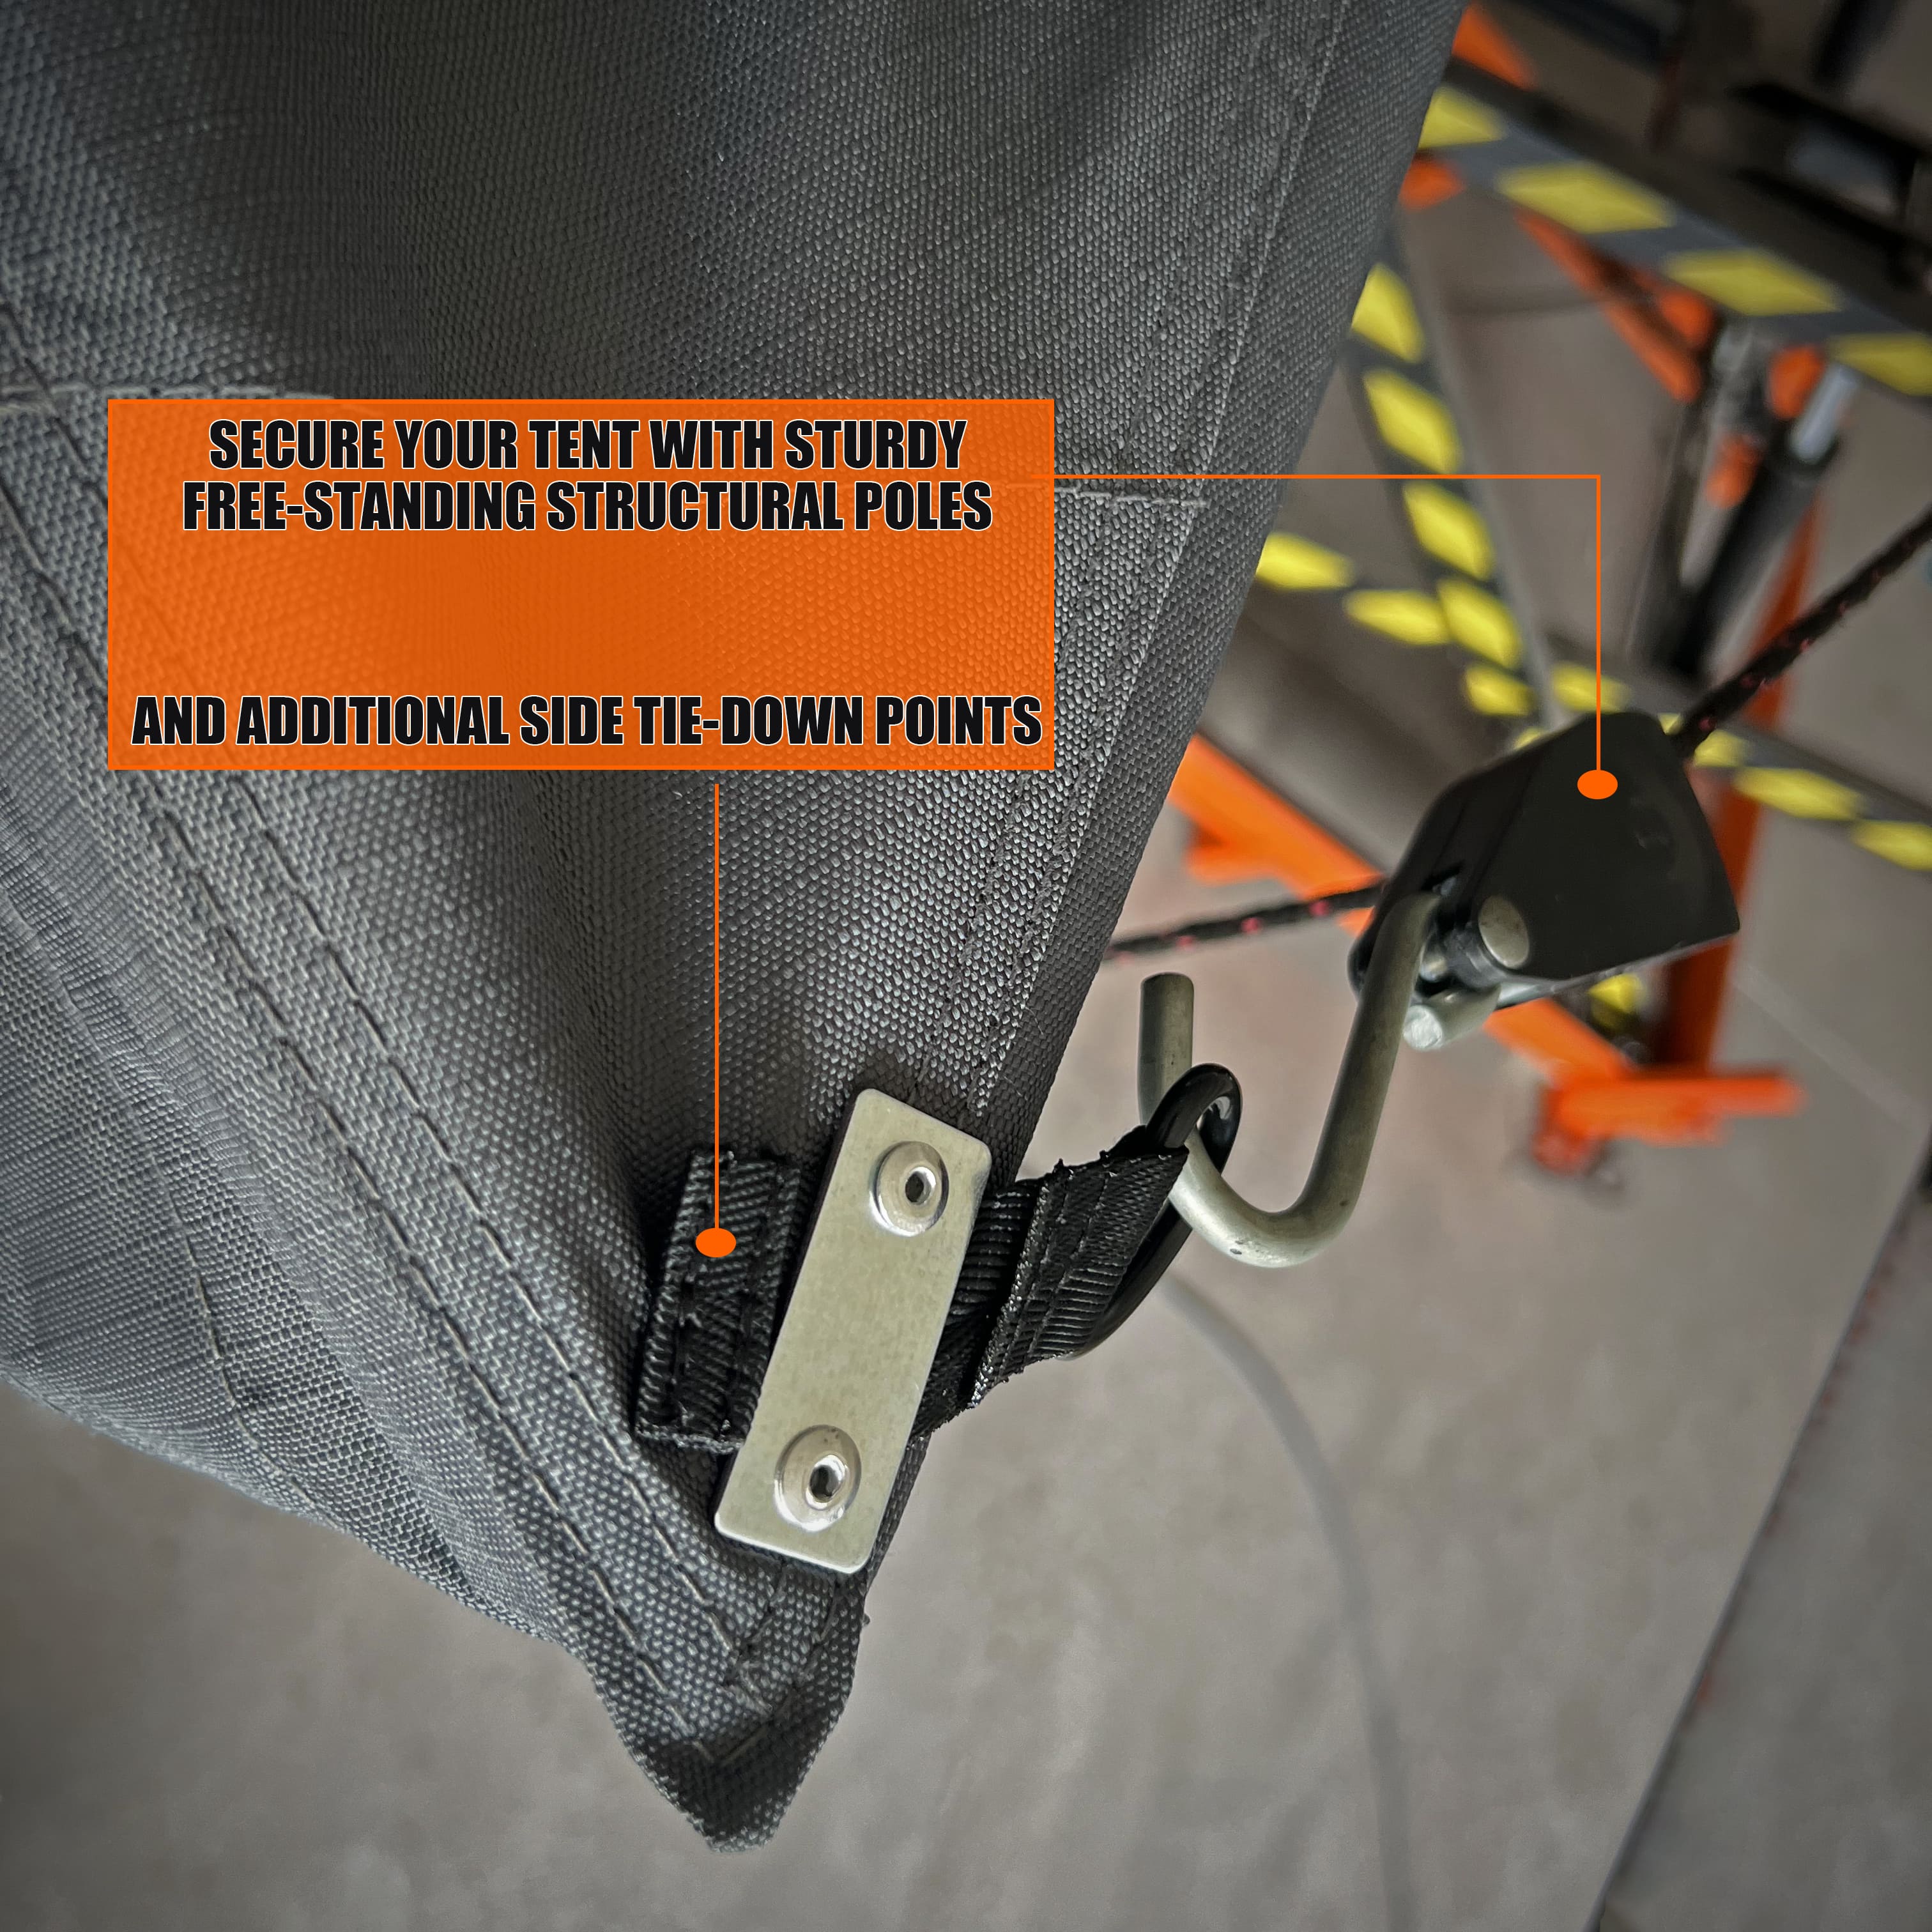
- Fully extend and lock the pre-bent aluminum poles that support the tent roof and walls. Make any adjustments to pole clips and guy linesto square up the tent shape.
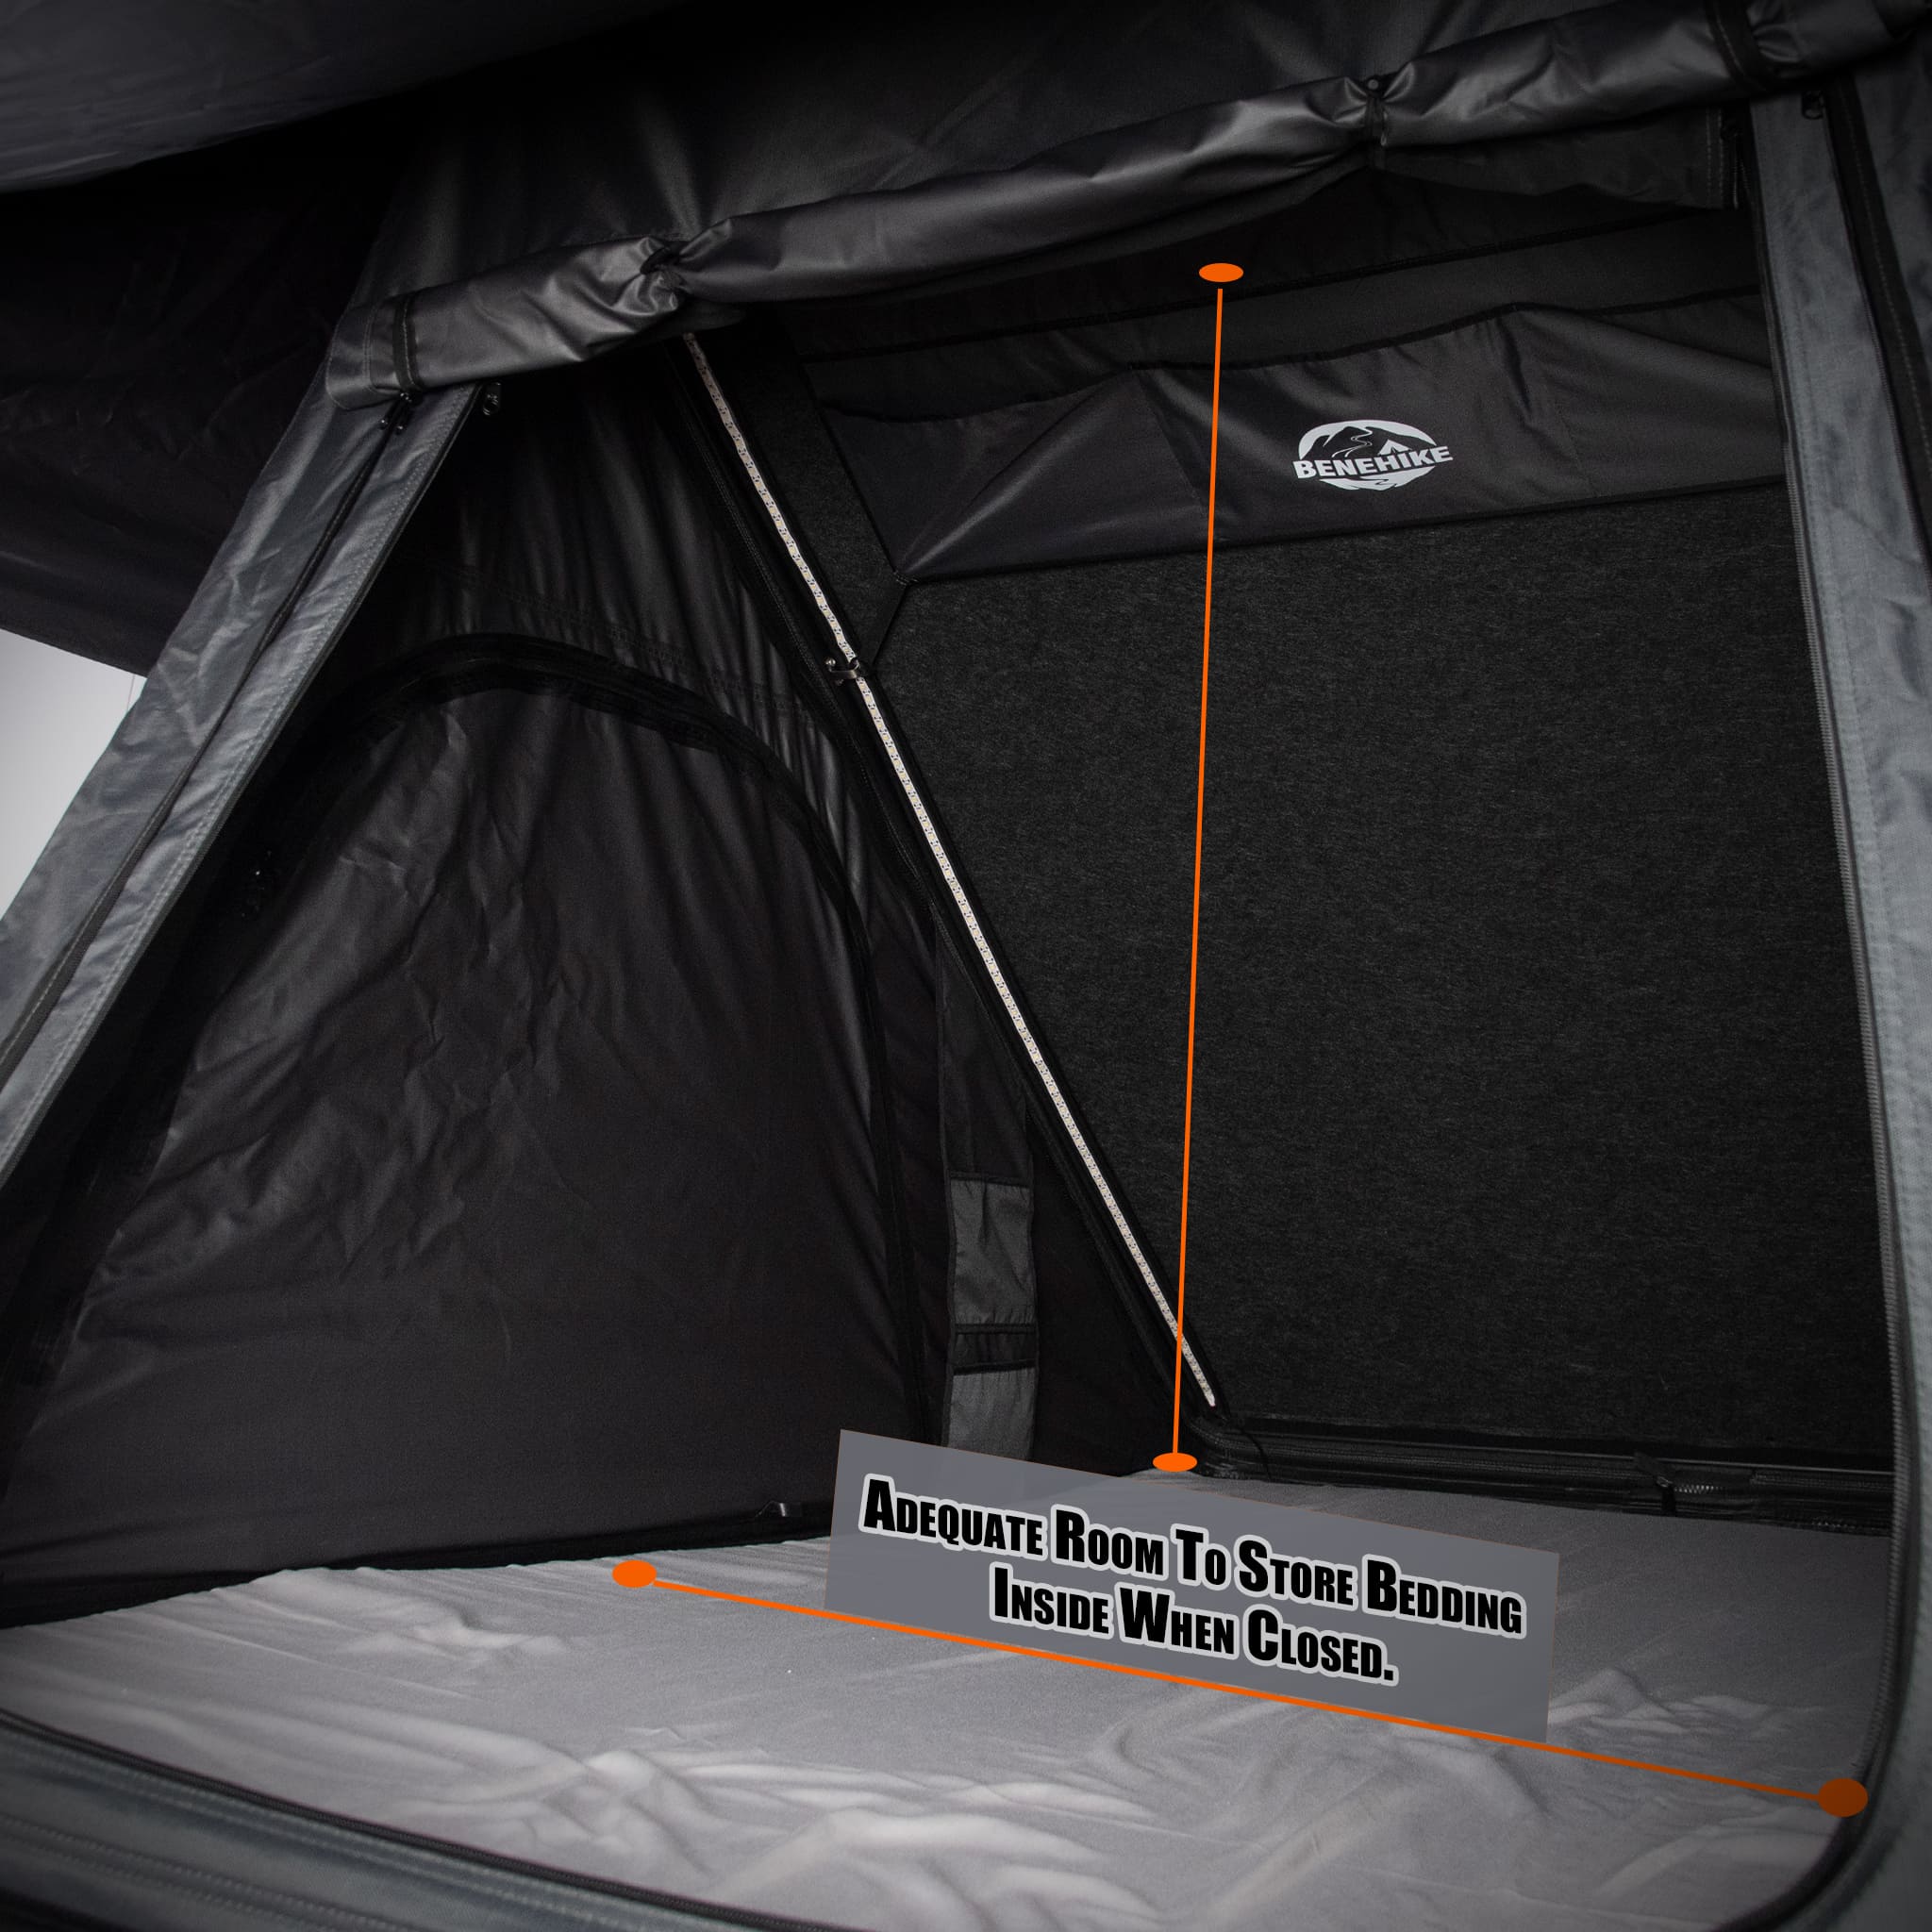
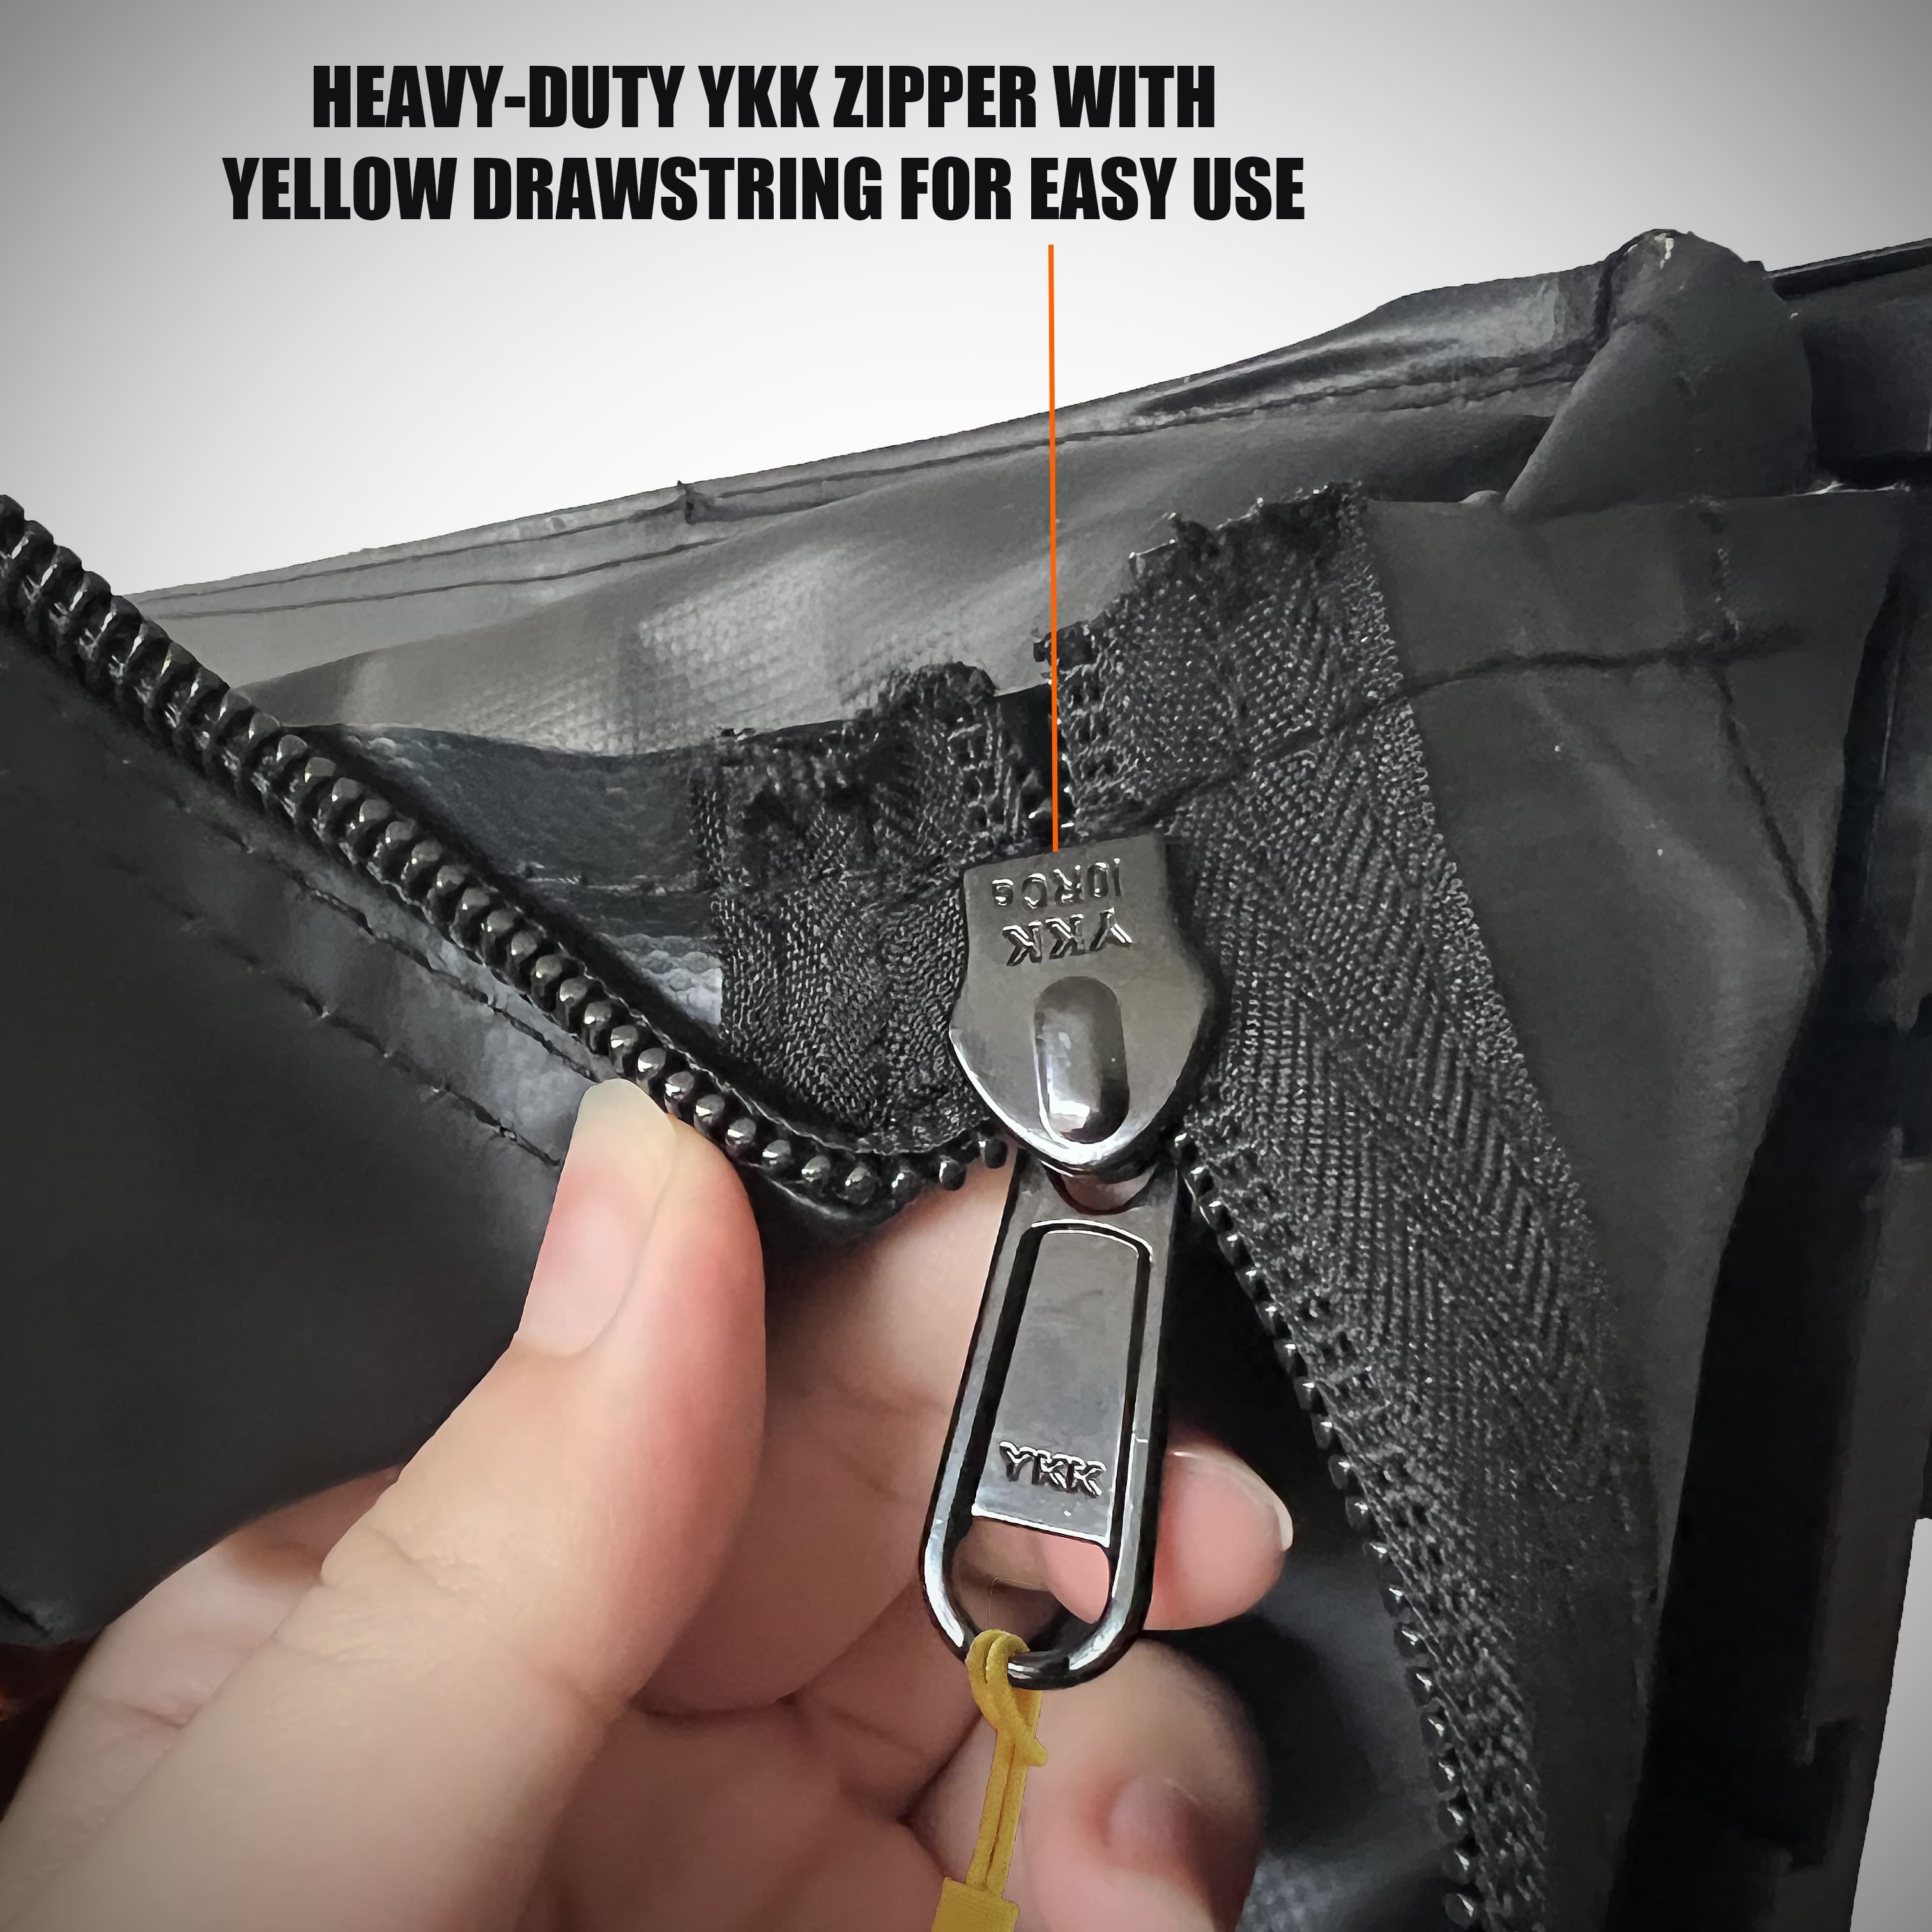
- Clip the fly sheet fabric doors to the inner tent with their toggles and zip up all doors and vents.
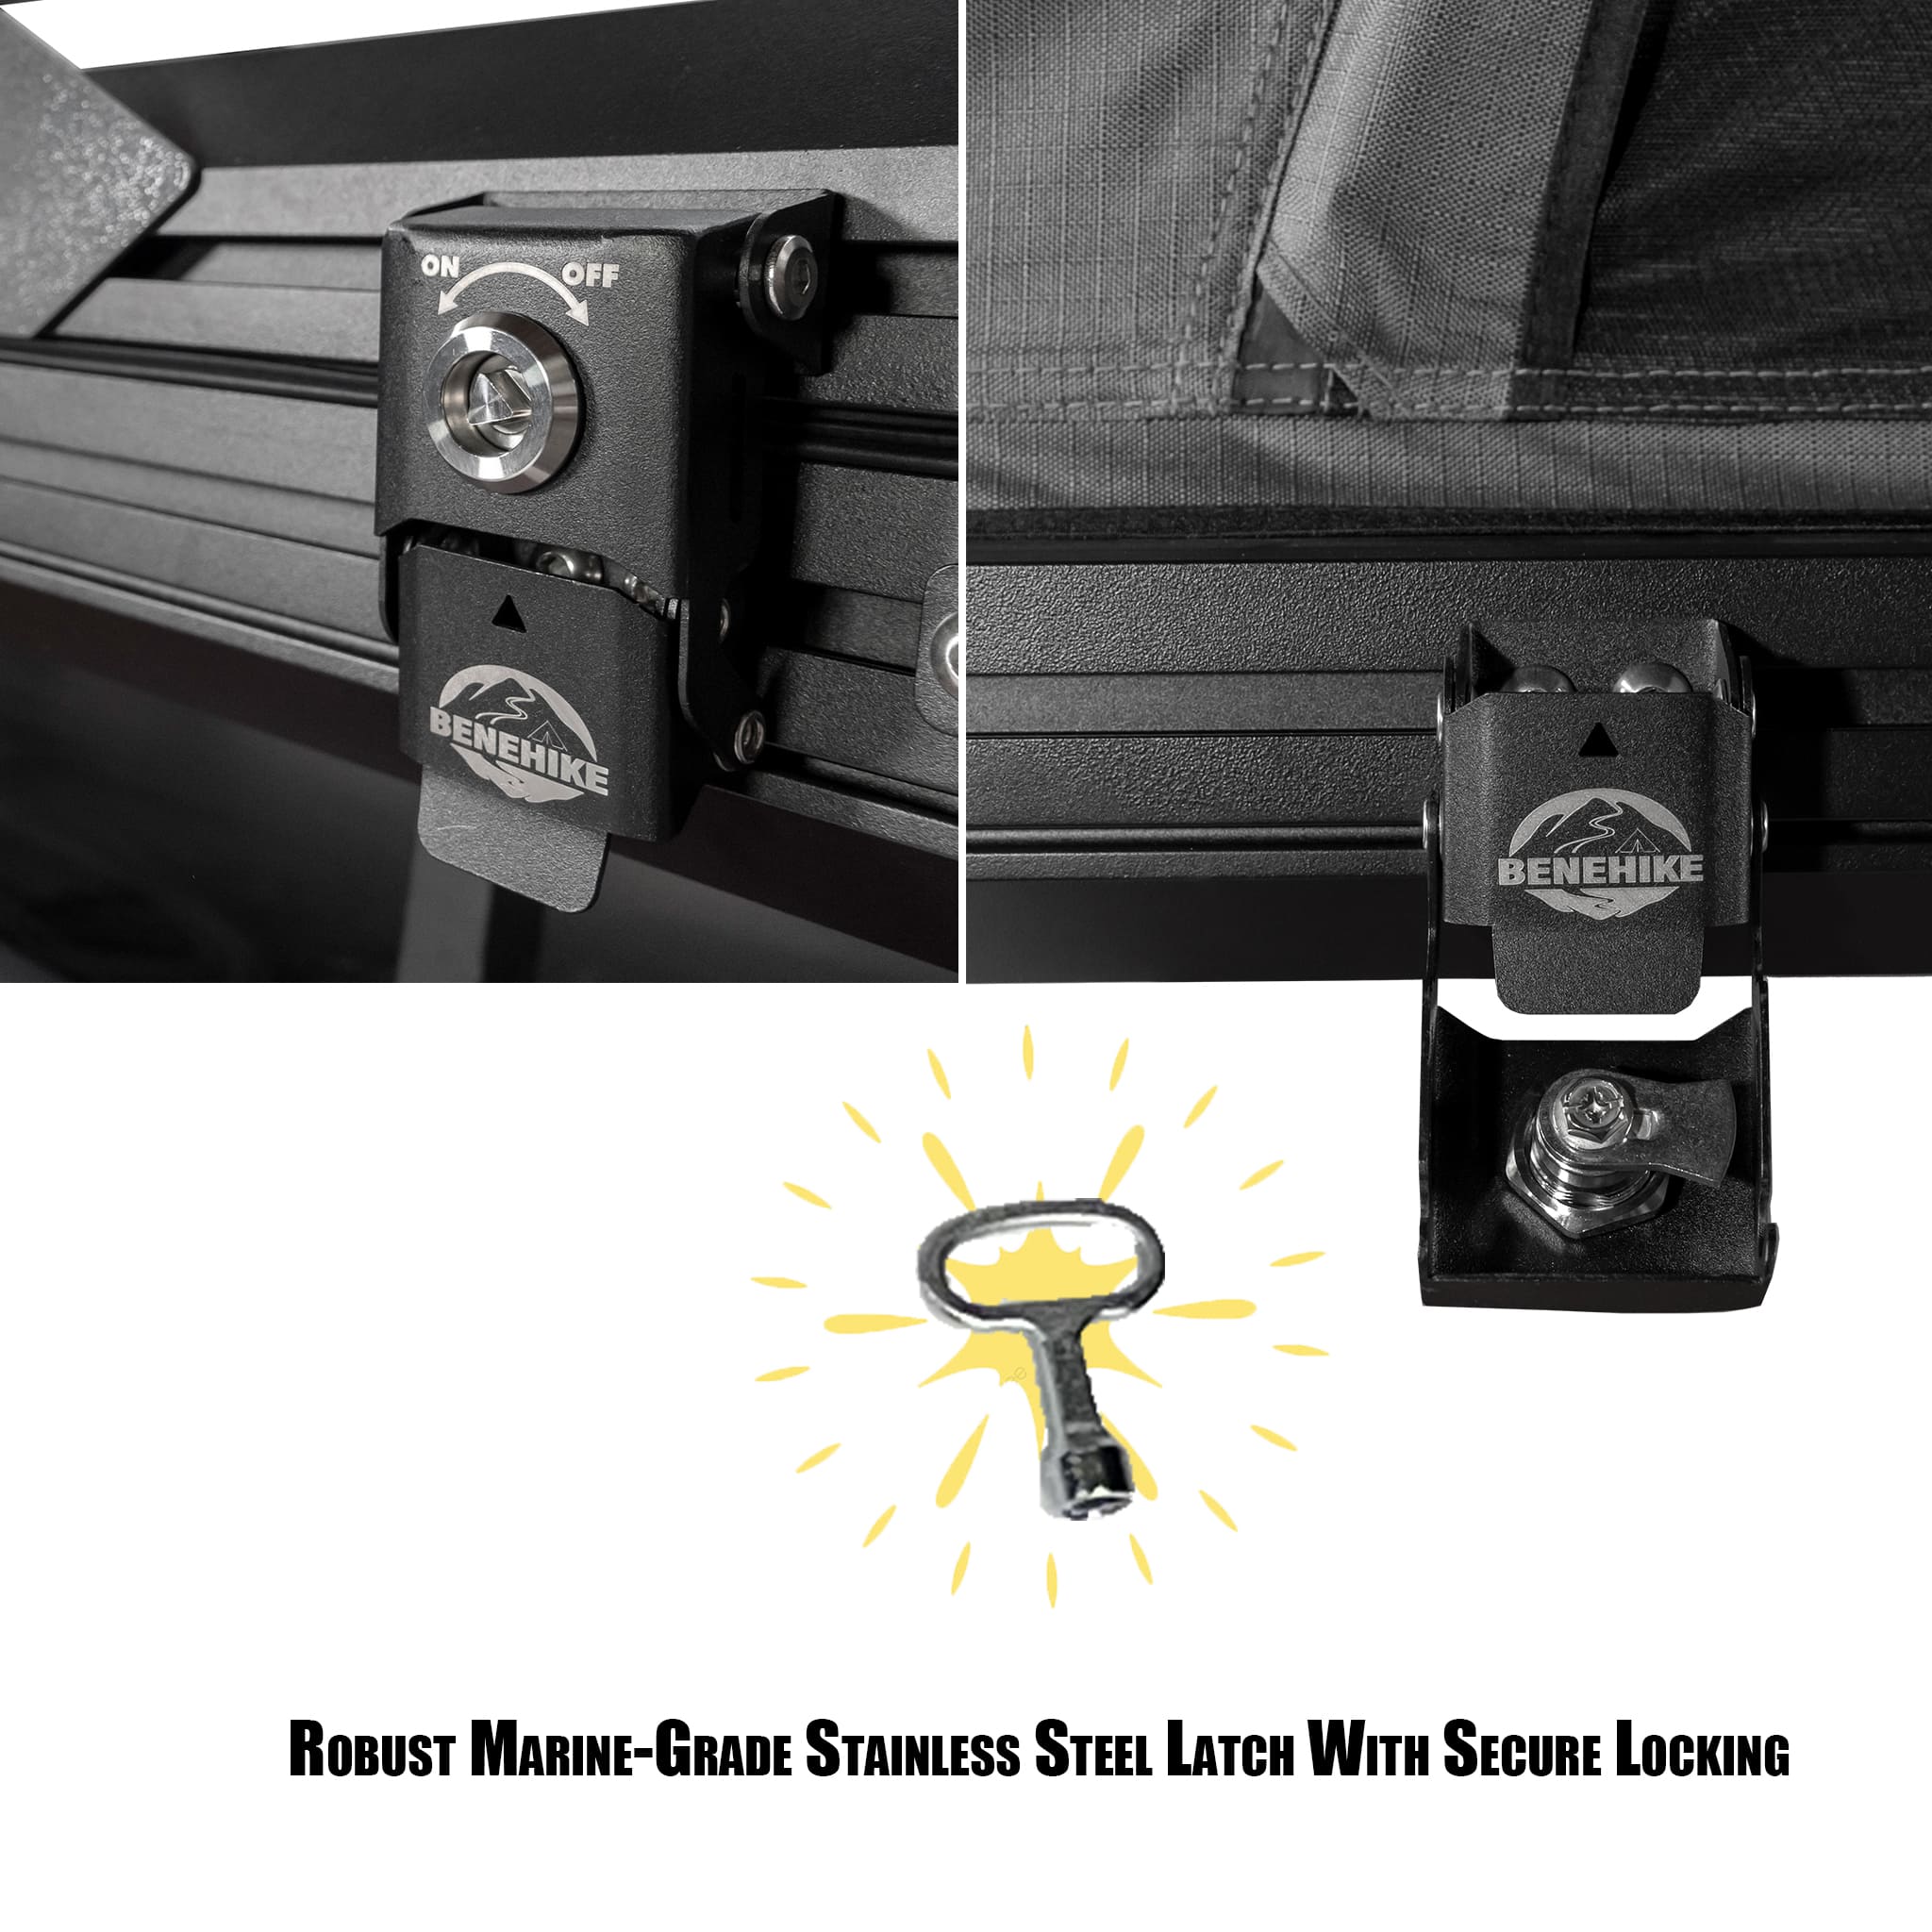
- Double check that all bolts, straps and fasteners are tightened securely and the tent is squared up properly on your roof rack.
- Climb down your ladder and do a final inspection from the ground before packing up your gear and hitting the road. Apply silicone if needed to additional seals for a watertight setup.
With patience and following the manual closely, setting up a roof top tent solo is absolutely doable. The key is to think through the process in advance and take things one step at a time. Happy adventures!
Read More
- How to Choose the Right Roof-Top Tent – BENEHIKE
- Rooftop Tent Vs Traditional Ground Tent: Pros and Cons – BENEHIKE
- Hard Shell Rooftop Tent:Top Benefits Top for Comfortable and Convenien – BENEHIKE
- Go Ready for Camping in the 2023 Spring – BENEHIKE
- Is It Worth Camping for One Night in California? – BENEHIKE